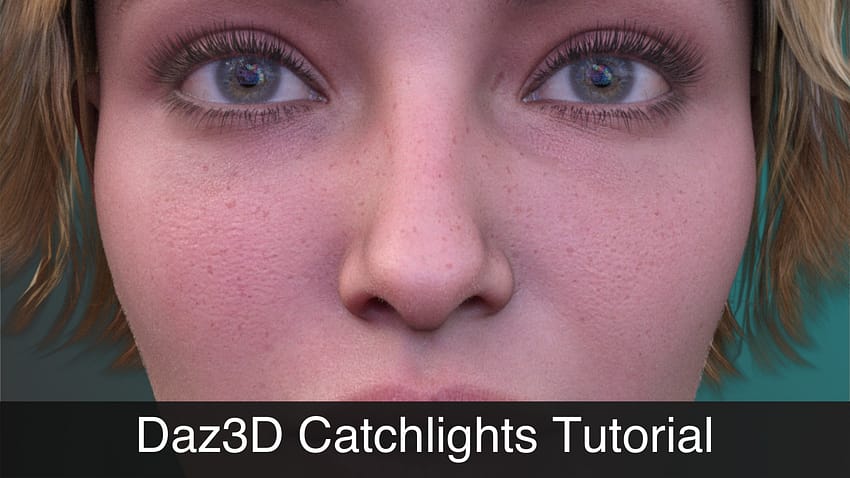
This Daz3D Catchlights Tutorial shows you step by step how you can easily set up a catchlight yourself in Daz Studio to improve your render. Catchlight is a way to enhance the portrait both in photography and render by using lighting. It is when a light source causes a highlight to appear in the subject’s eyes. This technique helps to draw a lot of attention to the characters eyes without changing the frame or scene basically.
In this article we are going to look at how you can easily set up a catchlight yourself in the Daz Studio. What methods there are and what are the differences.
Daz3D Catchlight Setups
There are different ways to create a catchlight in the Daz Studio. You can use different objects, lights or even images for this purpose. Let’s look into them and see how you can utilize them yourself.
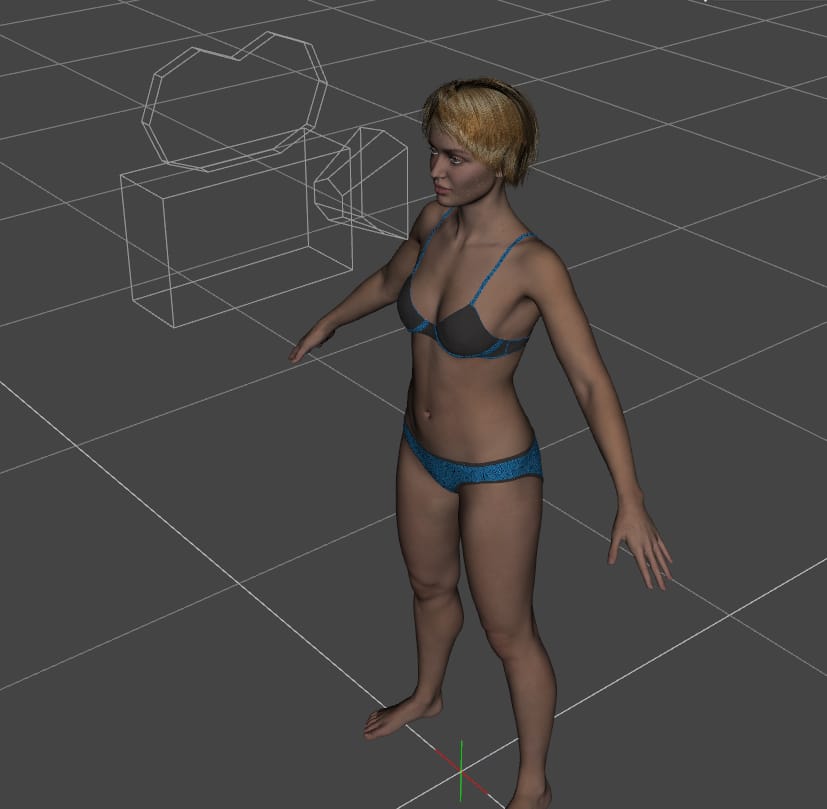
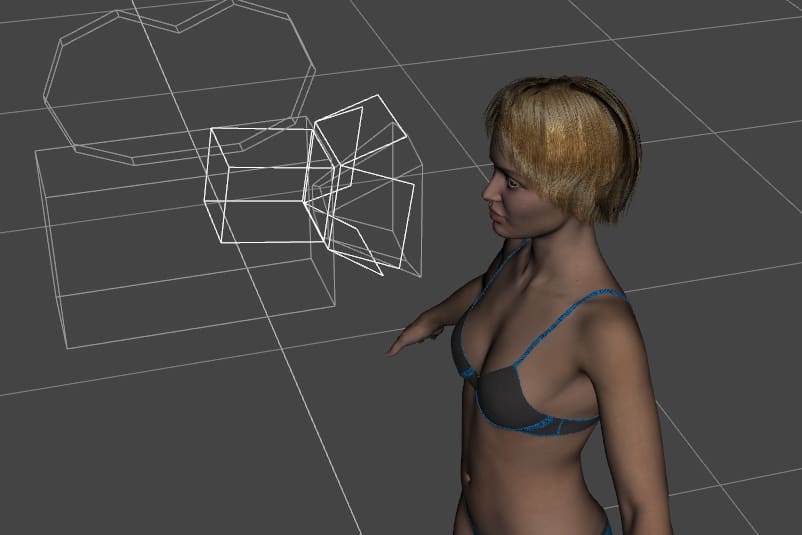
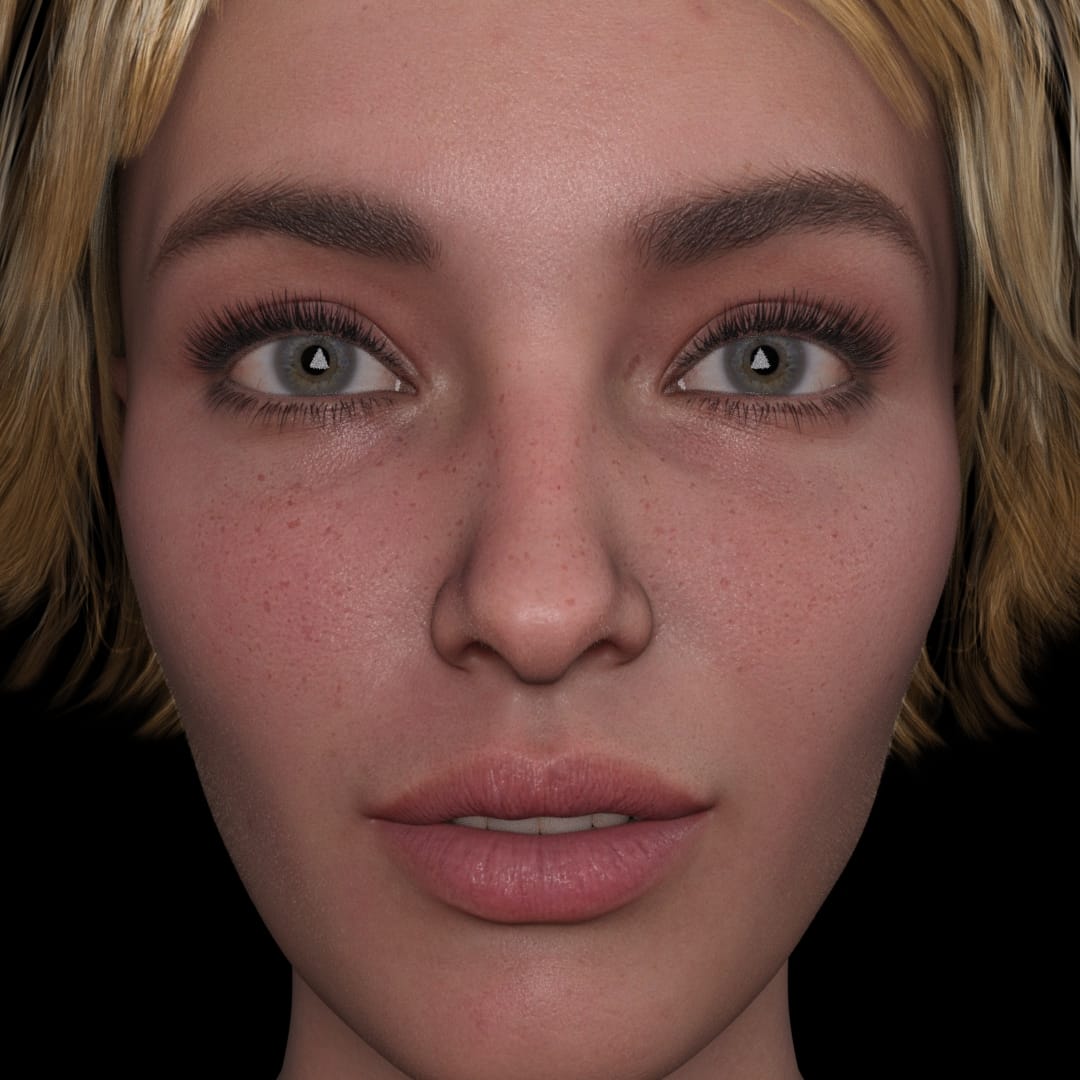
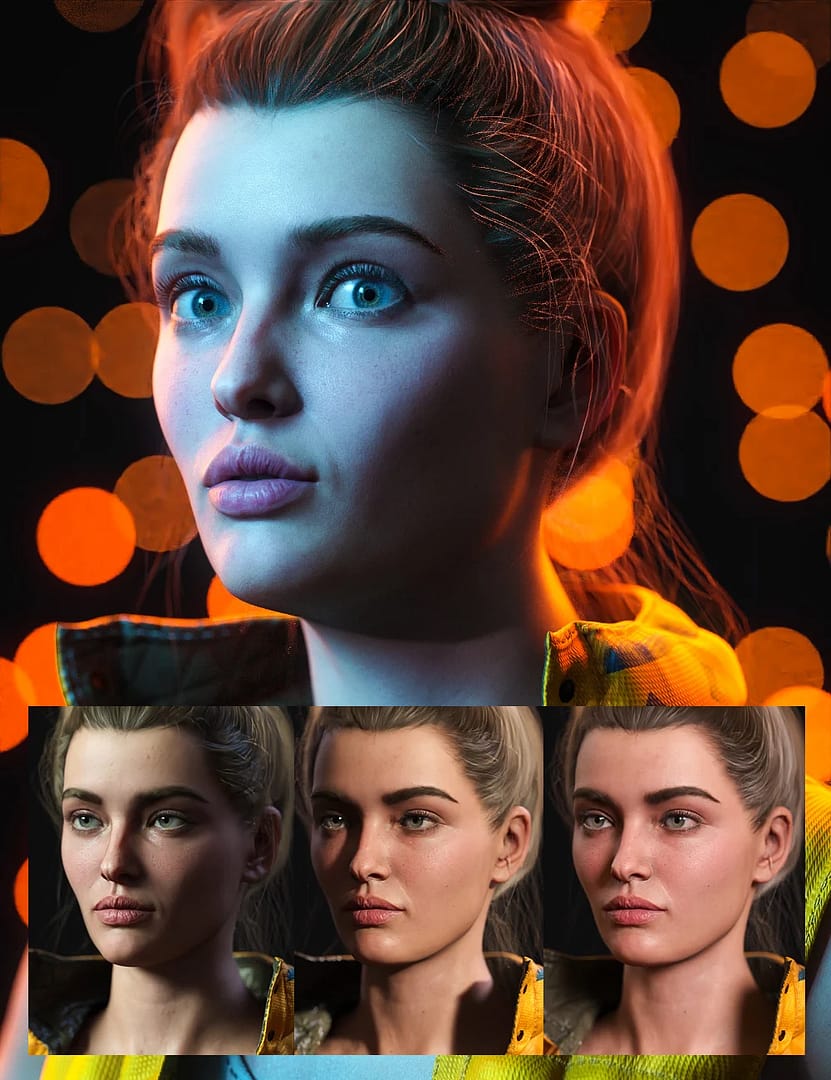
I will use the Victoria 8.1 figure with a camera pointing right in the face. A very simple scene, no additional lights would be used except the catchlights, only a default HDRI at 0.6 intensity.
Catchlight with Light Source
The very first way that one probably would think of is to use a light source for this. As that is precisely how it is done in real life. For this method you just need to create a light and point it right on the figure.
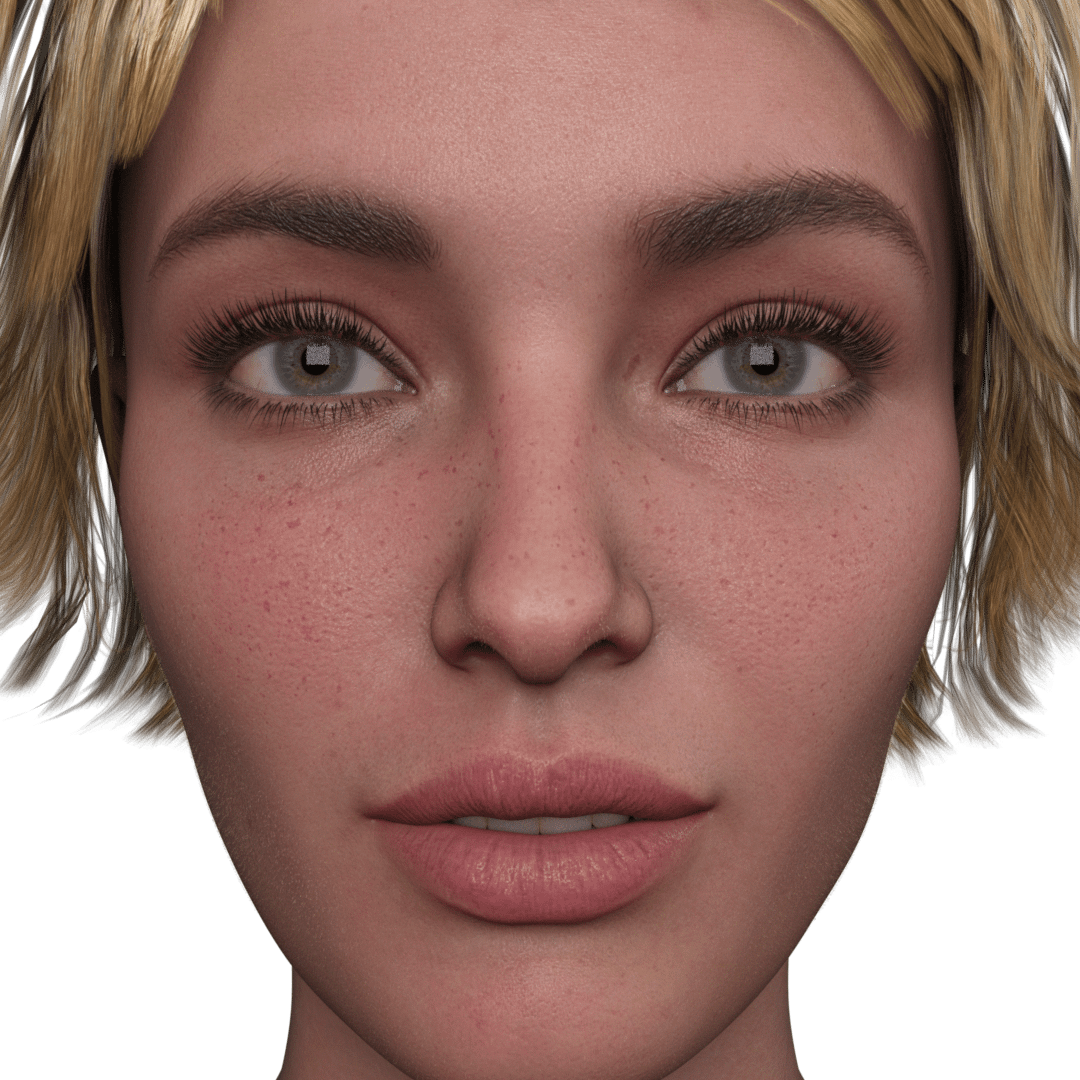
If you would render the image like this – there would be no highlights in the eyes. Because by default lights in Daz Studio are invisible, they are just a point of light without a body. You can fix that by going into the Lights tab and changing the Illumination setting to be Diffuse Only.

Now the rendered image will have a proper catchlight with highlighted eyes.
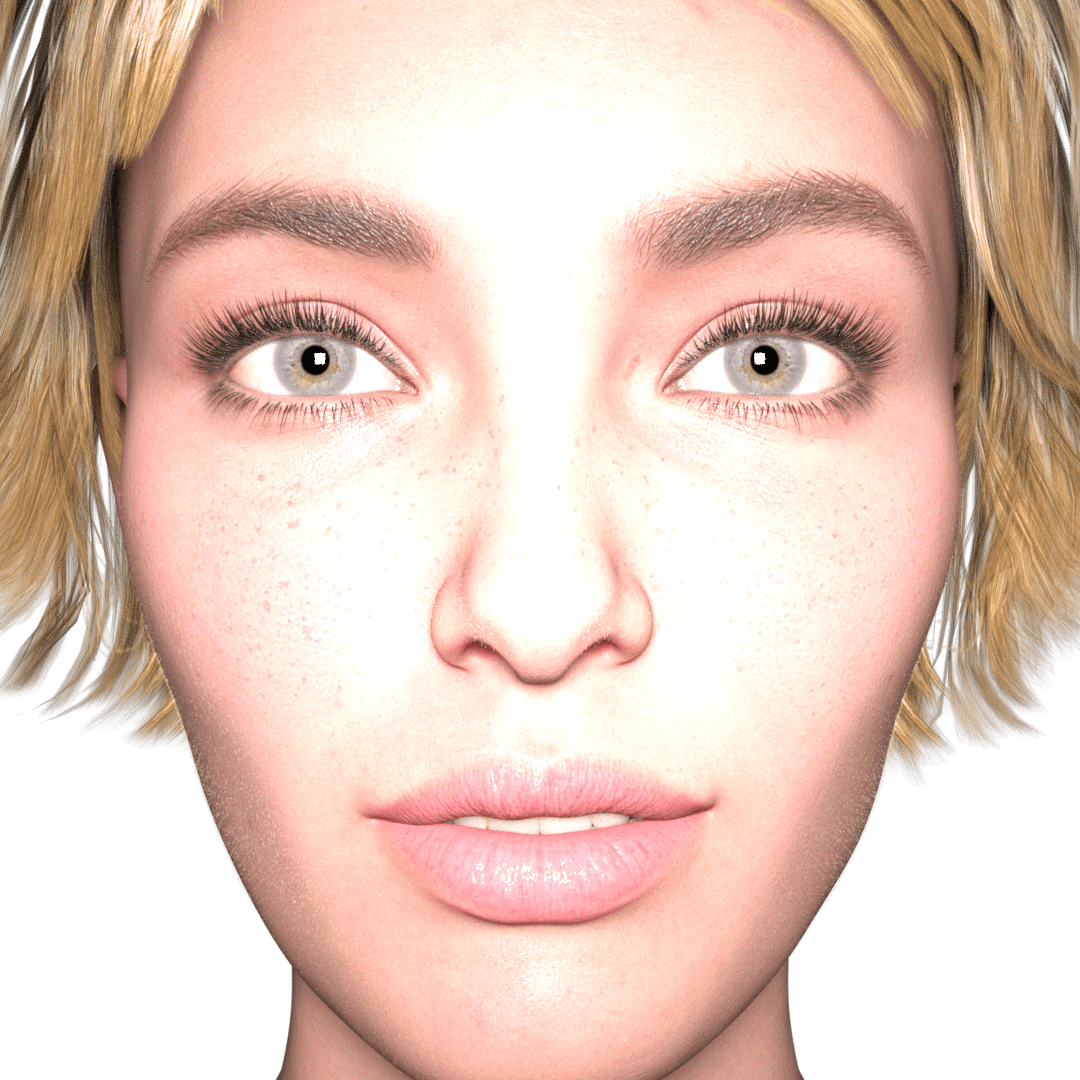
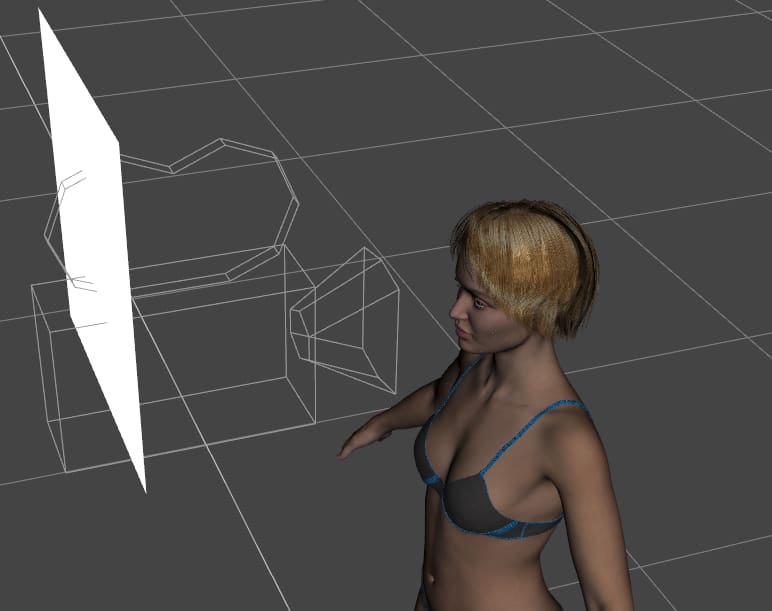
Light has been a bit too strong, but the main thing is that you can see the highlight in the eyes. Each eye has a white rectangle reflecting in it – that is the spotlight that I have set up.
The good thing about working with a light source is that there are settings that allow you to change how it will look. For example, you can change the Light Geometry and make it a big disk, instead of a smaller rectangle.

It is a good method, but probably not the best. As source lights can be a bit harder to control, to position them the right way and to give a proper highlight. That is why we are going to look into other ways.
Catchlight with Primitives
The next way of creating a Catchlight is by using Primitives. Primitives are simple objects that you can create by clicking on the “Create a New Primitive” button.

There are a bunch of different primitives that you can add, all have different geometry and purpose.
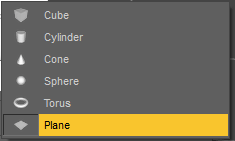
The best objects to use out of this list are: Cone, Sphere, Torus and a Plane. Cube and Cylinder just don’t have something unique for this task. But this does not mean that you can’t use them, if you have ideas.
Plane Catchlight
You may wonder, how a simple object can be a catchlight? It is better seen on an example, so let’s create a catchlight out of a Plane.
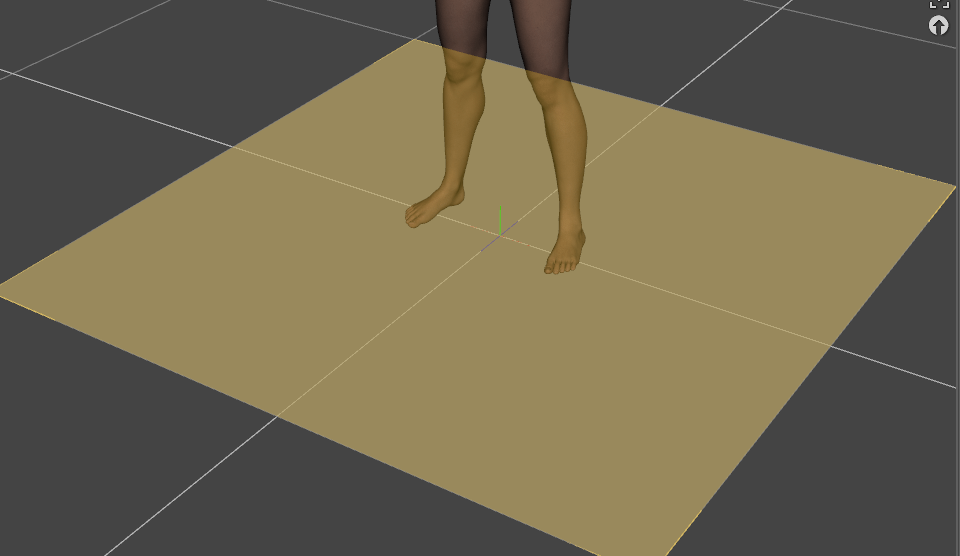
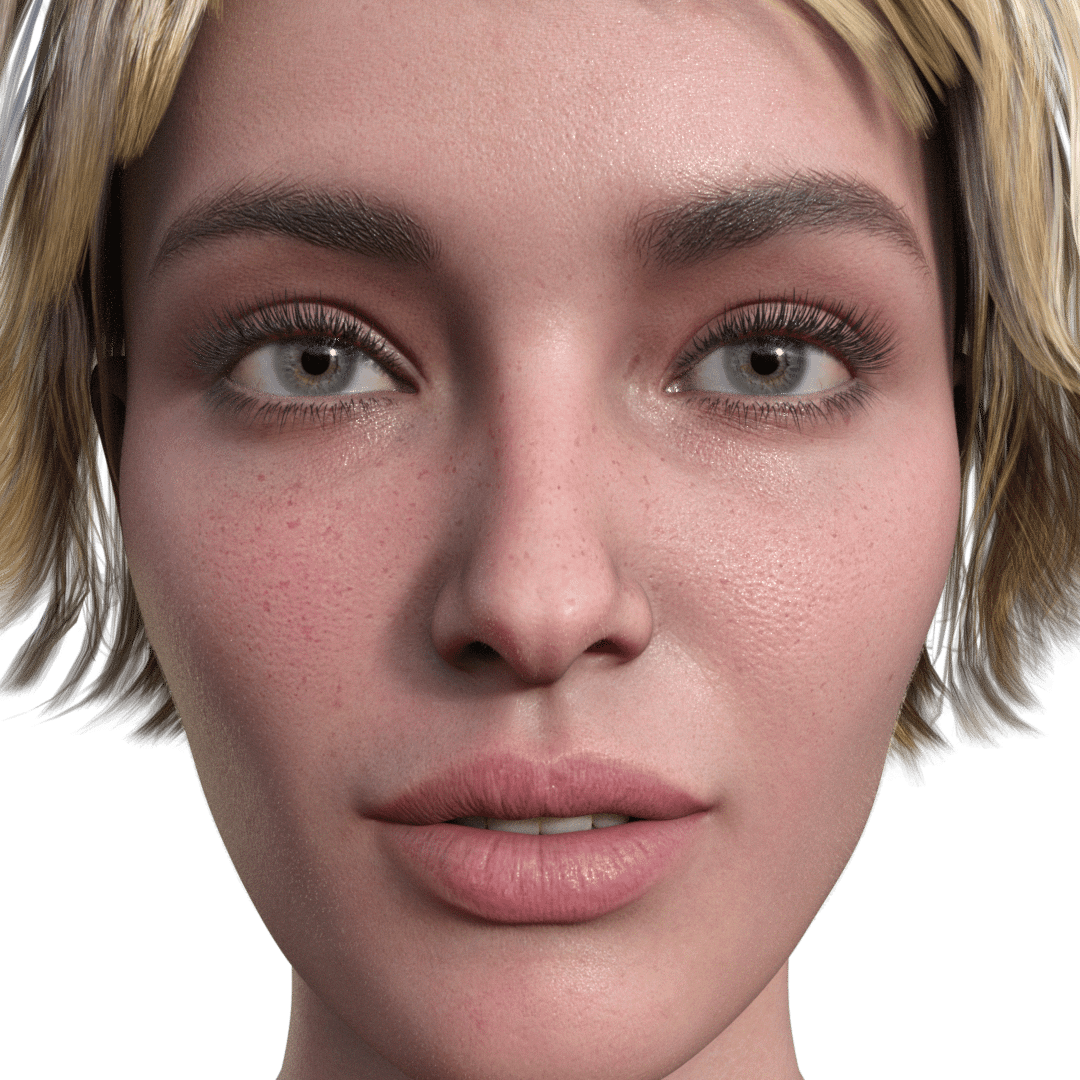
After adding a plane, we need to make it emissive. As to create highlights – we need some lighting. To do that, select an object and go to the Surfaces tab. In there find an Emission Color setting. Set it to any bright color. The white color is classic here, so I have set it to a simple pure white.
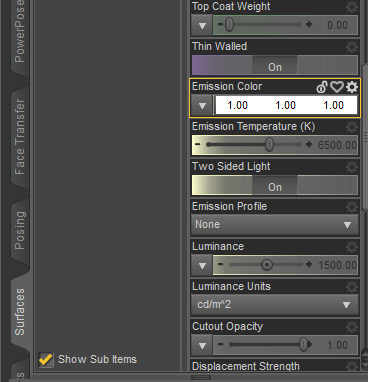
After that position an object in a way, so it would illuminate the character’s eyes. I have also scaled the plane to be much smaller. Same as with the light source, you also need to change the Luminance settings, as the default one is far too low.
On the render you can see that this worked just fine. Highlights are very clear and prominent, without creating too much light and oversaturating the image.
Torus Catchlight
Looking at the next object – Torus. Torus is a very fitting object, because it has a very popular real-world alternative – a ring light. You have probably seen it, as such catchlights are used by the popular internet influencers.
Torus in Daz Studio is very similar to the ring light, so can be used in the same way. The scene is basically the same as it was with the plane.
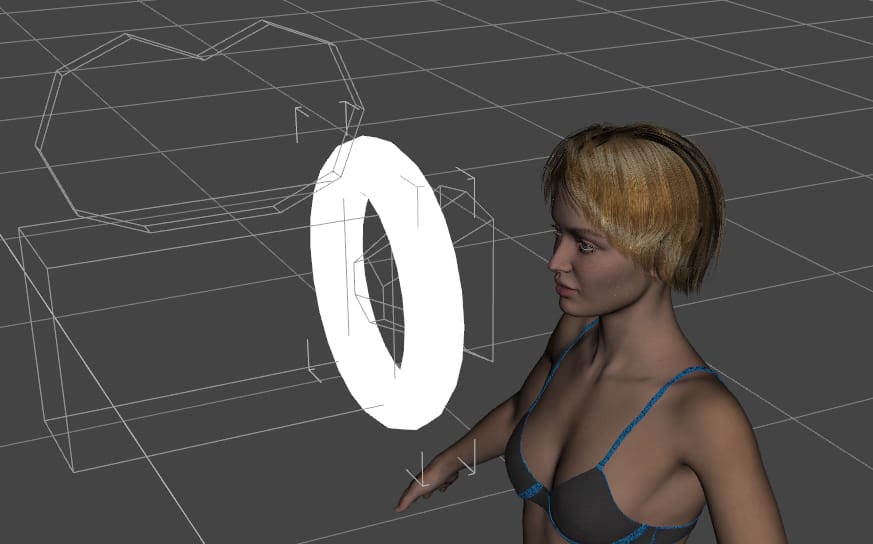
The torus is just a lot closer to the face, as it is how ring lights are usually used. On the render we can see that this created a very appealing look of ring-like highlights in the eyes.
Sphere Catchlight
Next is the Sphere object. Nothing particularly special about it. Setup is as always. Very similar to the Disc Spotlight, but with all the advantages of a Primitive.
Cone Catchlight
Cone is the most interesting shape out of the ones that we have in the Daz Studio. This allows for more creativity. The highlight created with a cone shape looks very unique.
And there are even more pros of using a cone that we will see a bit later.
Catchlight with HDRI
A completely different way of creating a catchlight from what we did previously is an HDRI. HDRI is an image that can be used as both your lighting source and as a background. We have an article if you want to learn more about that – Daz3d HDRI Tutorial: What It Is and How to Use.
HDRI is nice for creating catchlights because it is easy to use and not very demanding. Even the default built-in image can be used as a Catchlight.
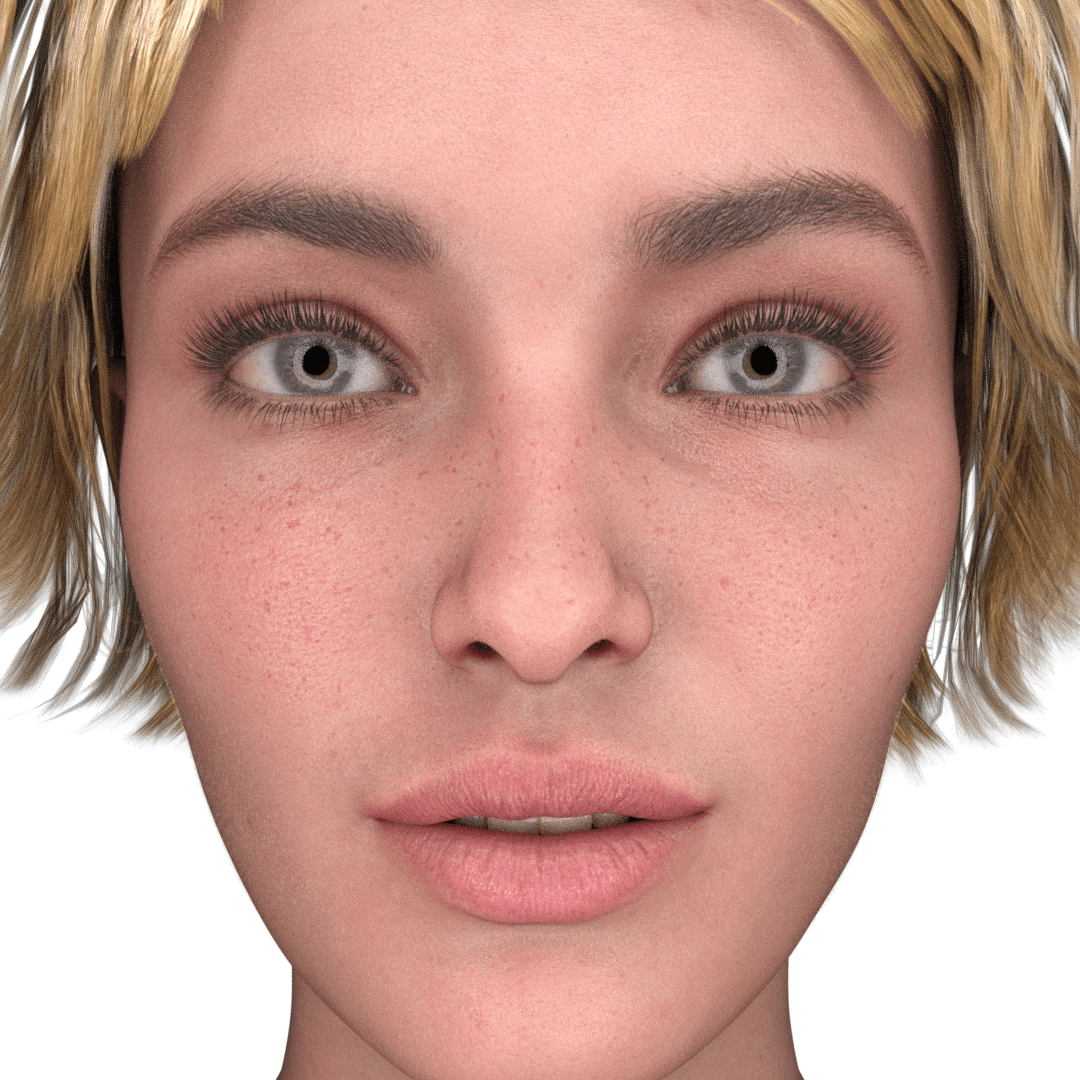
Render with the default Environmental Map
Though it is not very prominent, it is to be expected, as this HDRI is not the best. Using the internet you can find a lot of HDRI’s for different purposes. For example, I have found this image on the HDRIHaven:
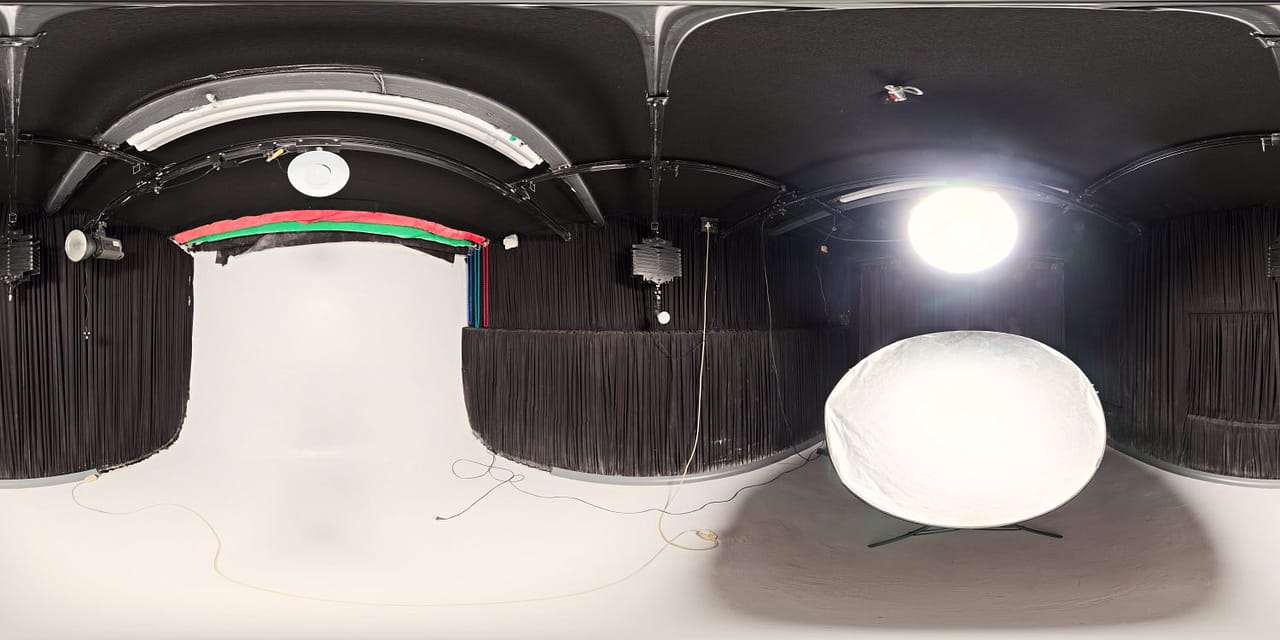
Source Studio Small 05
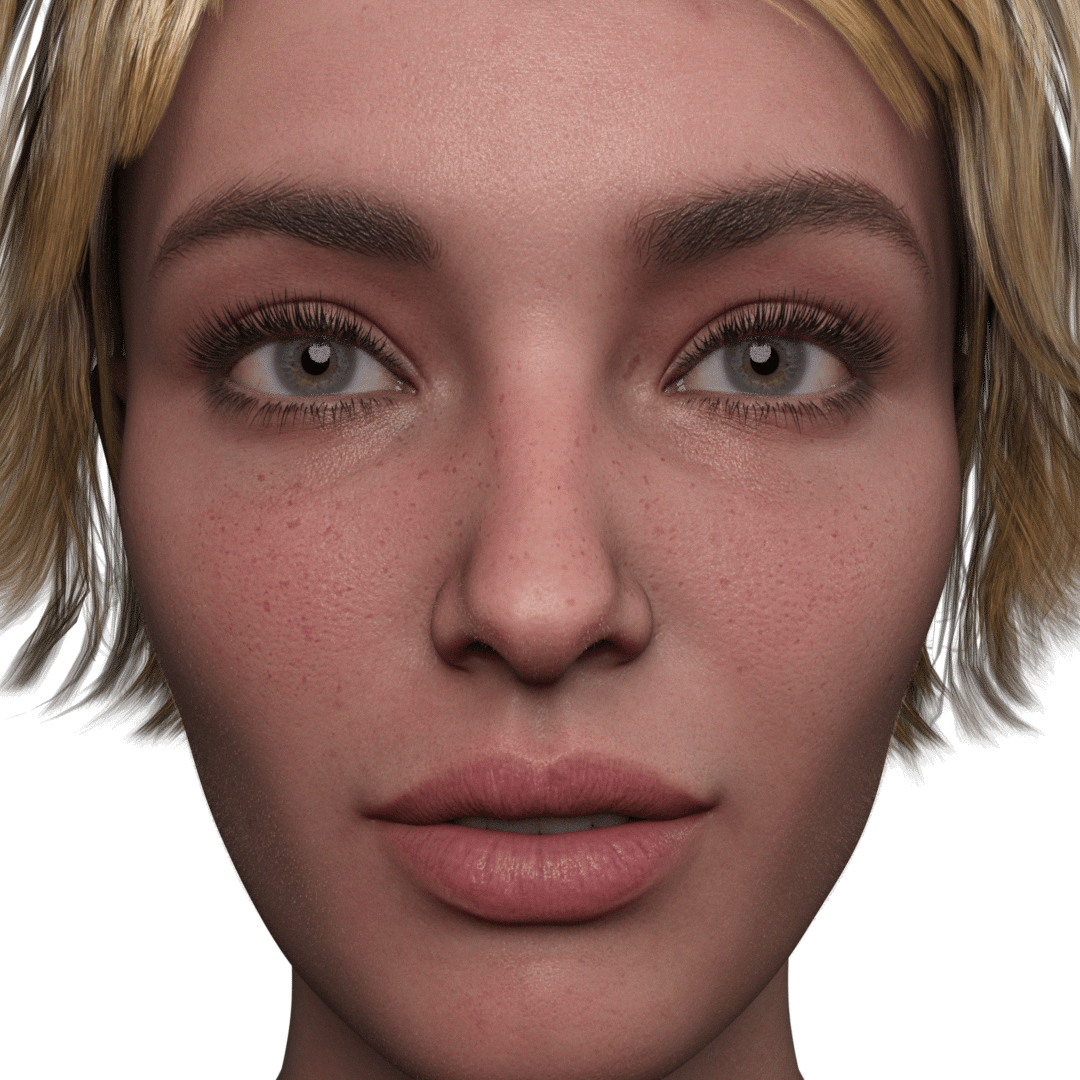
This is a real-life picture of a studio with the lighting set up and a real catchlight ready. So using this image as my Environmental Map – I can render a very nice lit portrait without setting up anything myself.

Render is very nice. It is lit nicely, the character looks good and there is a clear highlight visible in the eyes. All that from adding just one Environmental Map and nothing more. That is why using an HDRI can be so awesome. By changing so little yourself, you can change a lot about your scene.
Daz3D Catchlight Settings
Let’s talk more about what you can do to change how your catchlight feels and looks. The obvious thing is that you can change the light temperature and light intensity to make it look different. But when you are working with primitives – you can do more than that.
For example, while working with a cone – you can move and rotate it a bit to create a more unique render.
Also you can change the Cutout Opacity in the Surfaces editor to make it see-through.
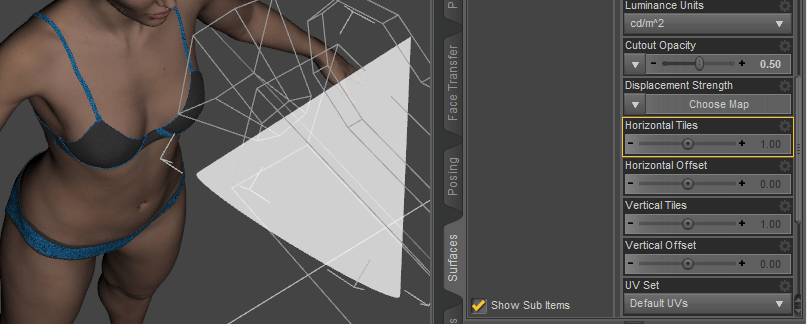
It is something that you can’t really do with real-world lighting. But it can make your catchlight more interesting, as the highlight in the eyes will be see-through too.
This can create a very unique portrait scene.
Daz3D Catchlight Image
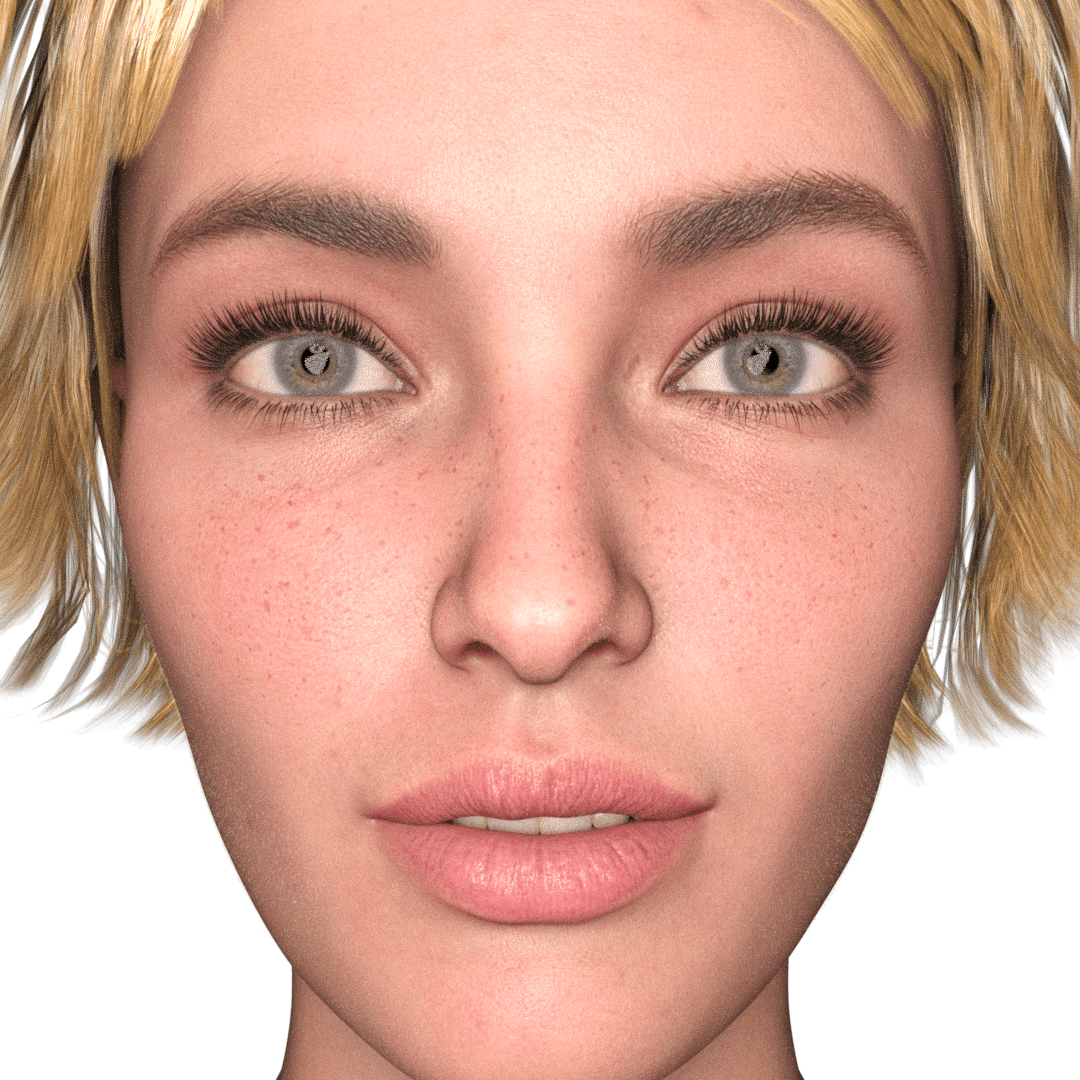
There is one more huge advantage in using primitives as your catchlight. It is that you can use an image as your Emission Map. This is best done on a plane. Firstly select it, go to the Surfaces tab, find an Emission Color there and click on the arrow > Browse.

In the appreadred window you will need to select the image that you want. It would be best if this image has a high contrast. Some parts of the image should be brighter than others to create highlights. I have used a long-exposure photo of different lights.

My figure now has some rainbow highlights in their eyes. Which draws a lot of attention to them and looks beautiful. This method is very similar to the HDRI, but instead of lighting your whole scene with a single image – you can just use an image to create a catchlight and nothing more.
Daz3D Catchlight Products
To enhance your experience and help you with catchlights – you can resort to looking for products on the Daz3D shop.
For example, you can find a set of lighting for creating a good portrait that includes catchlights in itself. Like LI Incandescent – Portrait Lighting for Iray by Laticis Imagery. It has everything you need to set up a lighting for your character’s portrait.
Source LI Incandescent – Portrait Lighting for Iray by Laticis Imagery
Or a Promo Style Catch Lights for Iray by Daz Originals & ForbiddenWhispers. It is another set of 25 presets for portrait lighting. And of course these presets contain some perfect catchlights.
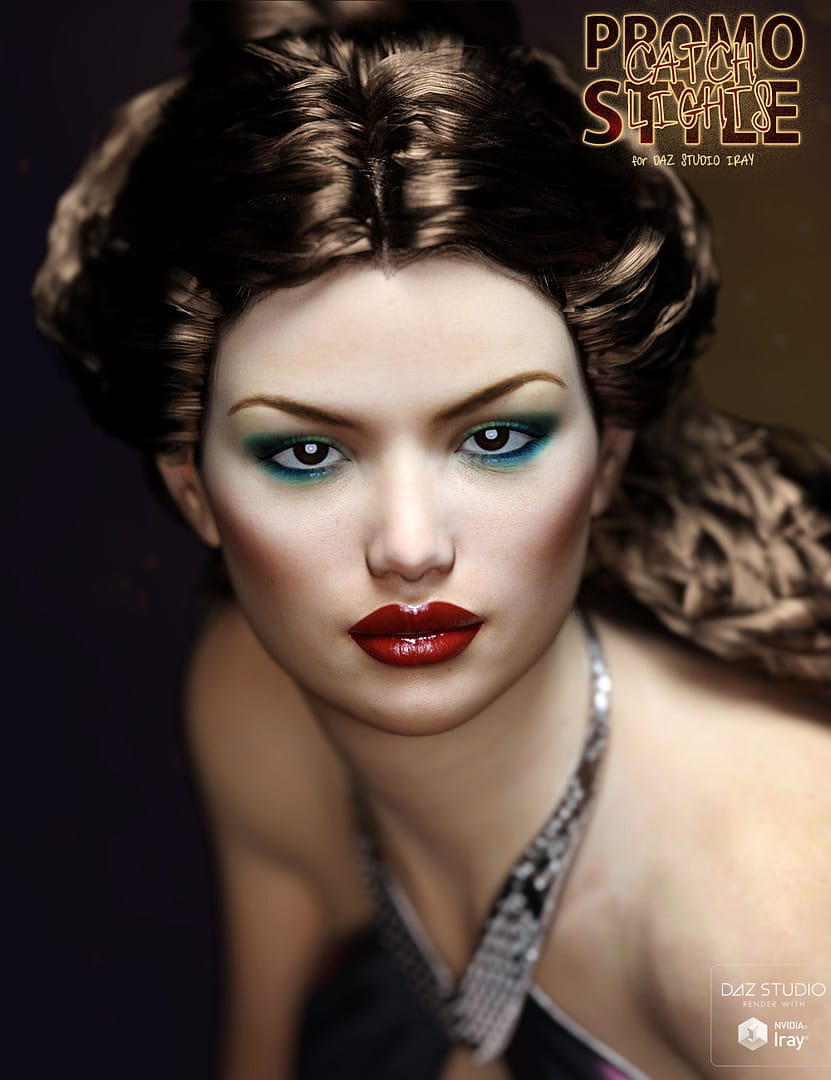
Promo Style Catch Lights for Iray by Daz Originals & ForbiddenWhispers
The market is also a good place to find some good HDRIs for your renders. The HDRI PhotoShoot by Daz Originals & joelegecko is a freshly made collection of HDR images. Some of which will definitely have good catchlights set up for you.
The HDRI PhotoShoot by Daz Originals & joelegecko
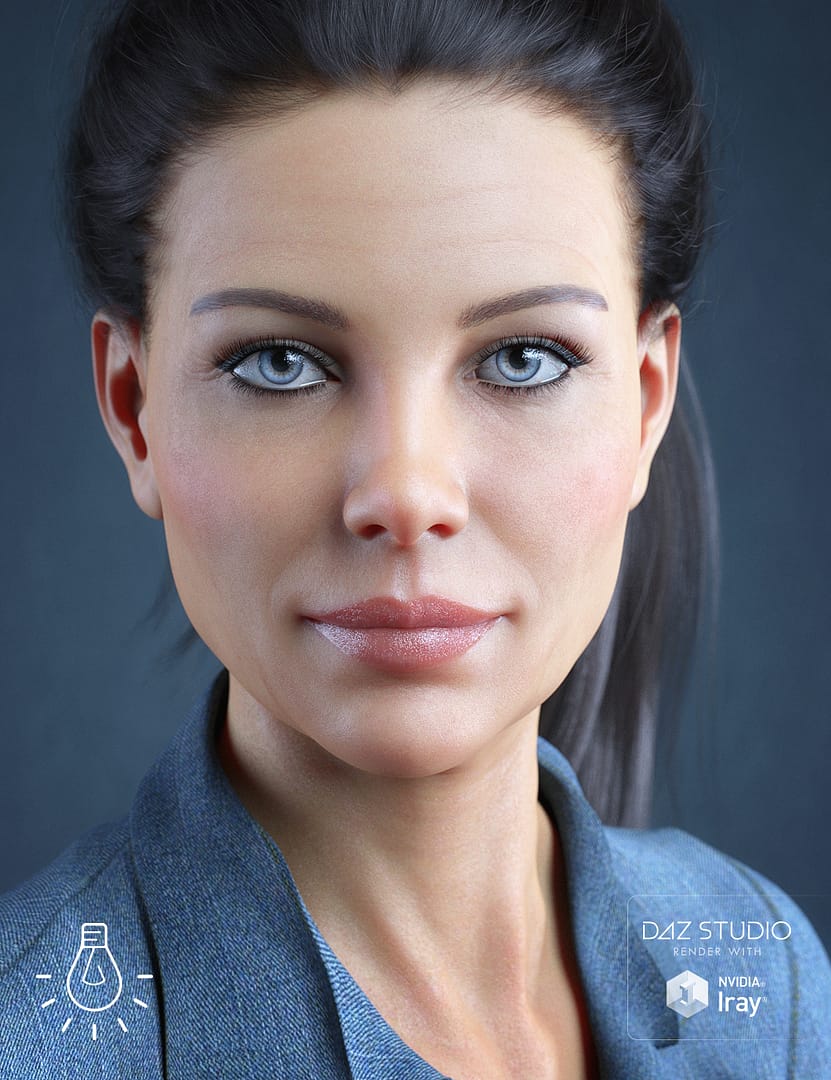
But don’t forget that to properly work with a catchlight, your character should have some beautiful eyes. So it would be a good idea to get a figure like a Jessamy HD for Genesis 8 Female by Daz Originals & Mousso. It has HD textures and materials that will enhance the highlights in the eyes even more.
Jessamy HD for Genesis 8 Female by Daz Originals & Mousso
Conclusion – Daz3D Catchlight Tutorial
That is the end of our Daz3D Catchlight tutorial. A well set up catchlight will increase the appeal of your character momentarily. It is a very fine and strong technique that is basically a must if you plan to create a portrait render. But even in other kinds of renders it can work wonders.