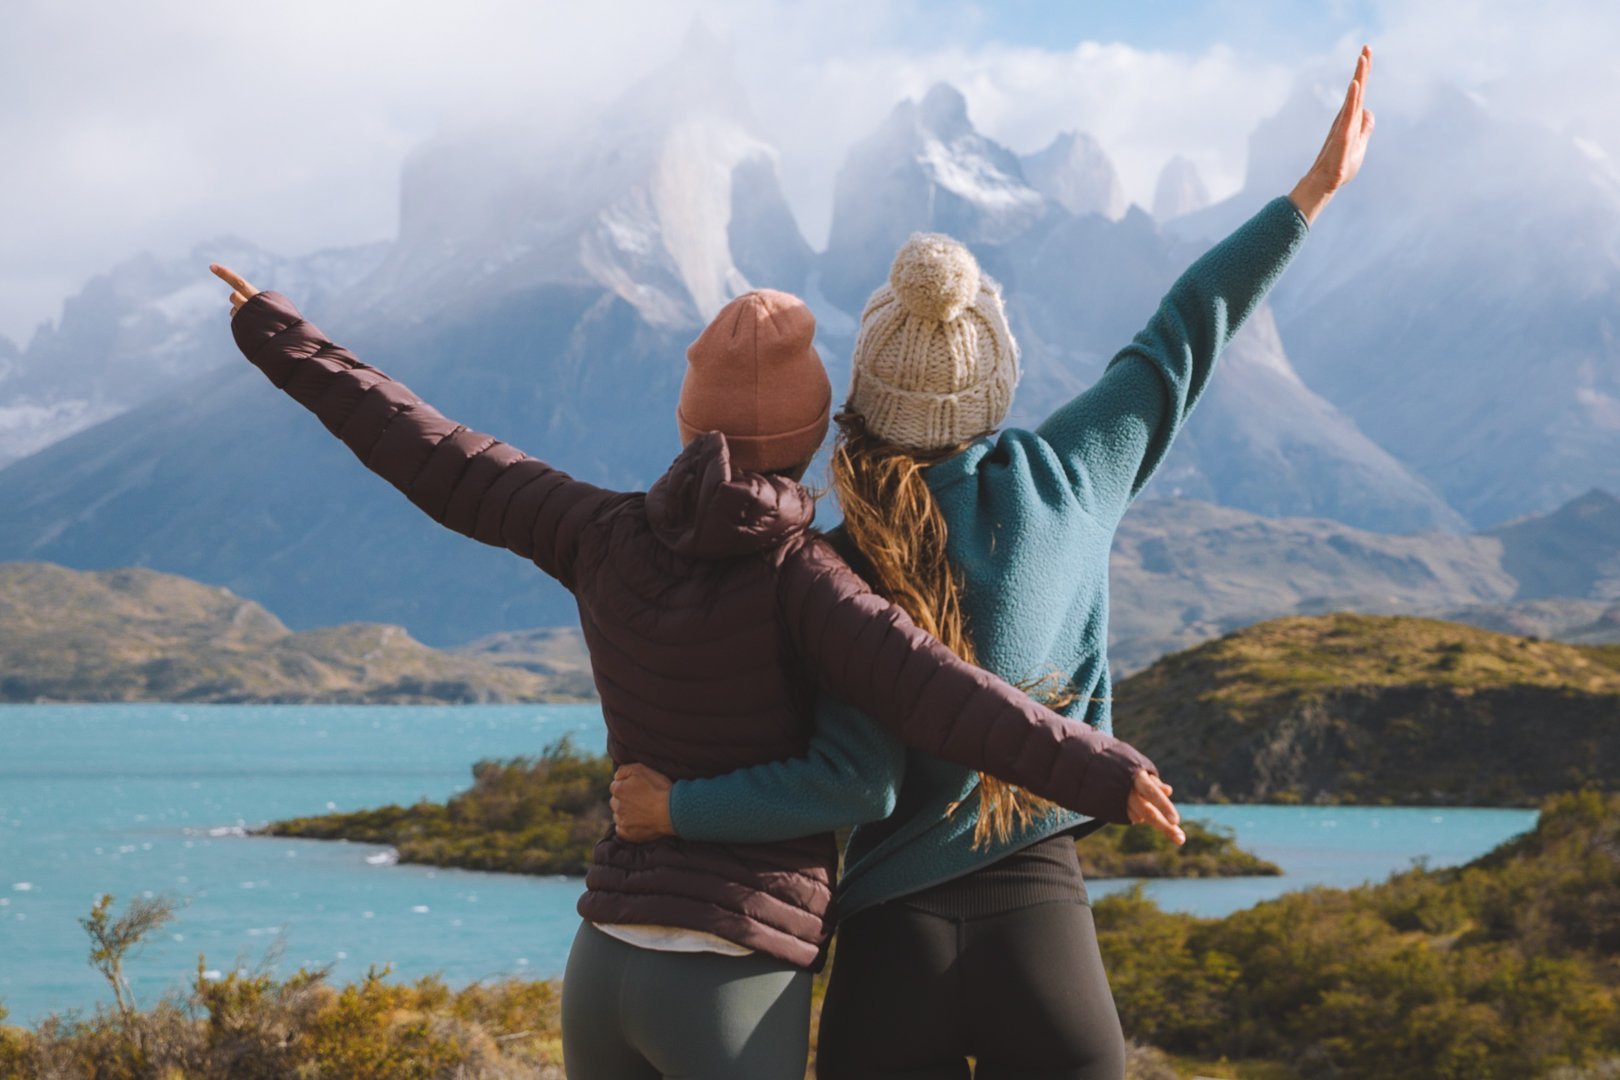
a dozen views in Torres del Paine, Patagonia

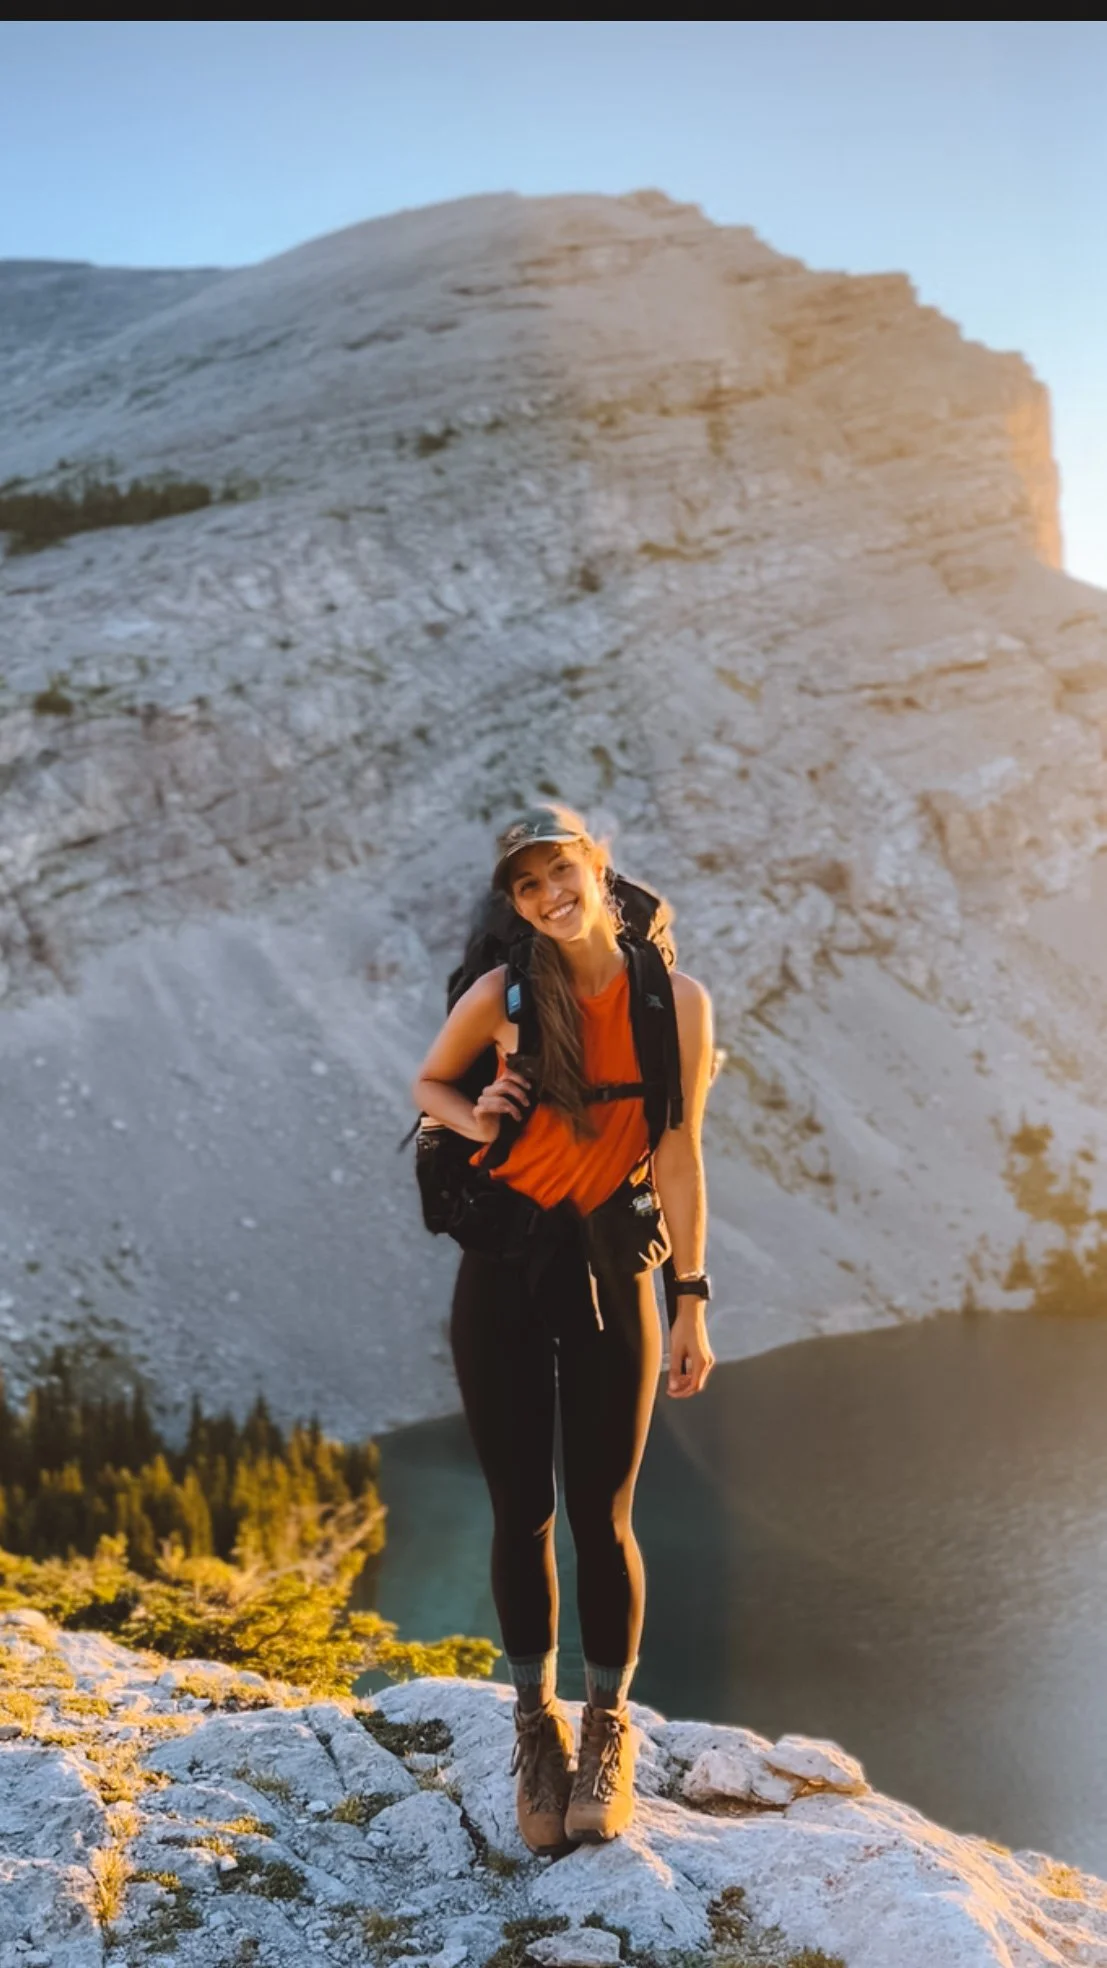
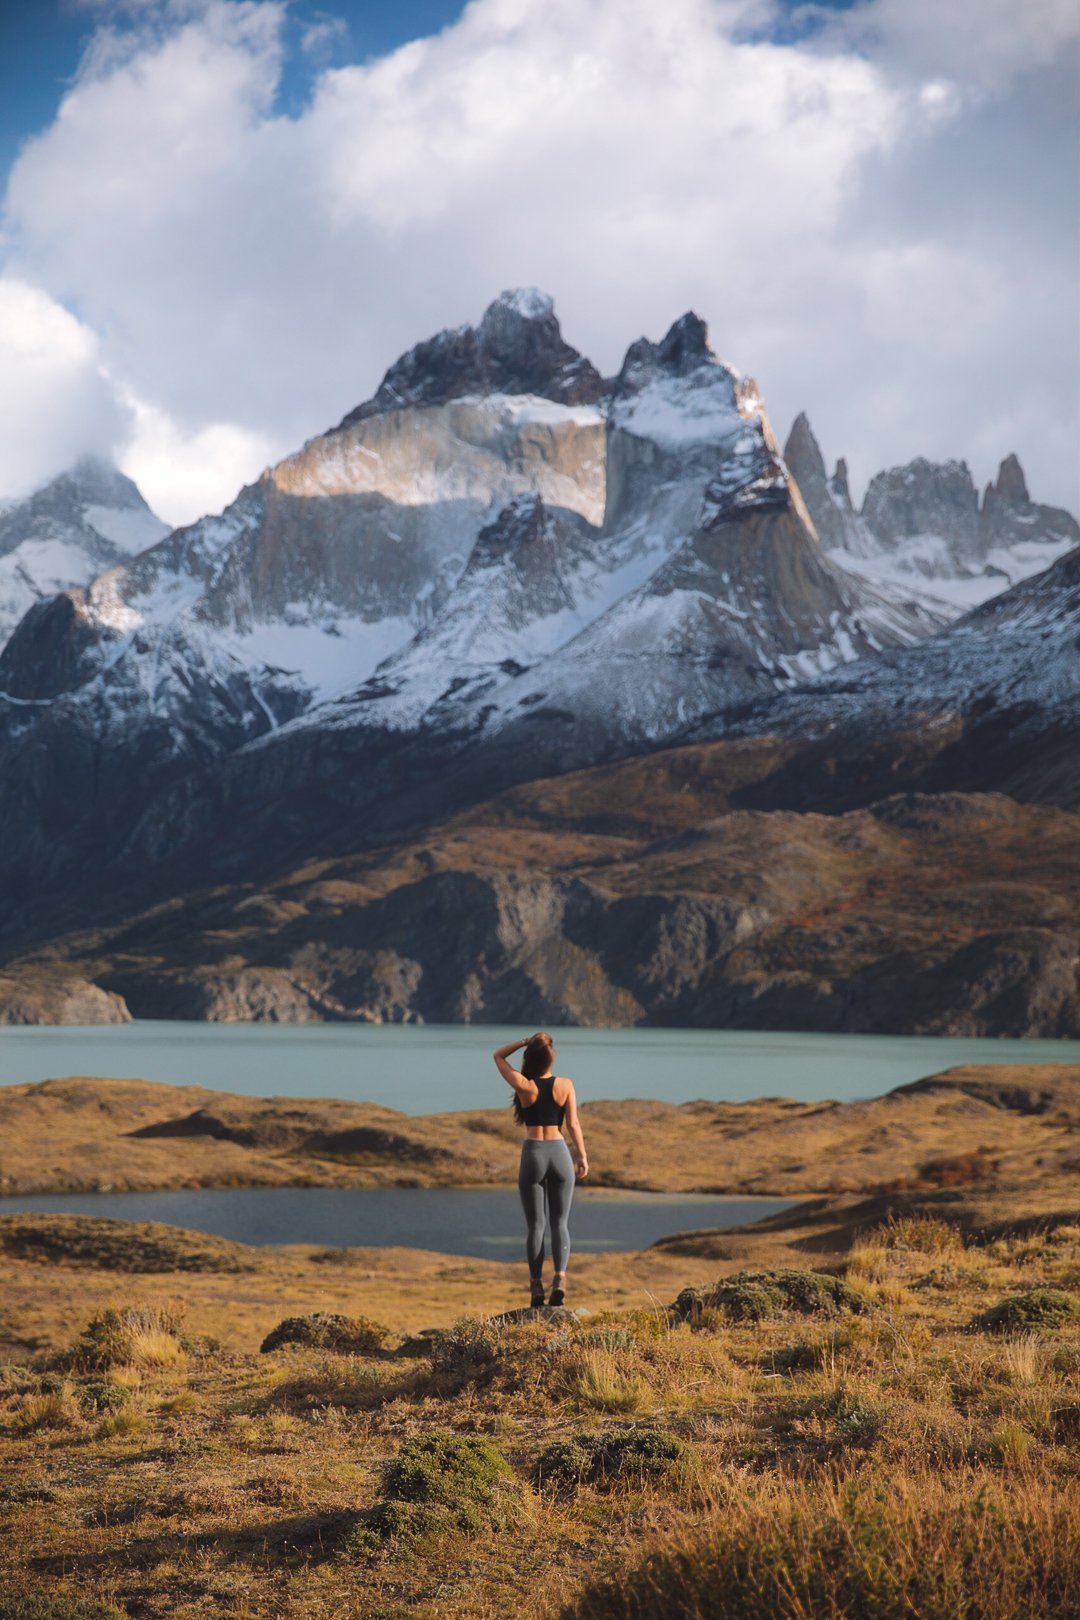
I rank Patagonia in my top three hiking destinations of the world alongside the Canadian Rockies and the European Alps. I first visited in April of 2018 with my sights on the infamous W-Trek but poor weather conditions so late in the season made the trek impossible. We spent a lot of time in Torres del Paine National Park driving around, taking short hikes and fighting the wind (and rain and snow). With the borders slowly opening up I returned this year (February/March 2022) with a vengeance. I solo hiked the back side of the O-Trek (blog coming soon) and then met up with my good friend Jess Dales to hike the W together.
If your sights are set on Chilean Patagonia - read on. I have compiled a list of my 12 favourite vantage points from my six weeks spent in Chilean Patagonia. These can be done in addition to the W/O/Q Treks (a few do overlap) or as independent day adventures.
Before entering the park you will need to purchase a park pass from CONAF online here. There is no wifi at the entrance and I have heard of people being turned around back to Puerto Natales to purchase a park pass and return. So ensure you purchase a pass online and have your QR code ready.
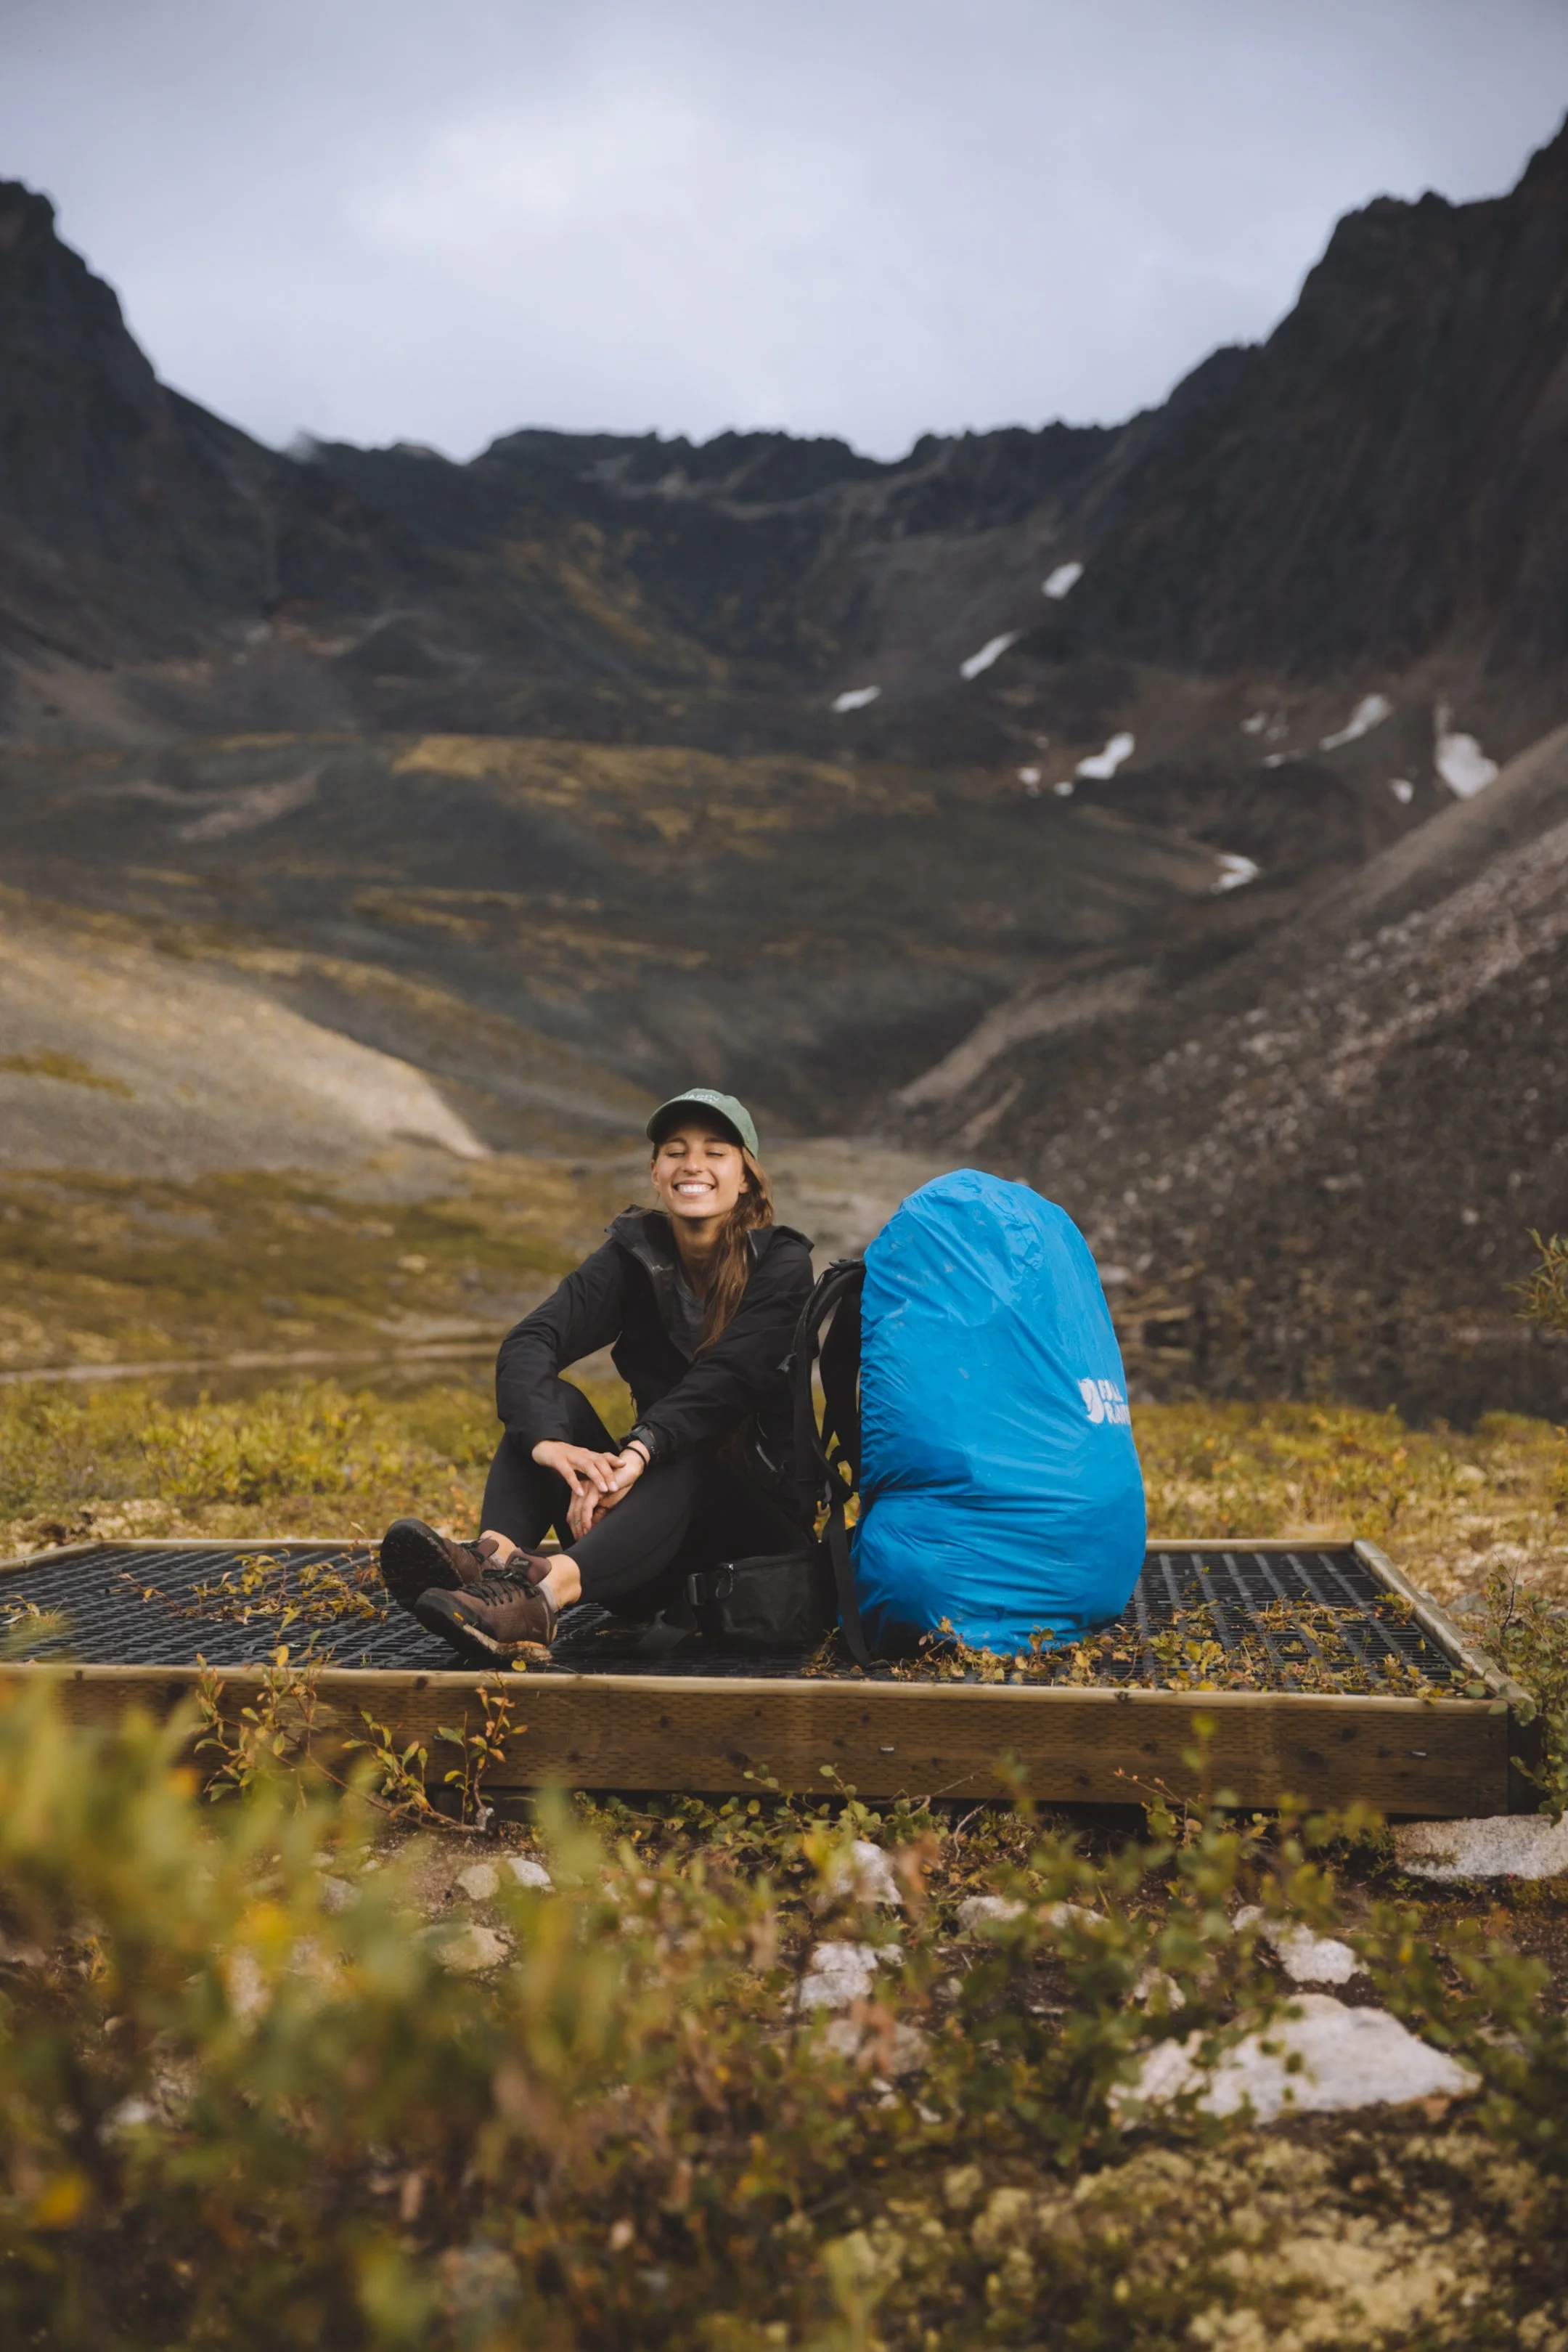
Thank you to Michael Matti, Jess Dales, Carrie MacLean and Hannes Becker for your help with images in this blog.
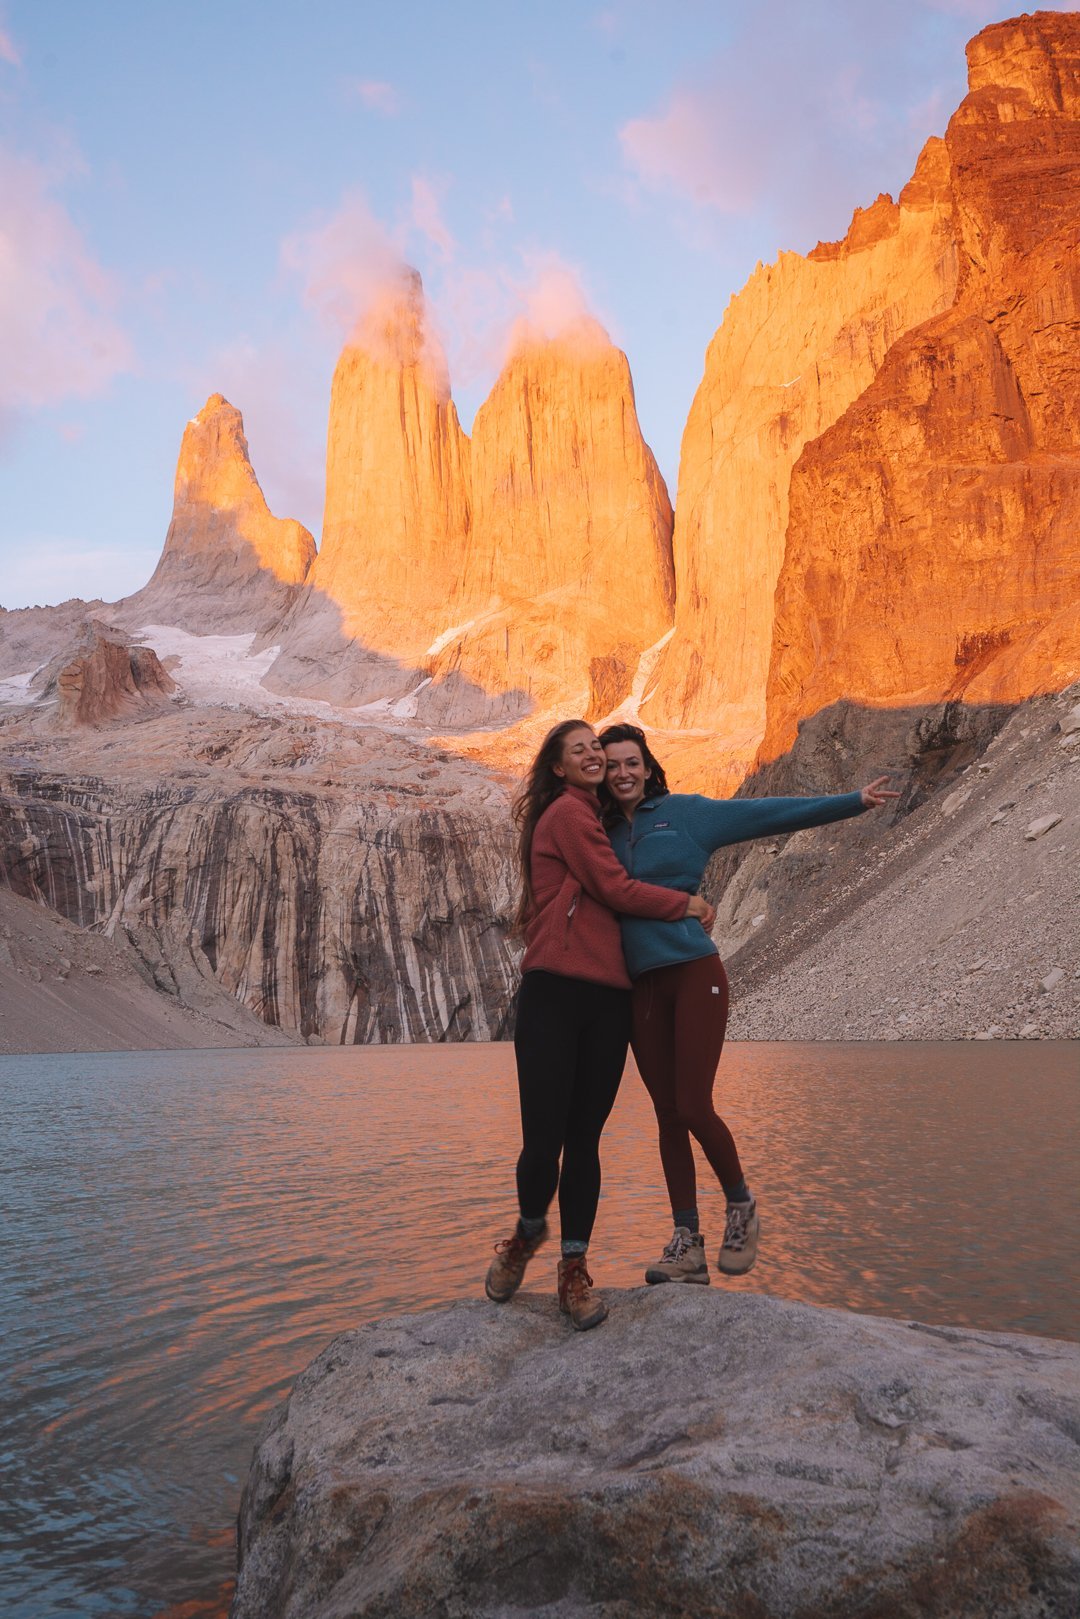

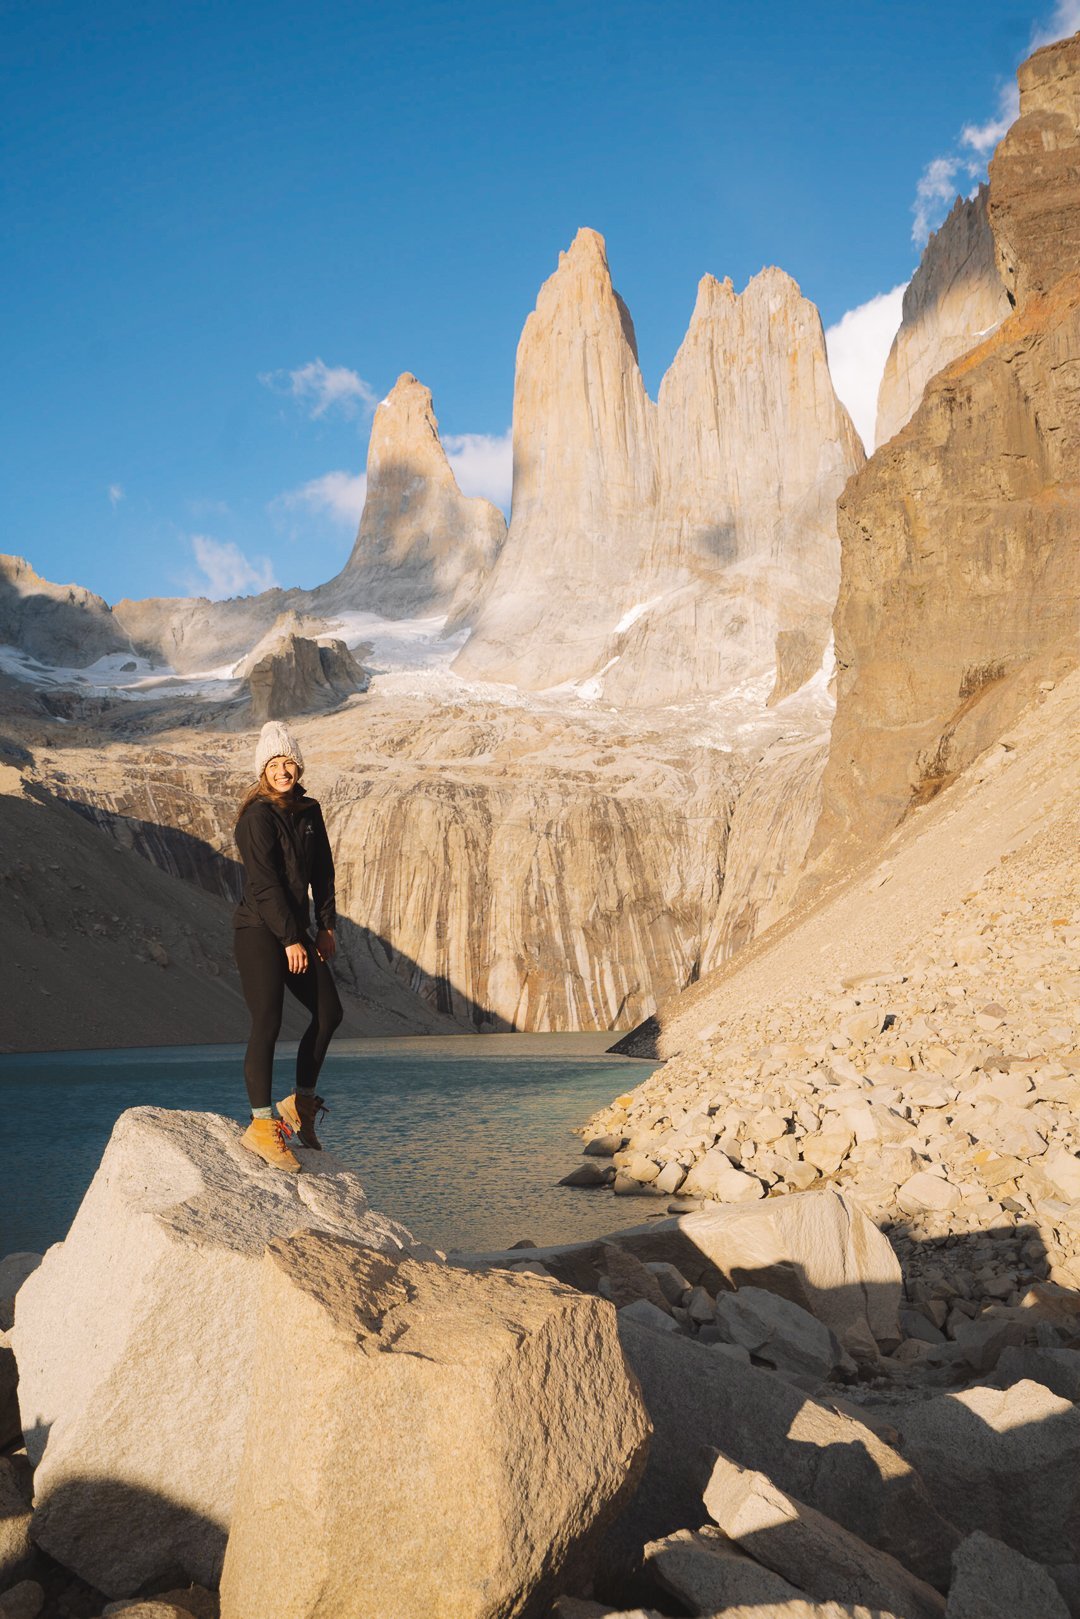
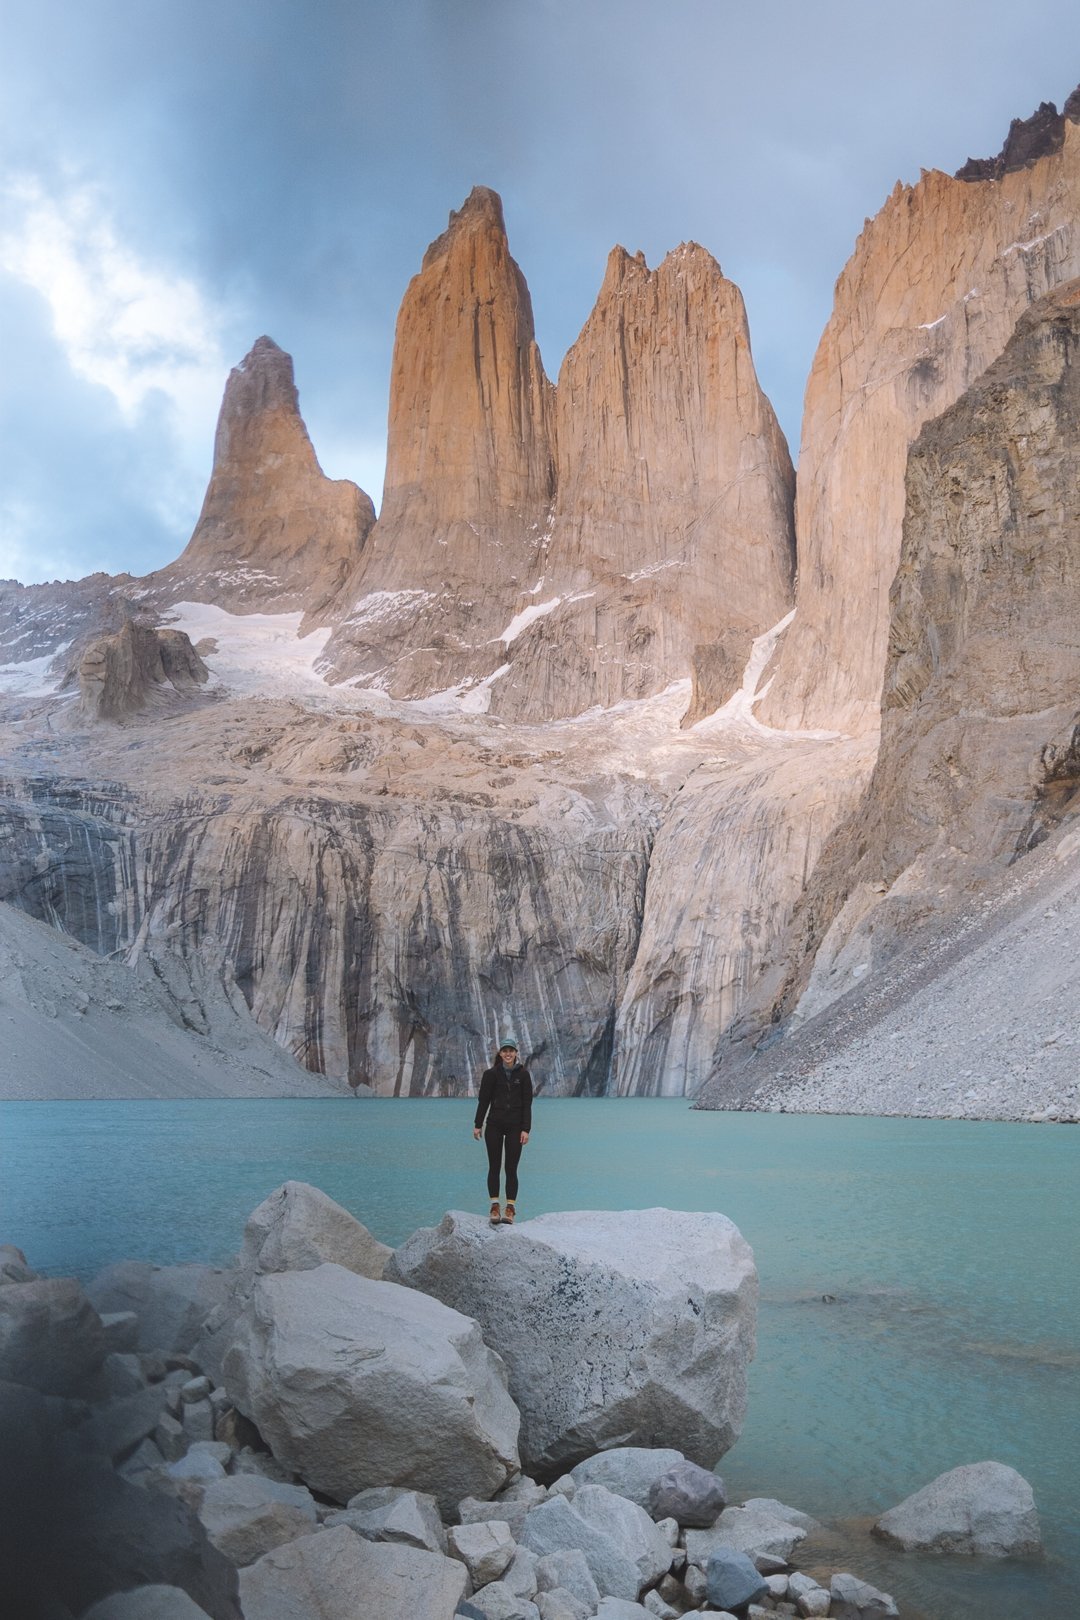
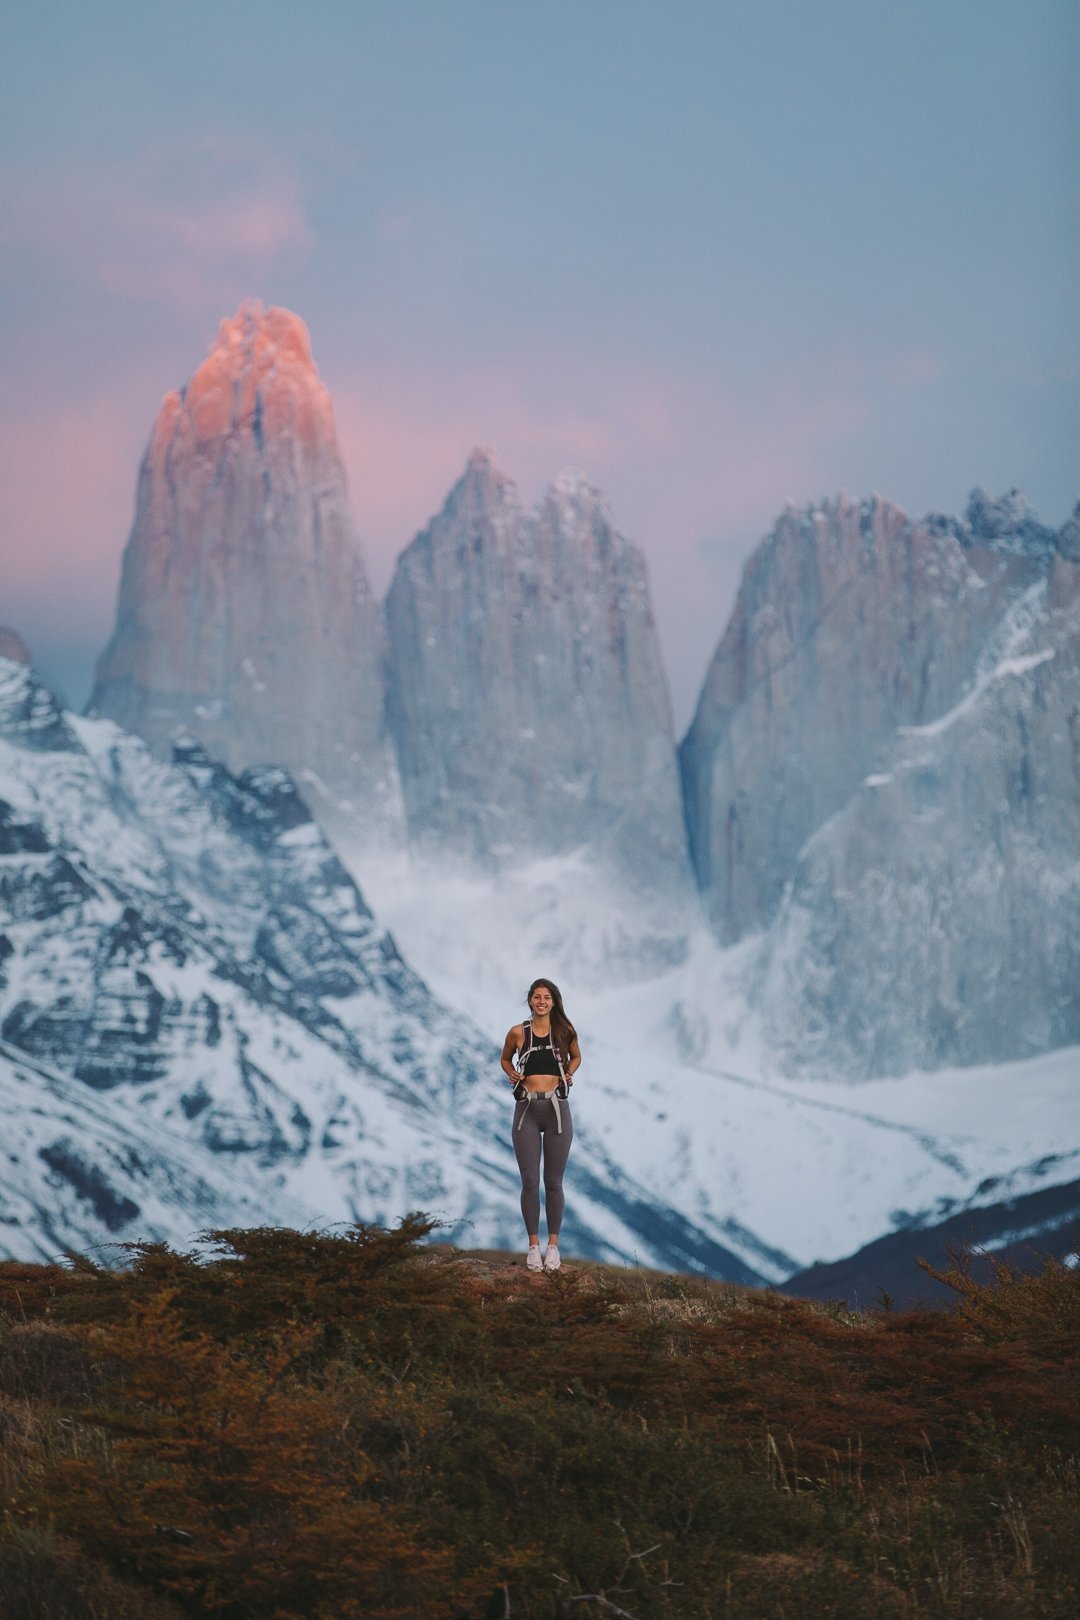
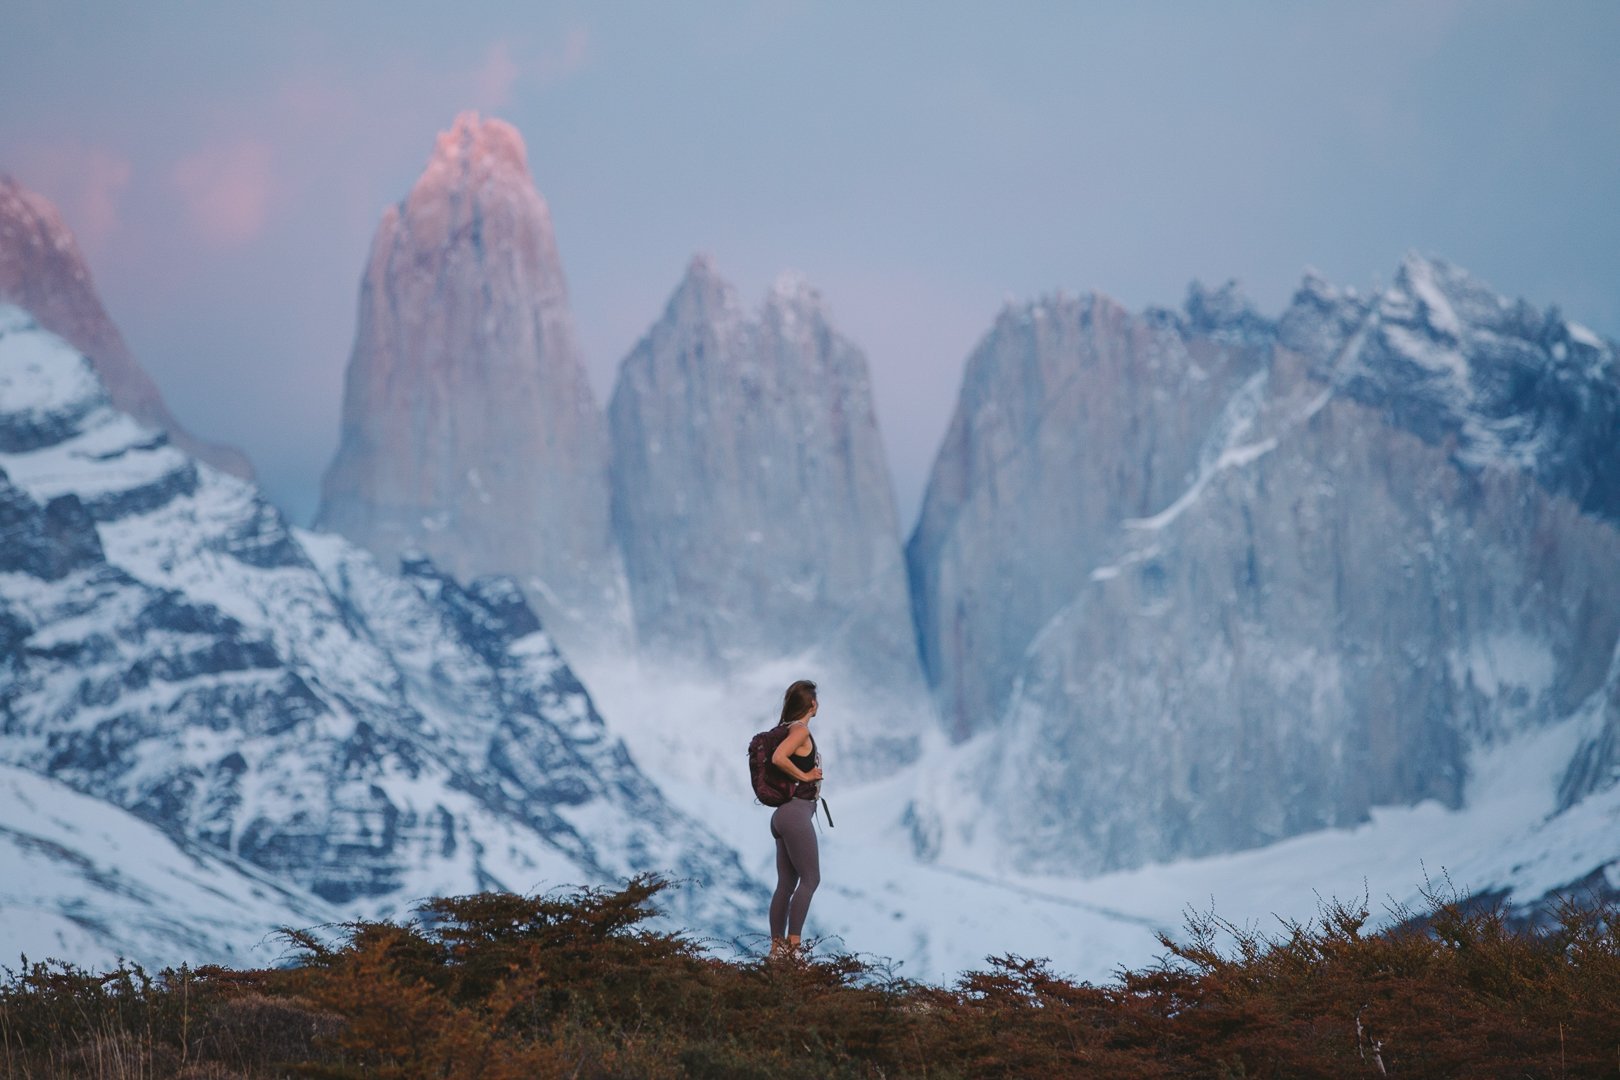
1. Hike to the base of the towers for sunrise
Distance: 12.46mi/20km RT
Elevation gain: 3,451ft /1,052m
Route type: out & back
Difficulty: Hard
More information: All Trails
Starting with the most popular. Hiking to the base of the towers is no easy feat. It is a short but steep trip up from the visitor’s centre - I recommend an early start -between 3 and 4am to reach the base of the towers for sunrise, but as long as you leave before 8am you should miss the crowds from the tour busses. There are several hotels at the base of this hike as well as one campground and a Refugio (akin to a hostile). As well, nearly half way up there is another Refugio offering camping that you can book into which would make the morning hike start a little bit later.
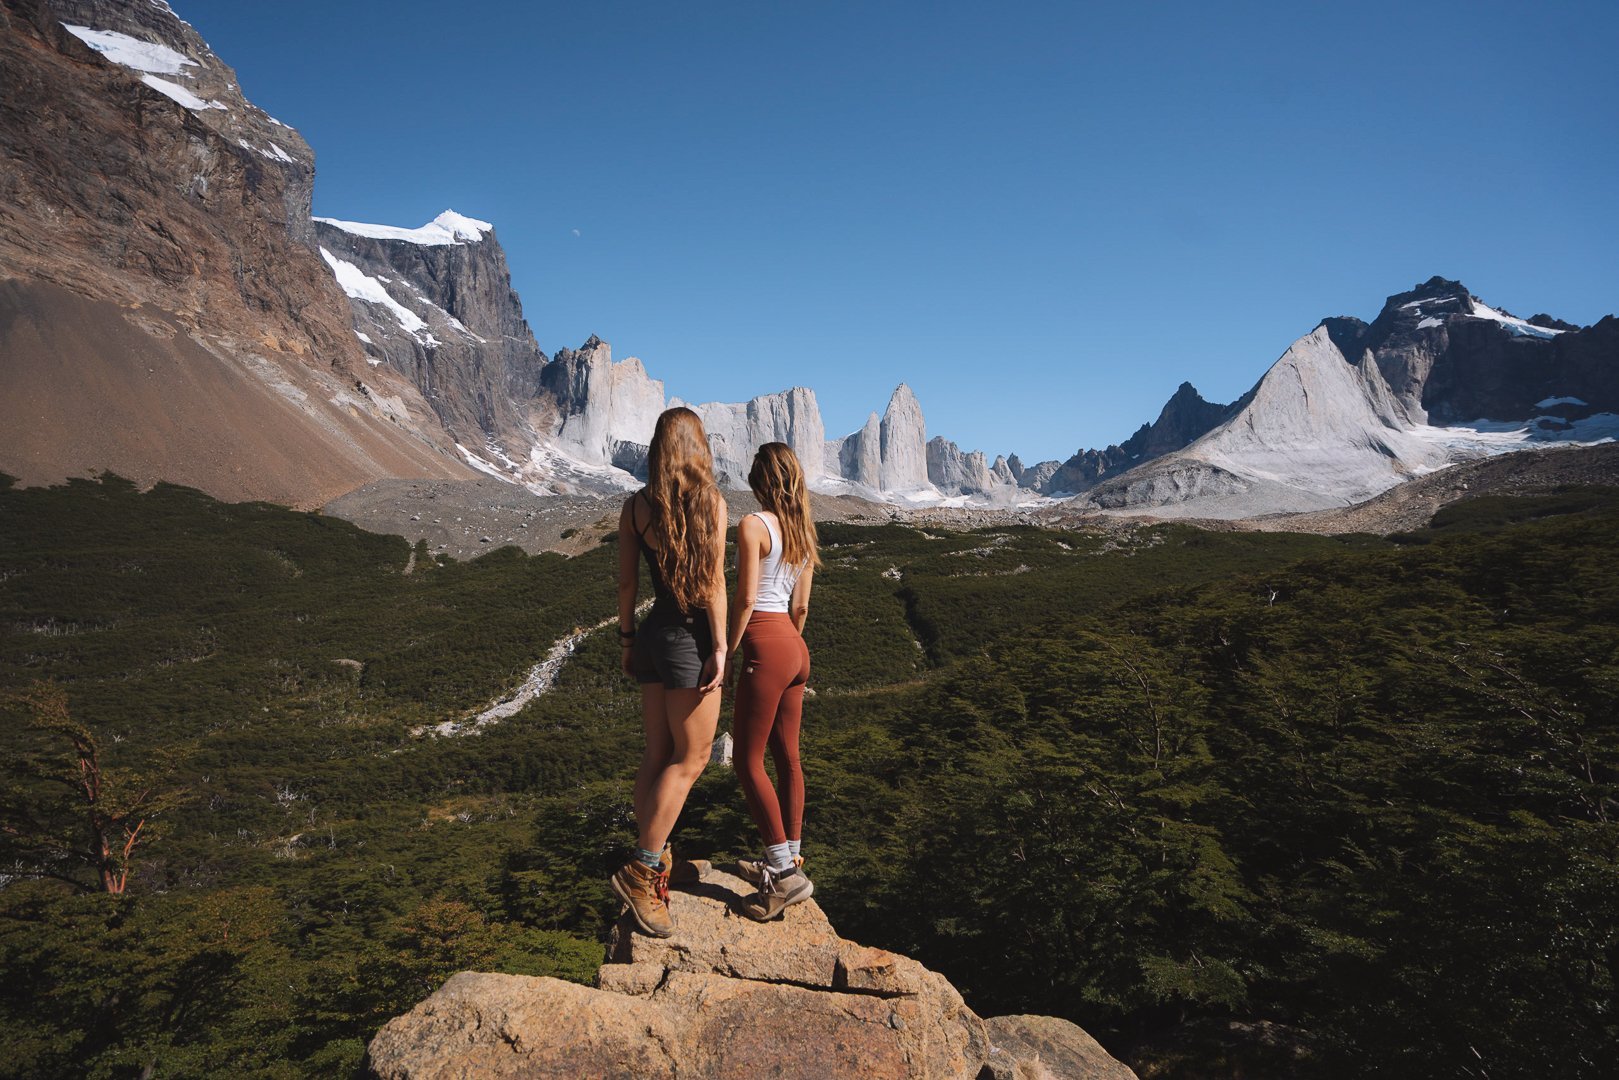
2. Hike the French Valley (Mirador Británico and Frances)
Distance: 6.38mi/10.27km RT from CONAF Italiano // 15.66mi/25.2km RT from Campground Paine Grande
Elevation: 2,224ft/678m // 2,949ft/899m
Route Type: out & back
Difficulty: moderate (possibly difficult as a day hike because of distance)
More Information: Here and Here
The longest hike on my list - this is the middle branch of the W-Trek (there is space for backpackers to leave their heavy packs at the CONAF Italiano campground and hike up with only a daypack or nothing at all). If camping is not in your plans, there is a Refugio at Paine Grande with a full restaurant that you can start and end at, or alternatively take the Pehoe Catamaran to and from Paine Grande Campground/Refugio - the sailing times vary but you can find them here.
We began at Paine Grande and in retrospect wish that we had started before sunrise to catch first light on the French Glacier. This hike is absolutely beautiful and I highly recommend hiking all of the way to the end (Mirador Británico). A lot of hiker’s said that this was their favourite part of the entire W-Trek (including the base of the towers and Glacier Grey).
*Note that the catamaran will be mandatory if you are not hiking the W-Trek and that this hike as a day trip (without a night at Paine Grande) may not be possible.
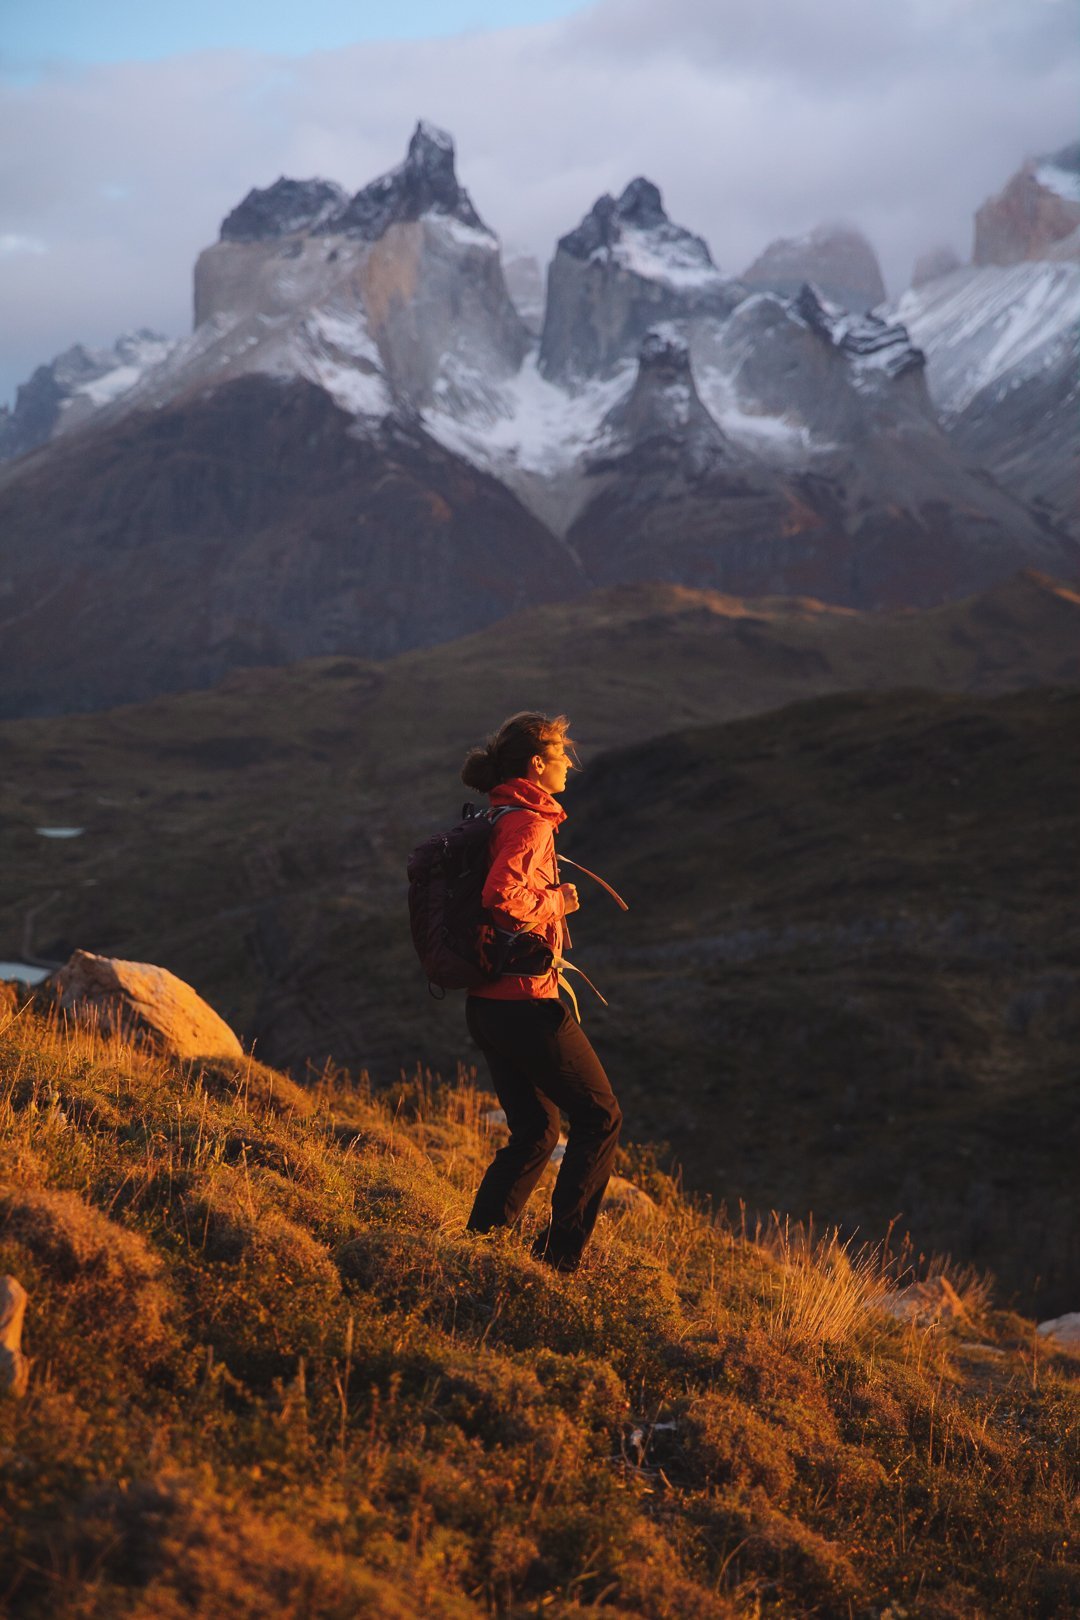
3. Hike mirador condor for sunrise
Distance: 1.43mi/2.3km RT
Elevation: 629ft/189m
Route Type: out & back
Difficulty: easy
More Information: All Trails
This is my favourite short hike on the list. It is short and a little bit steep (and was one of the windiest sunrises of my life), but watching The Horns light up was a high point of my 2018 visit to Torres del Paine. You do not need expert navigation skills but I downloaded the app maps.me to help with this (and make sure to save the offline map as there is no service/wifi in the National Park)

Image by Hannes Becker
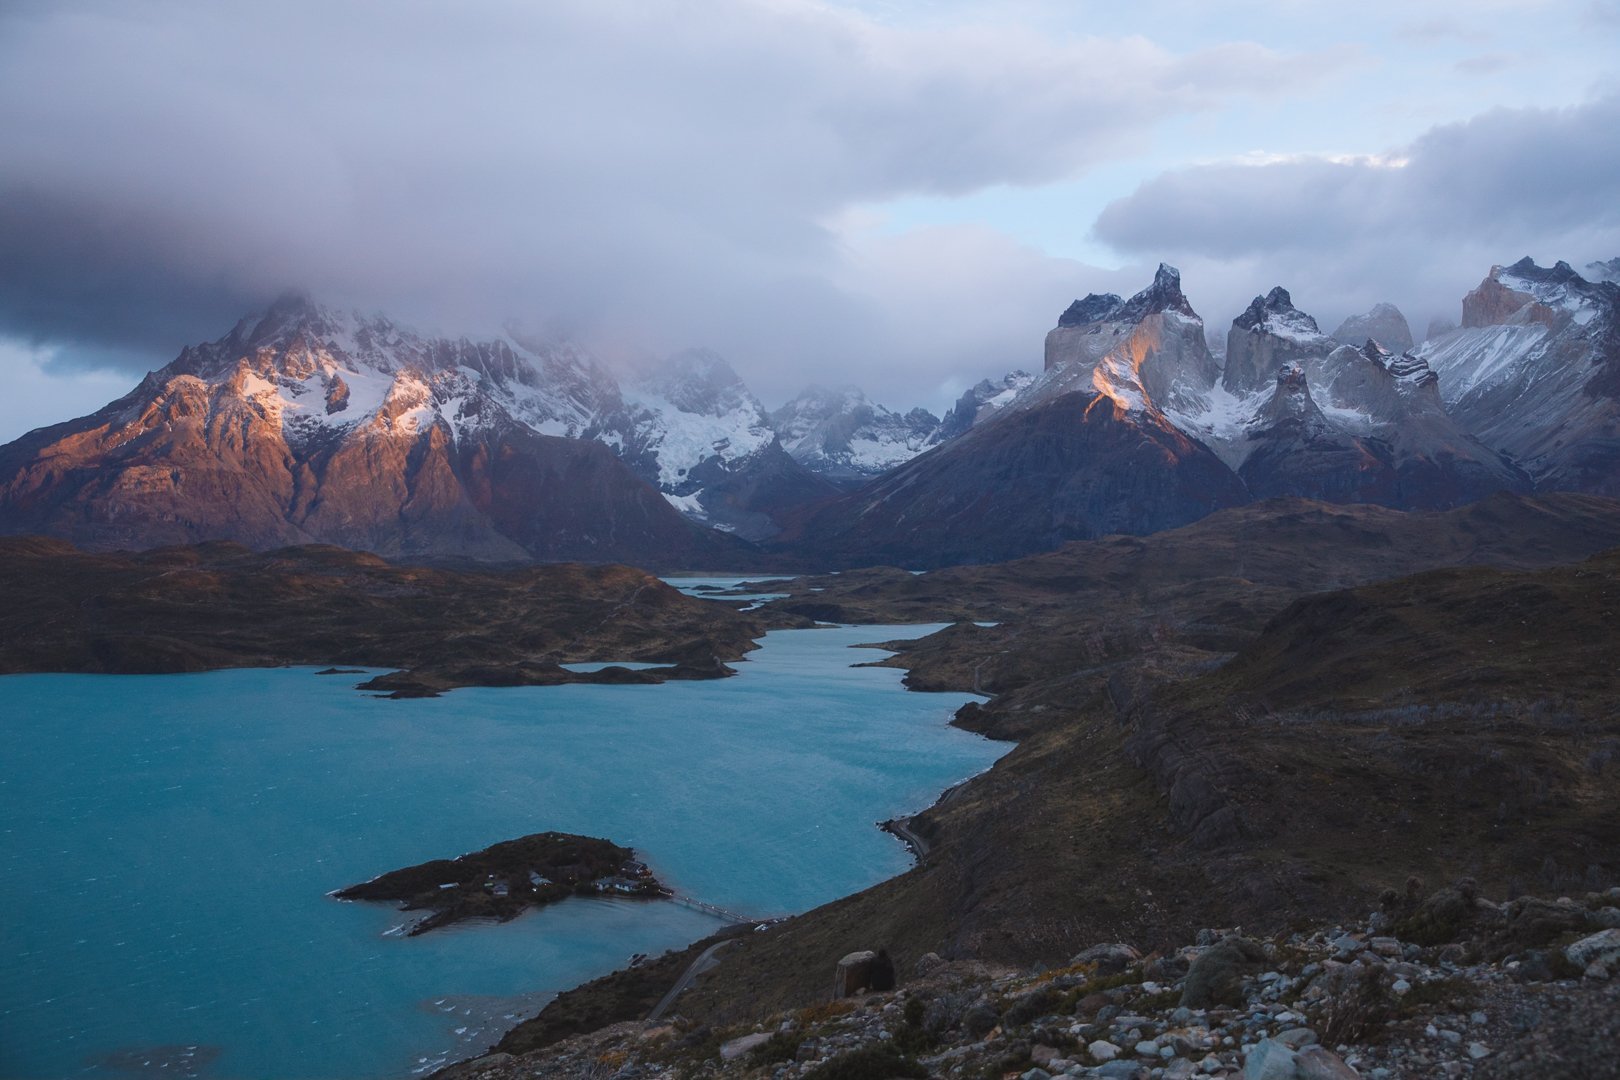
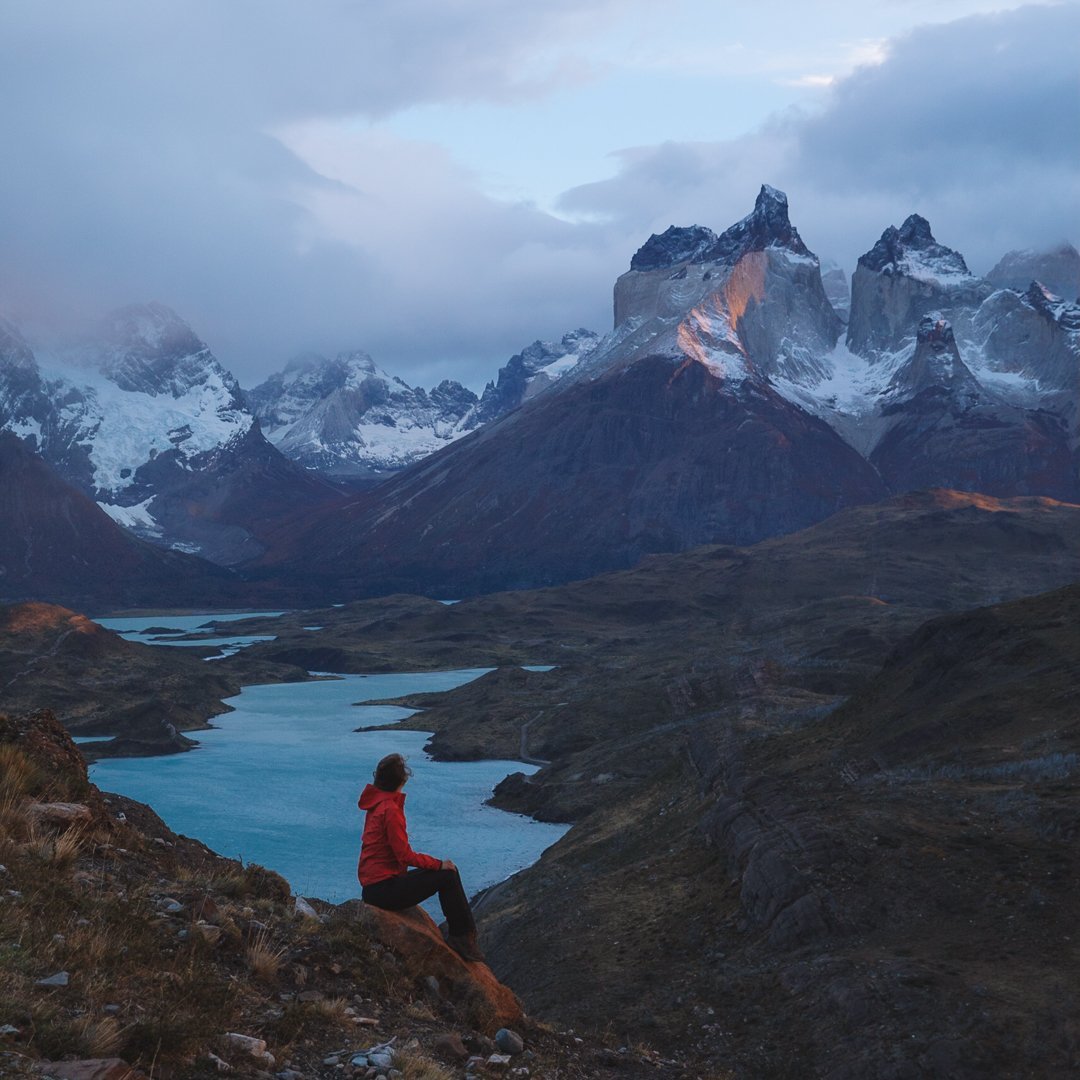
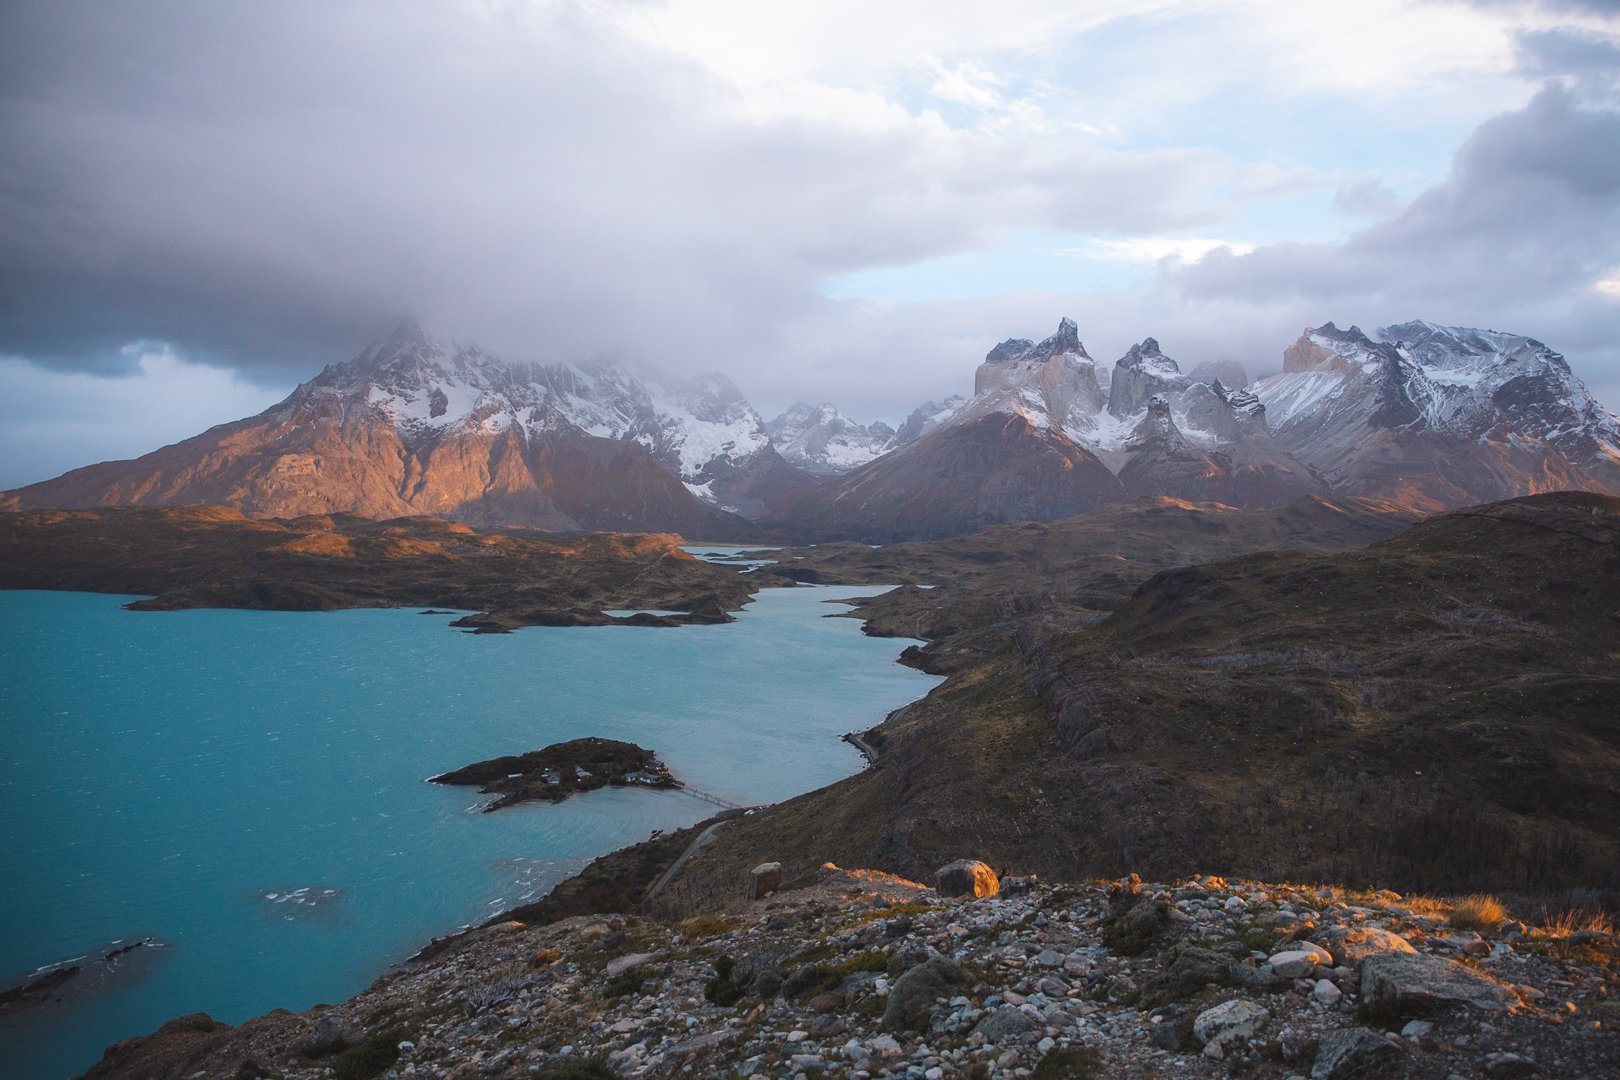
4. Hike to the cuernos lookout
Distance: 3.91mi/6.3km
Elevation: 587ft/179m
Route Type:
Difficulty: moderate
More Information: All Trails
From All Trails : A short and relatively flat hike suitable for hikers and walkers of all fitness levels. A great starting point to stretch your legs in Torres del Paine.
You may be sensing a theme, but a lot of the park is best suited for sunrises and this is no exception. I am using a photo from a fellow Photographer as when I visited it was too windy for reflections such as these. But on a calm day you can see the Valle del Francés, and the Cordillera del Paine reflecting in Lake Nordenskjöld.

5. Mirador Salto Grande
Distance: 0.87mi/1.4km
Elevation: 98ft/30m
Route Type: Out & back
Difficulty: Easy
More Information: All Trails
Along the trail to the Mirador Condor you will find this waterfall marking the junction between Lake Nordenskjöld and Lake Paine. Both times I have been here the wind was too much for photos. But on a calm day this is a great spot to visit.
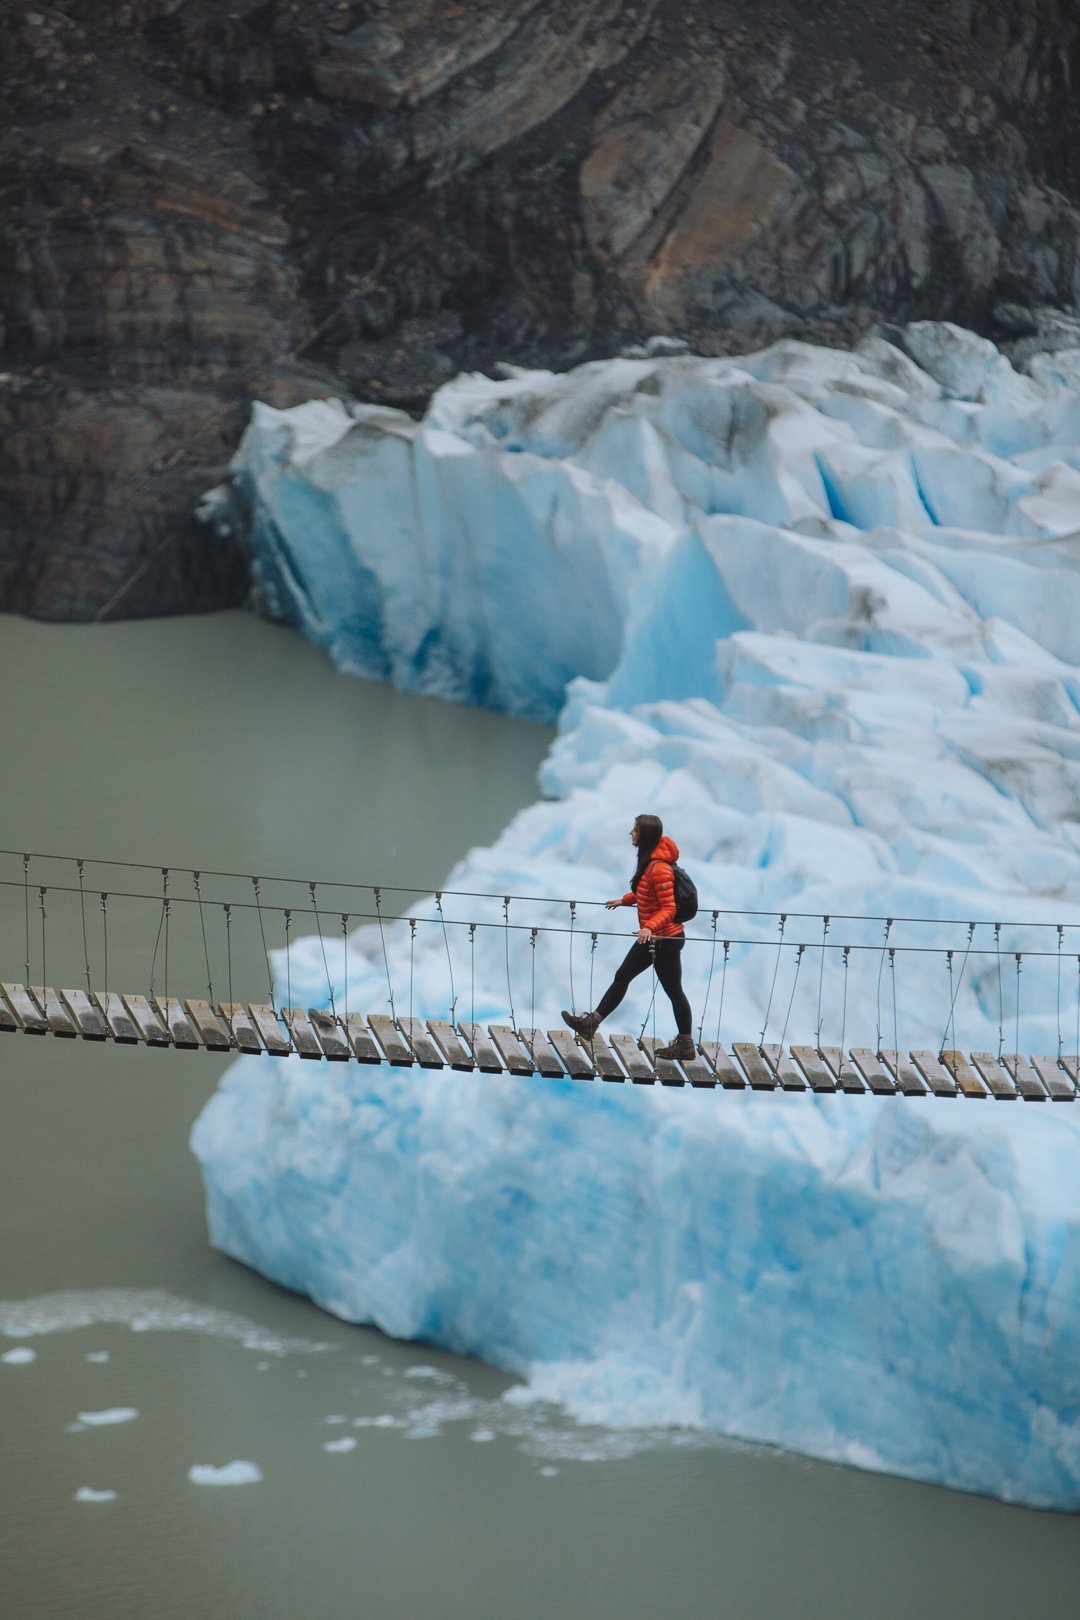
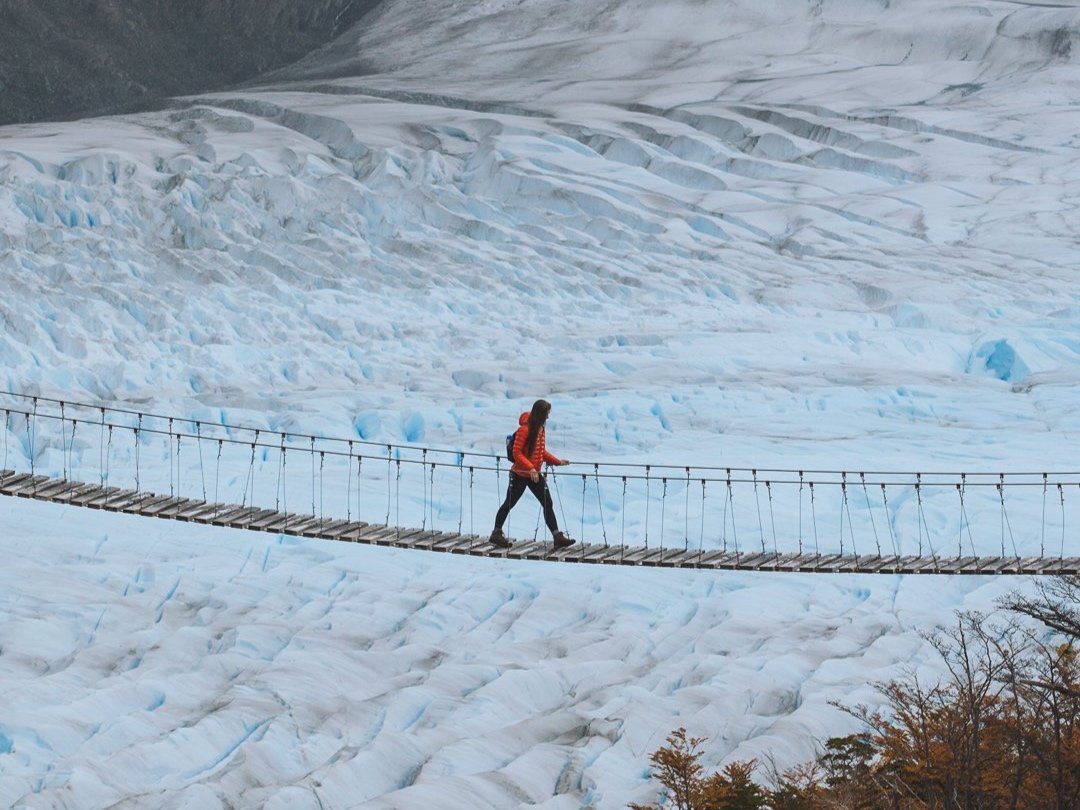
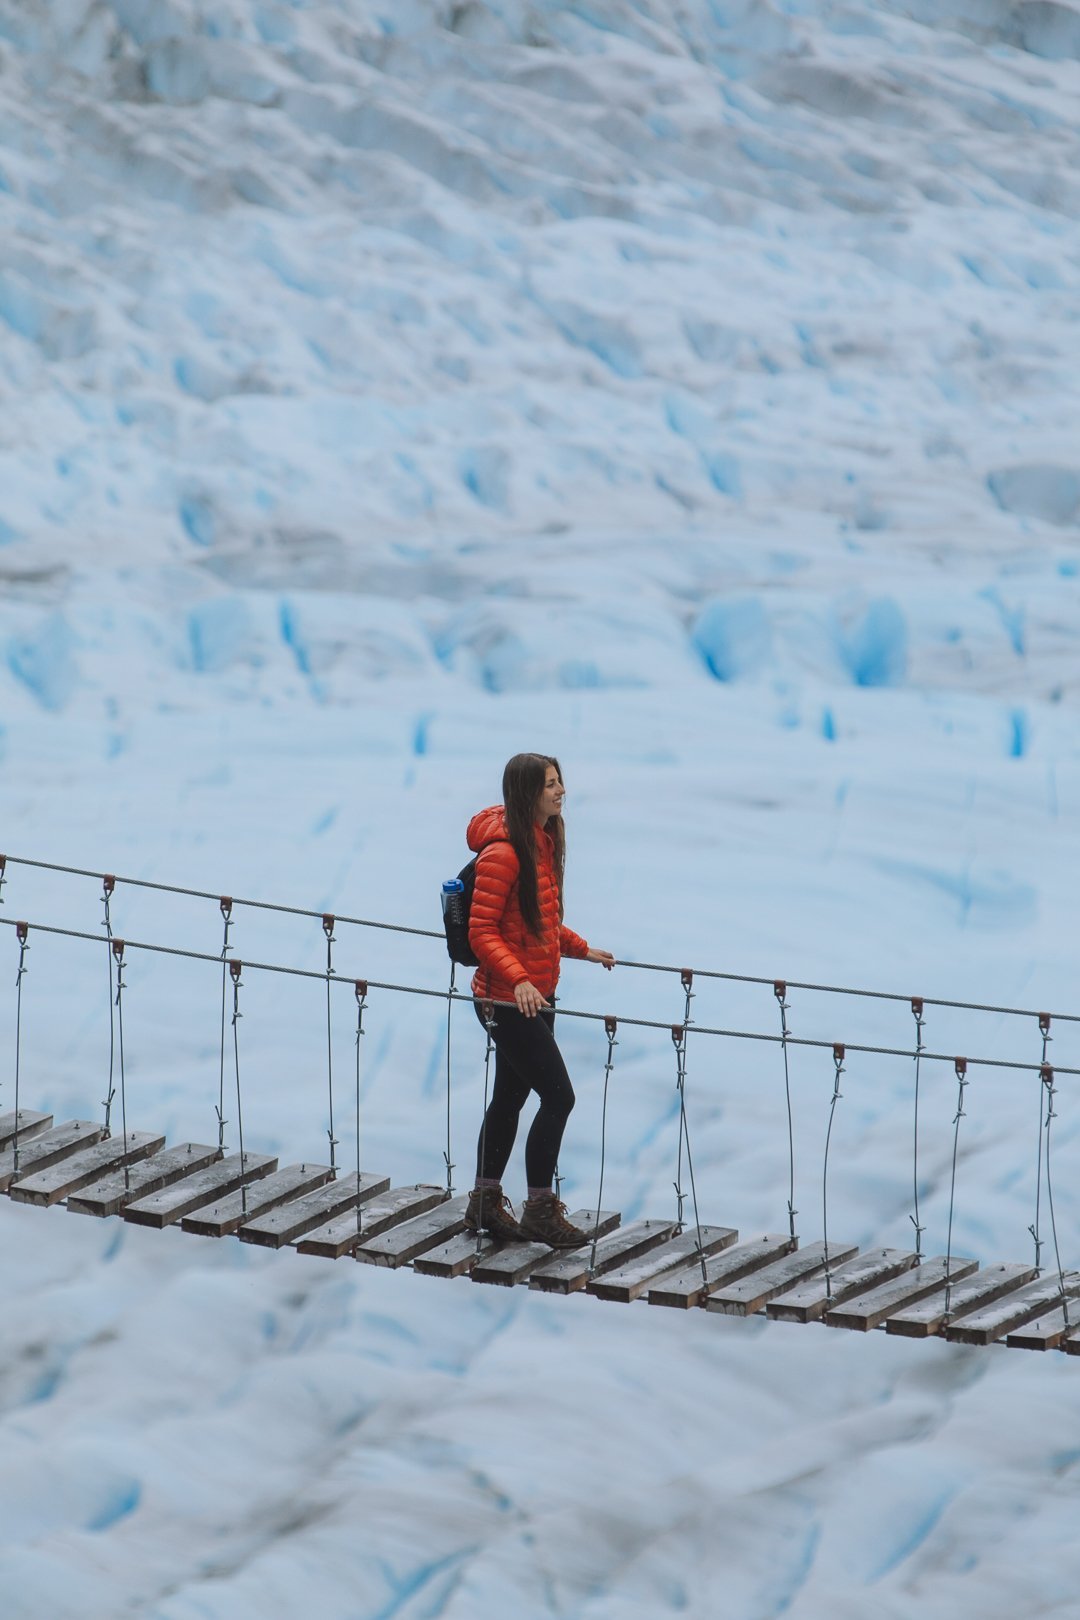
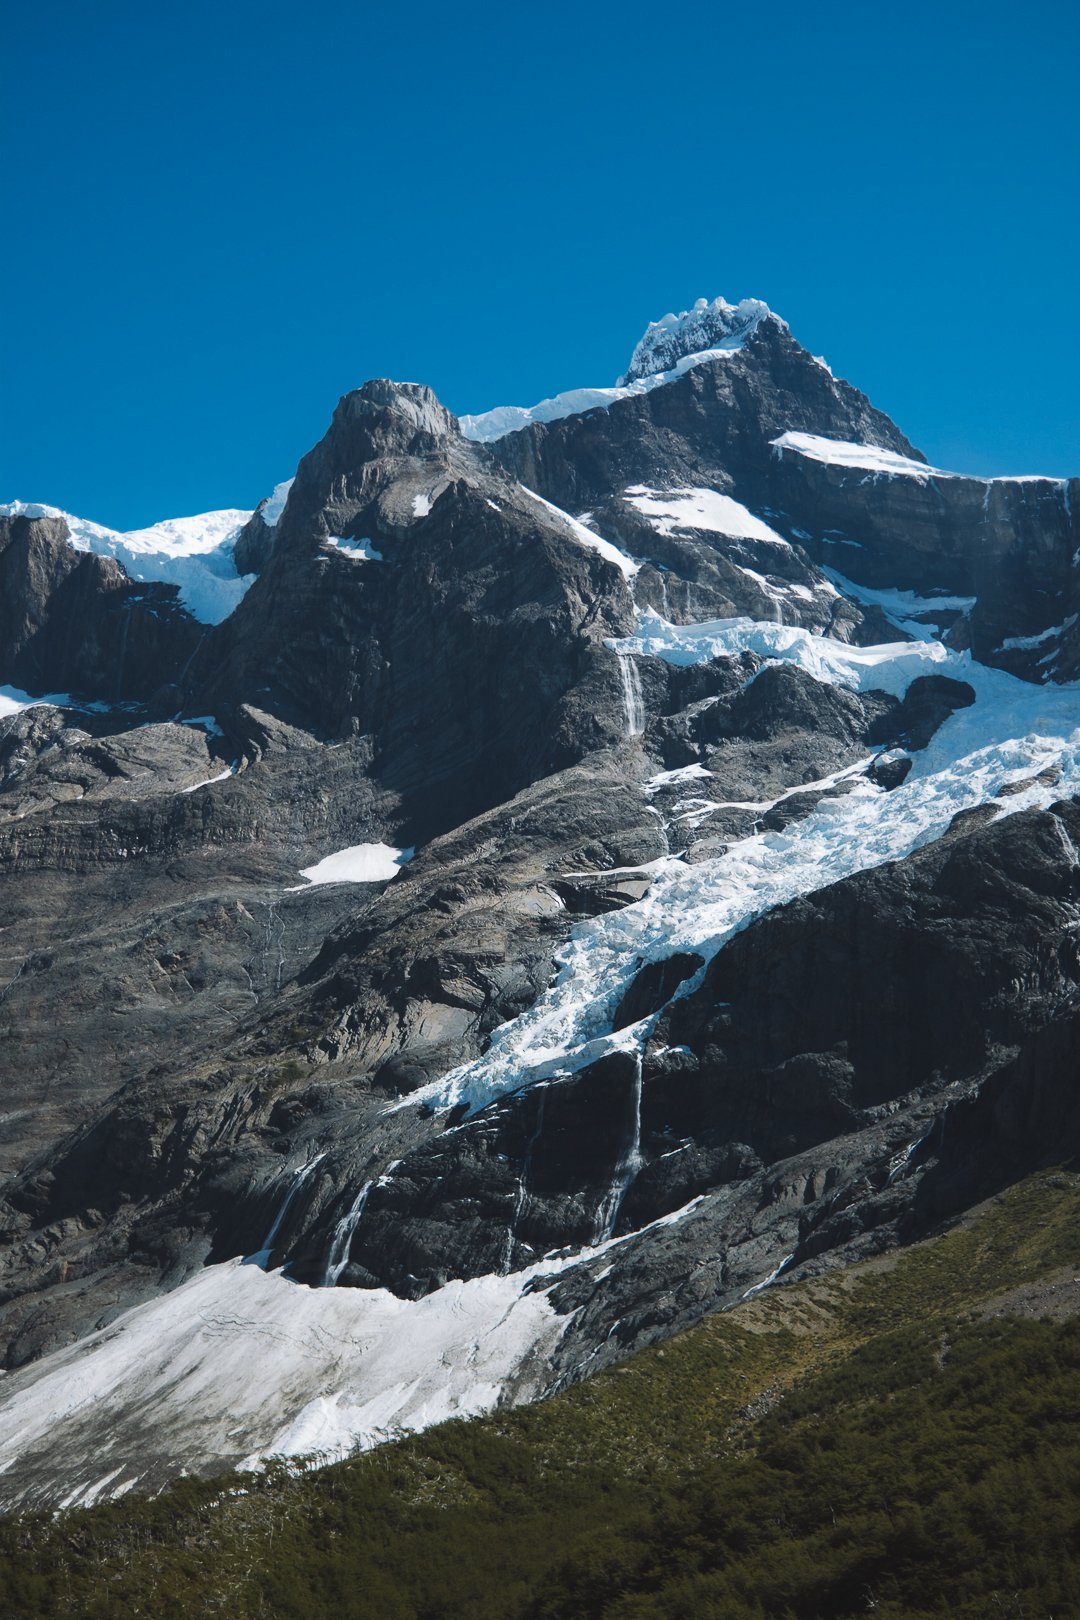
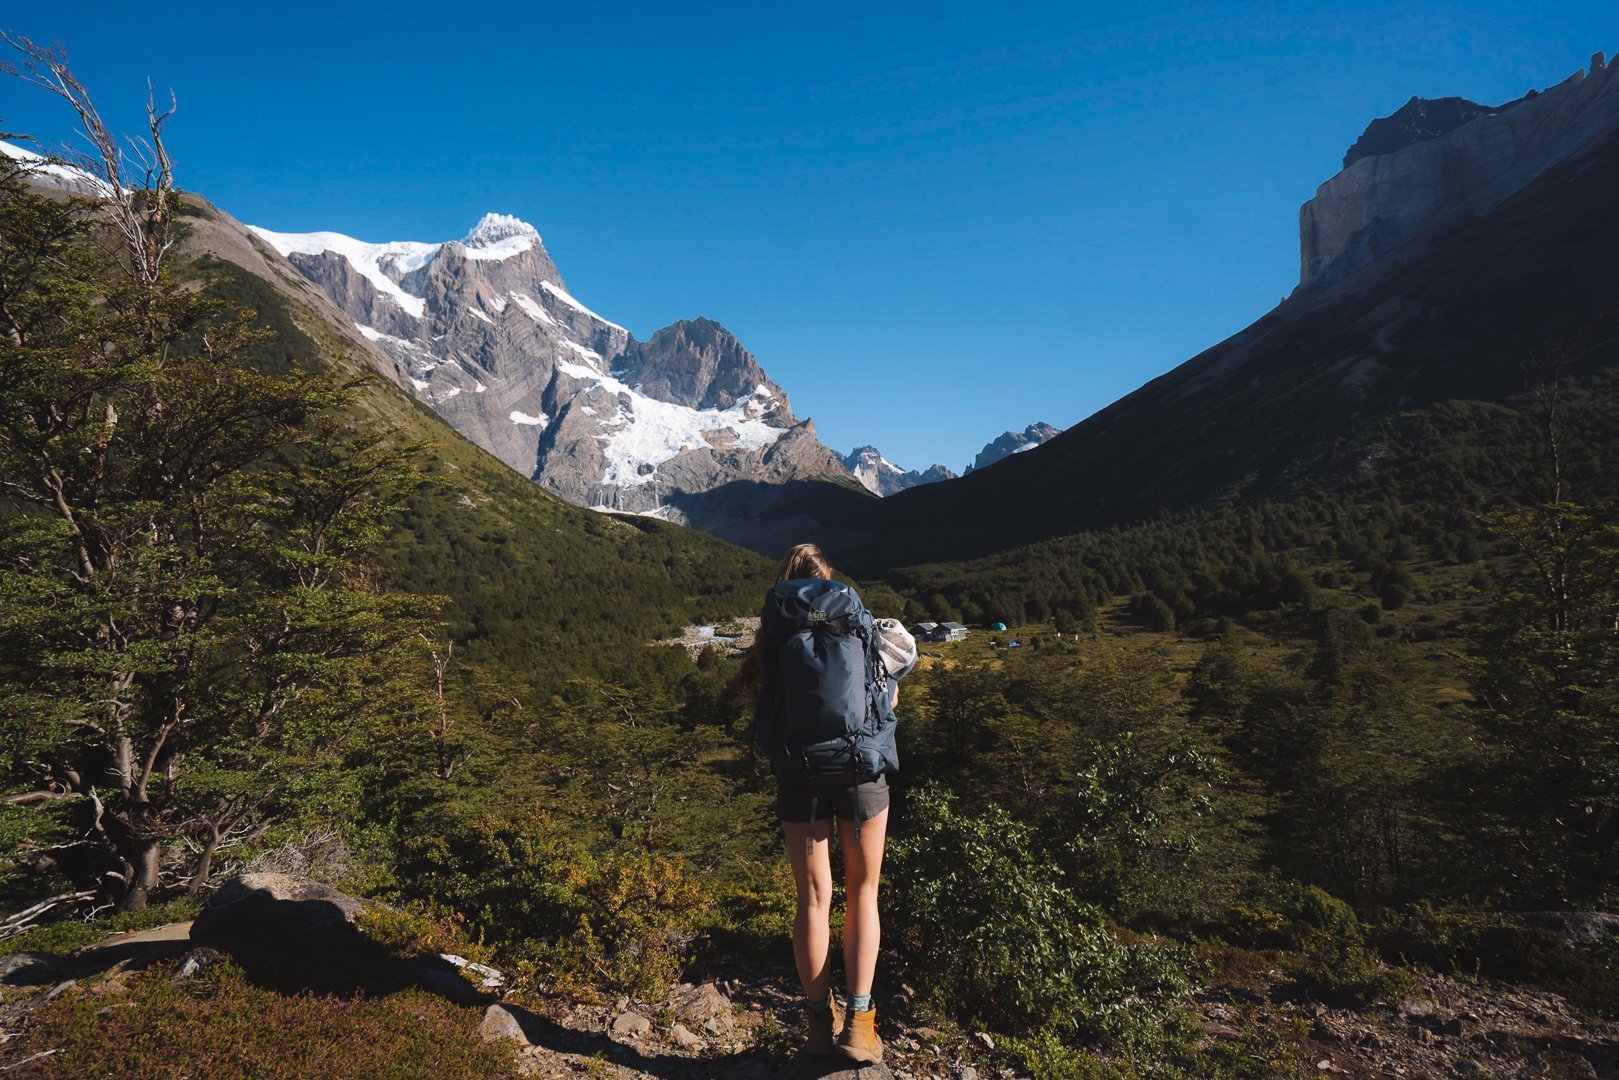
6. Hike to the Glacier Grey Suspension Bridges
Distance: 2.36mi/3.8km
Elevation: 951ft/ 290m
Route Type:
Difficulty: easy
More Information:
This short hike to two suspension bridges begins at The Glacier Grey Refugio and overlaps with the O-Trek. Note that you can not pass beyond the second suspension bridge as the trail turns into a one-way trail (later in the day you may come across hikers coming down from the John Gardner Pass - I would recommend moving out of their way as it is the final stretch of a long and exhausting day). These bridges are beautiful and as you can see in these images from 2017 and 2018 they show the direct result of a changing climate on our glaciers.
*Note: You will need to take the Glacier Grey II ferry to get to the start of this trail. More information including pricing and sailing times can be found here.
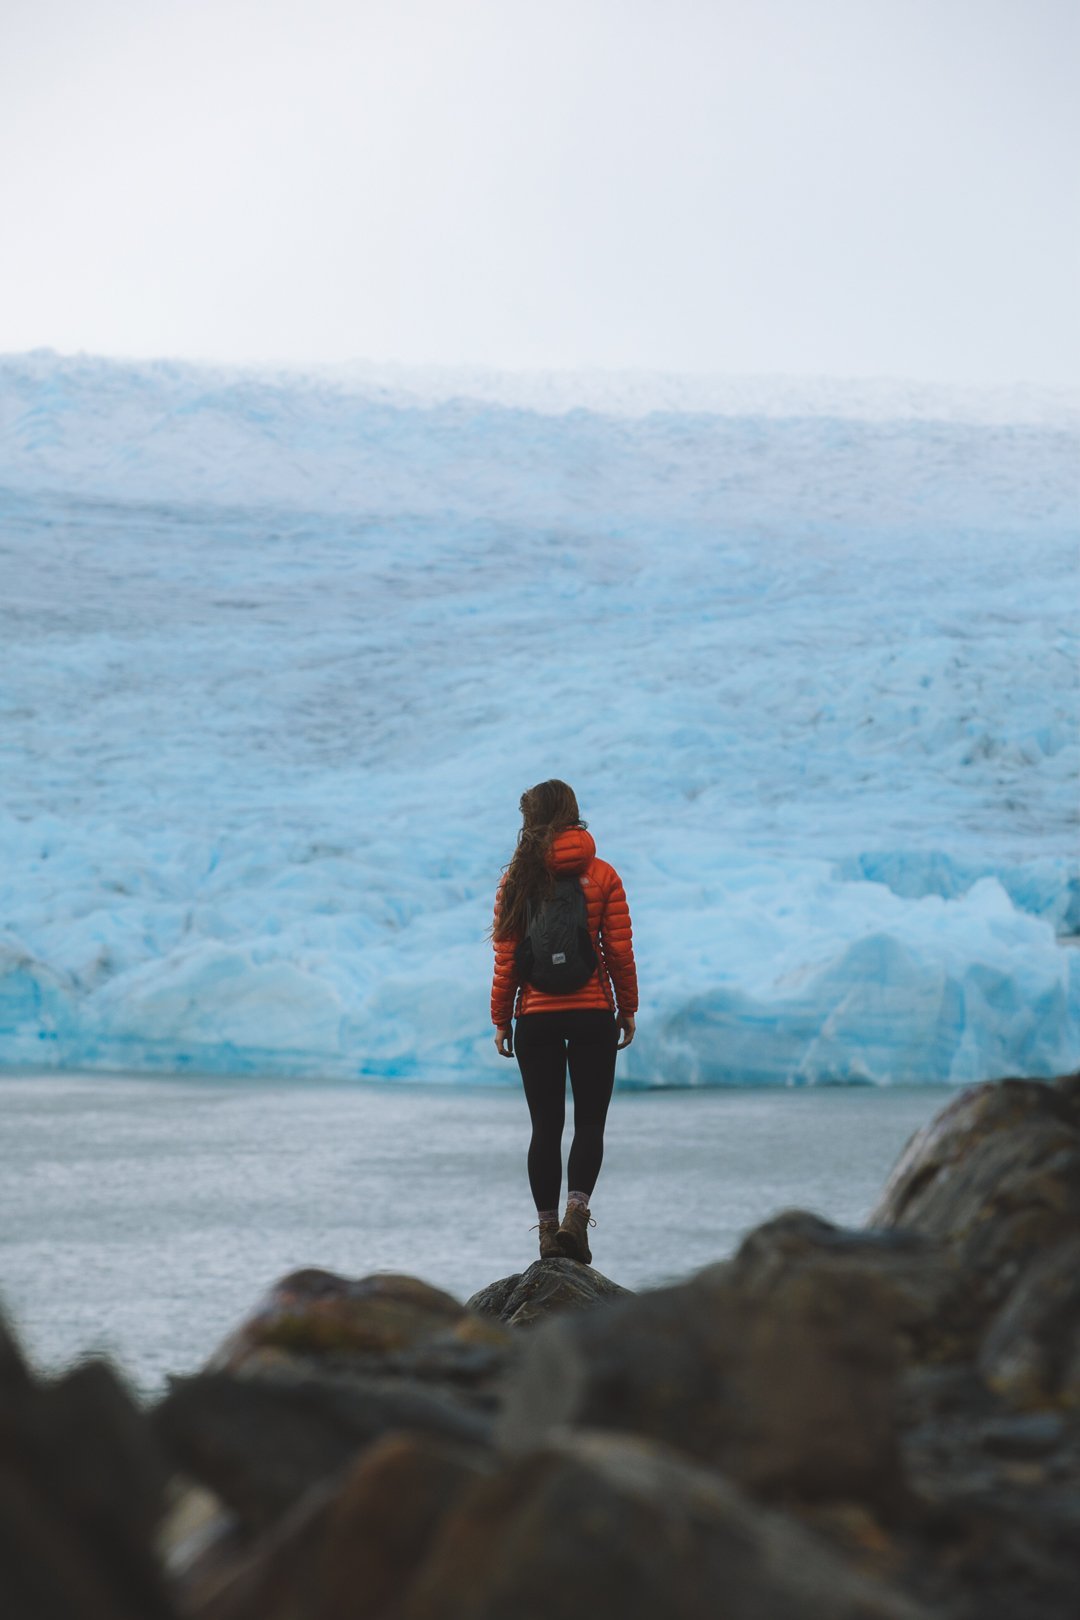
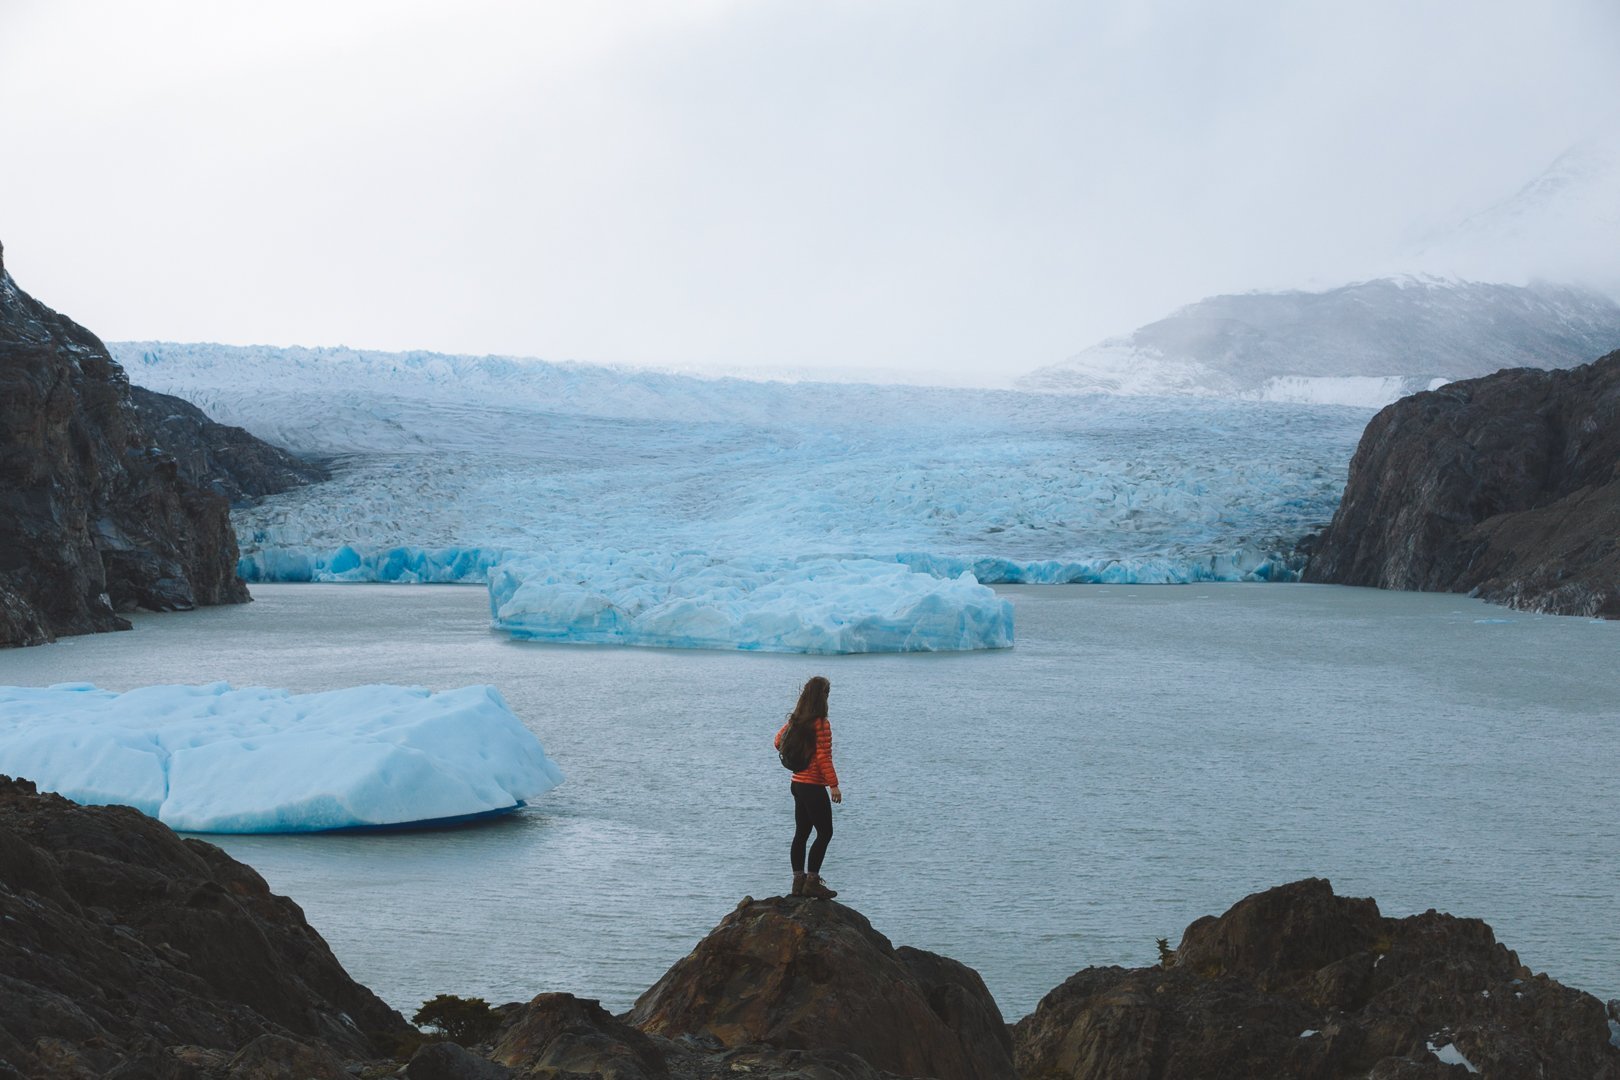
7. Mirador Glacier Grey
Distance: 0.62mi/1.0km
Elevation: 141ft/43m
Route Type:
Difficulty: easy
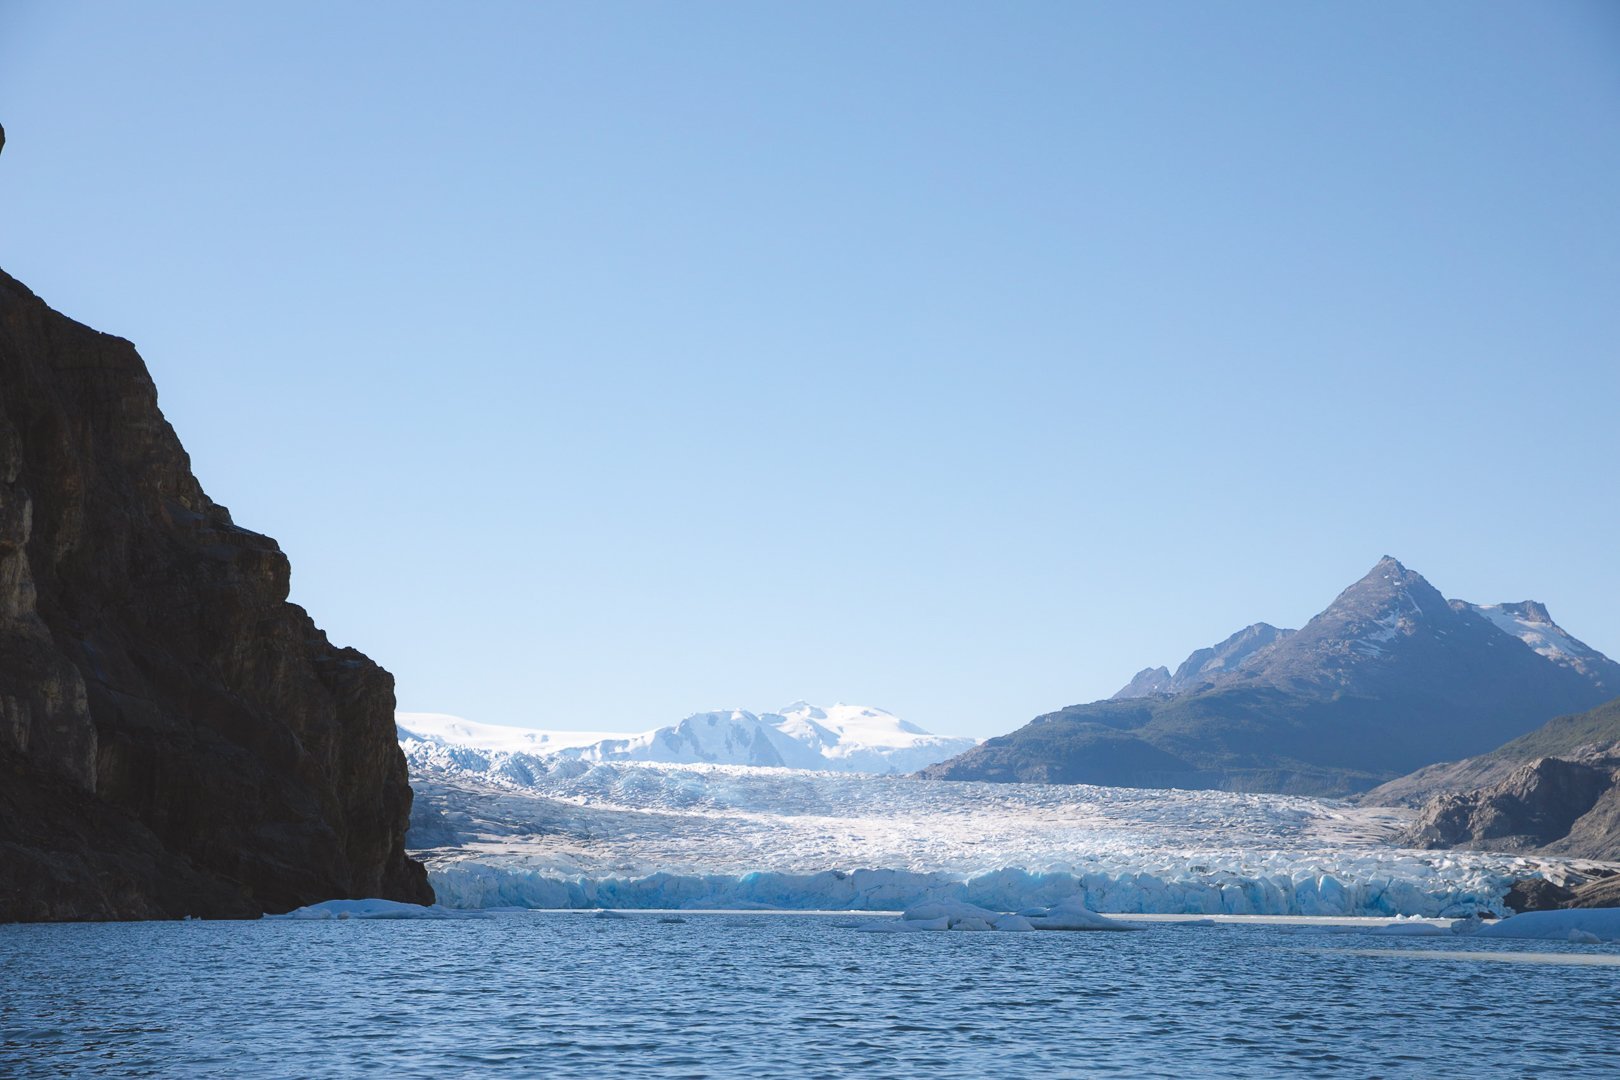
A quick hop off of the ferry to this little lookout. If you have never seen a glacial lagoon this is a must-see. On a clear day you can see how expansive the Grey Glacier is and the towering peak behind. And on the shoreline small pieces of the glacier can often be found. Since you will need to wait a few hours before the next ferry sailing consider checking out the suspension bridges (above) or stop into the Refugio Grey for a Pisco sour.
*Note: You will need to take the Glacier Grey II ferry to get to the start of this trail. More information including pricing and sailing times can be found here.
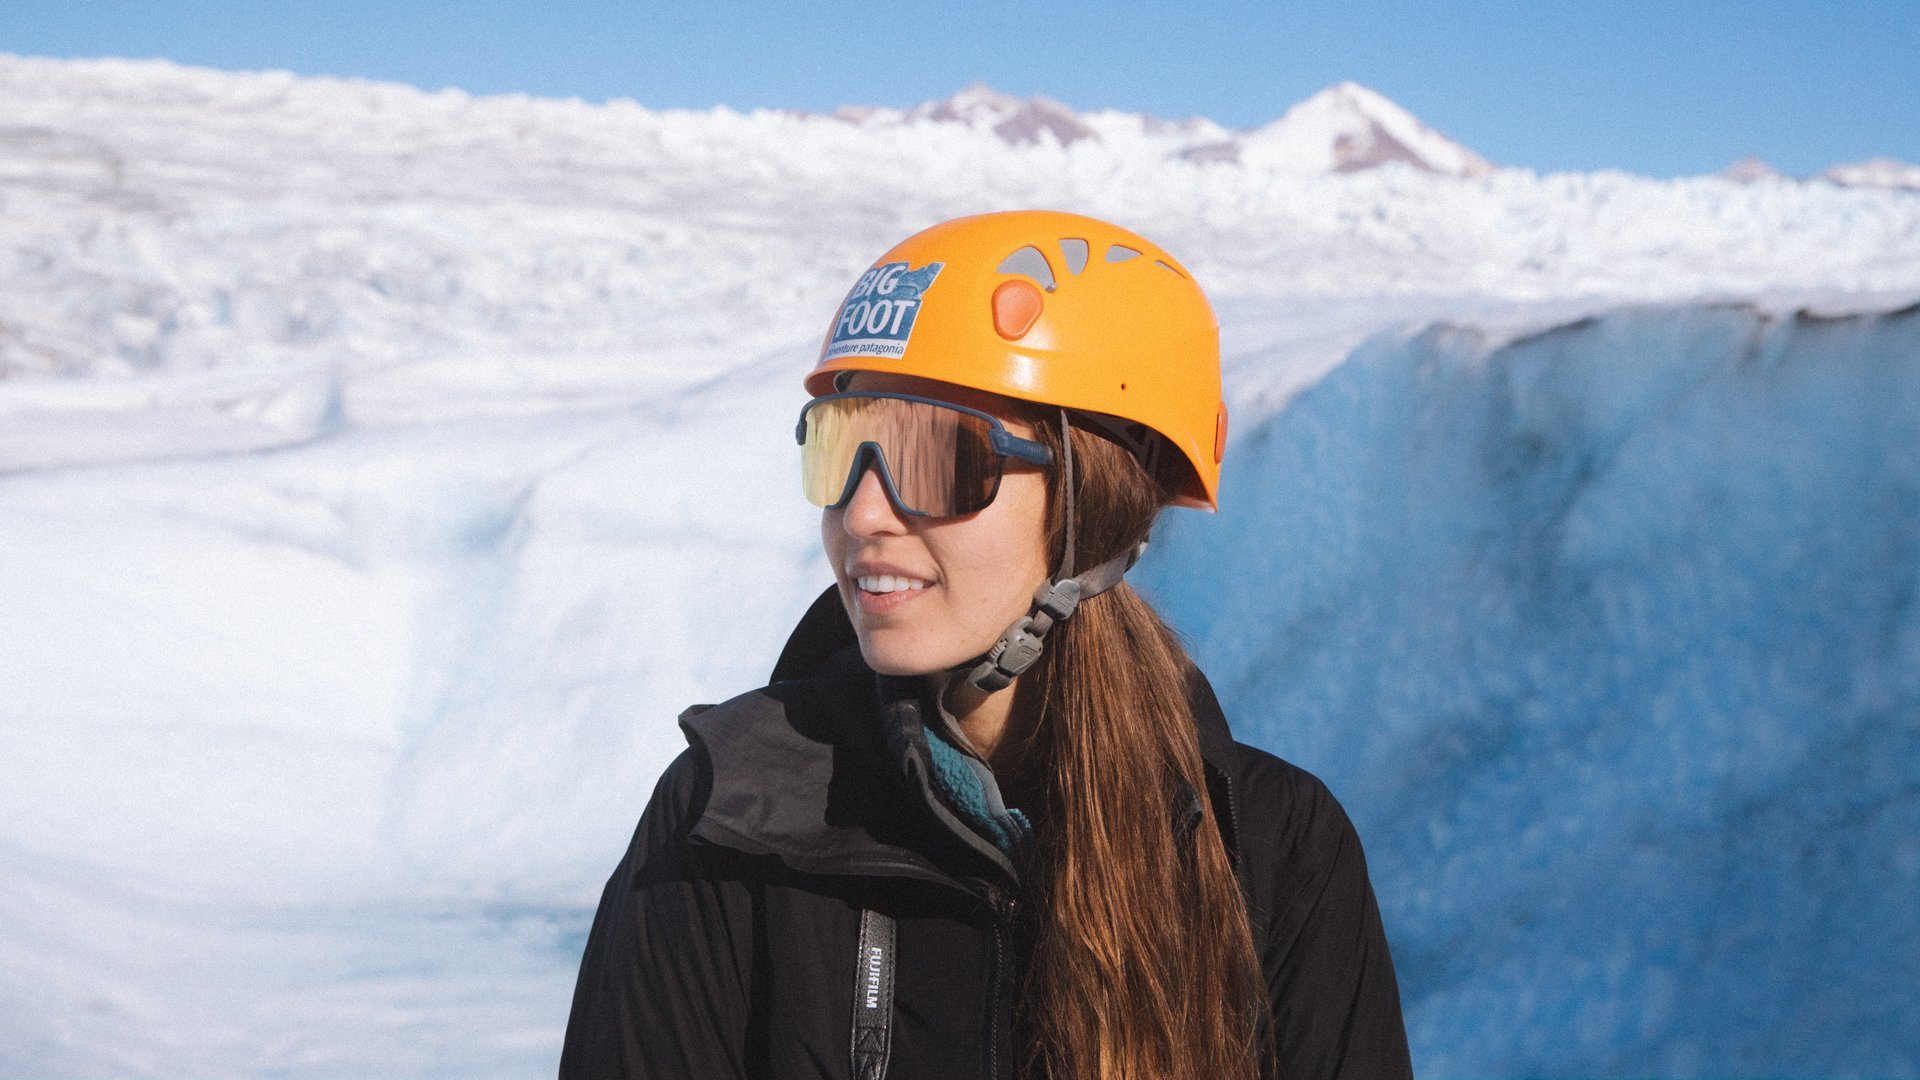
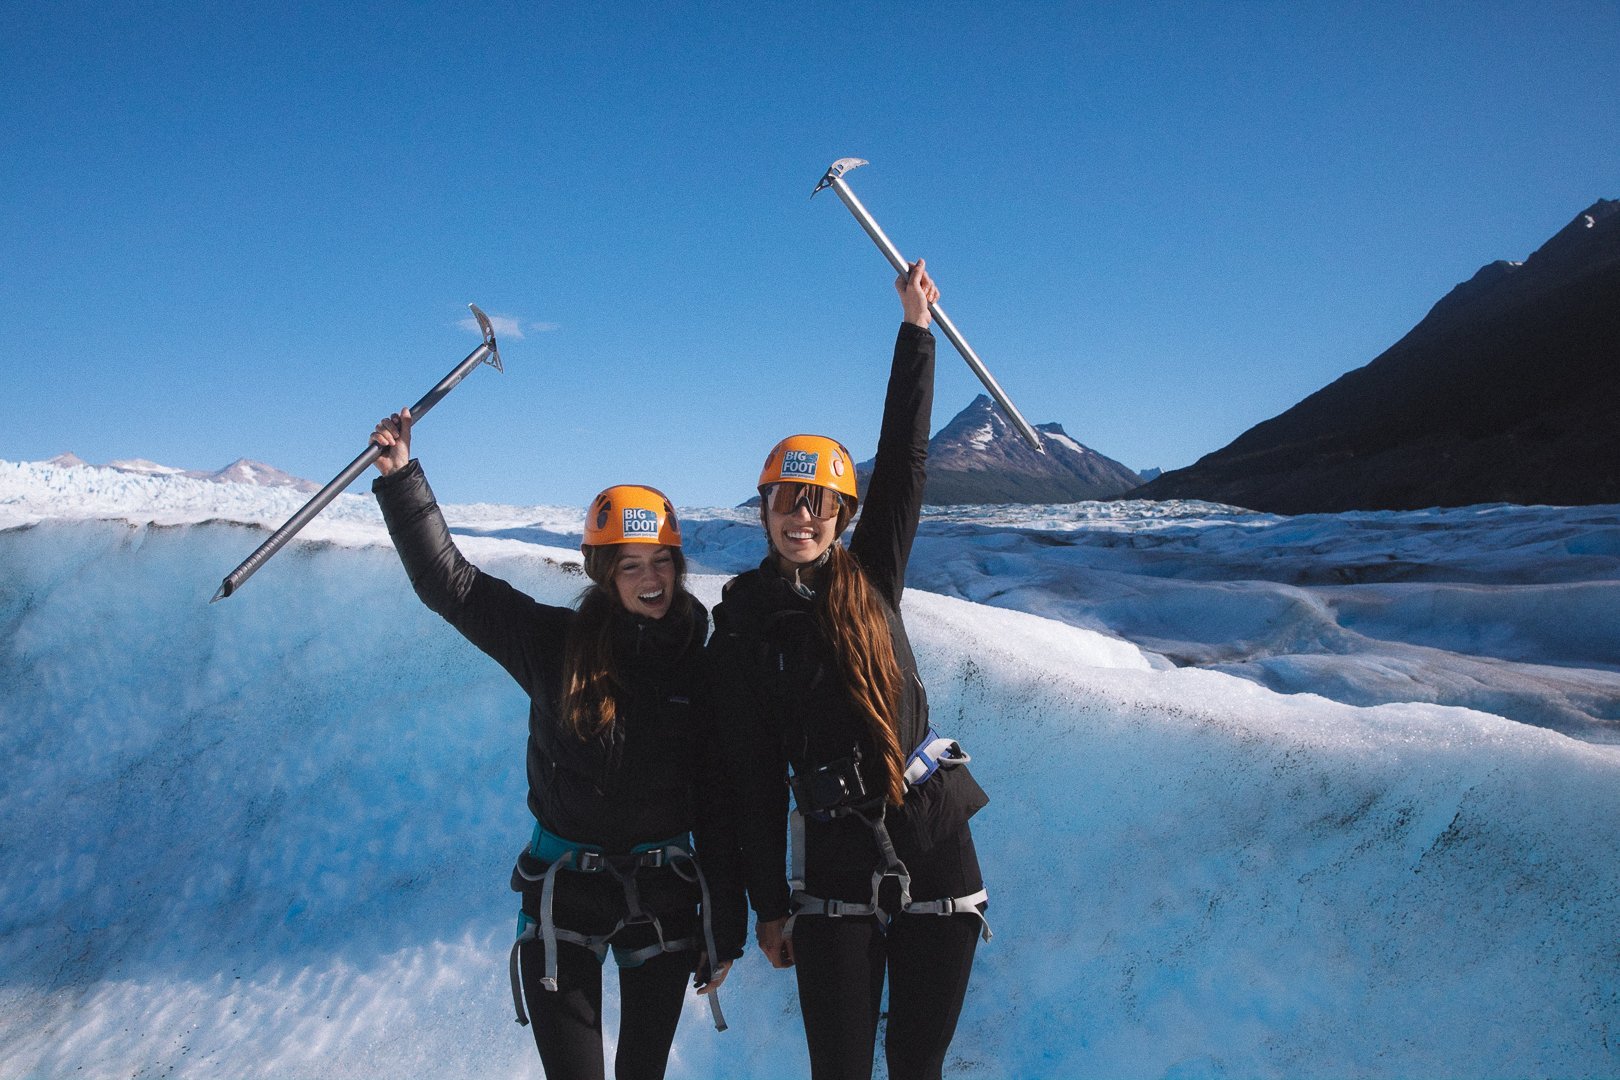
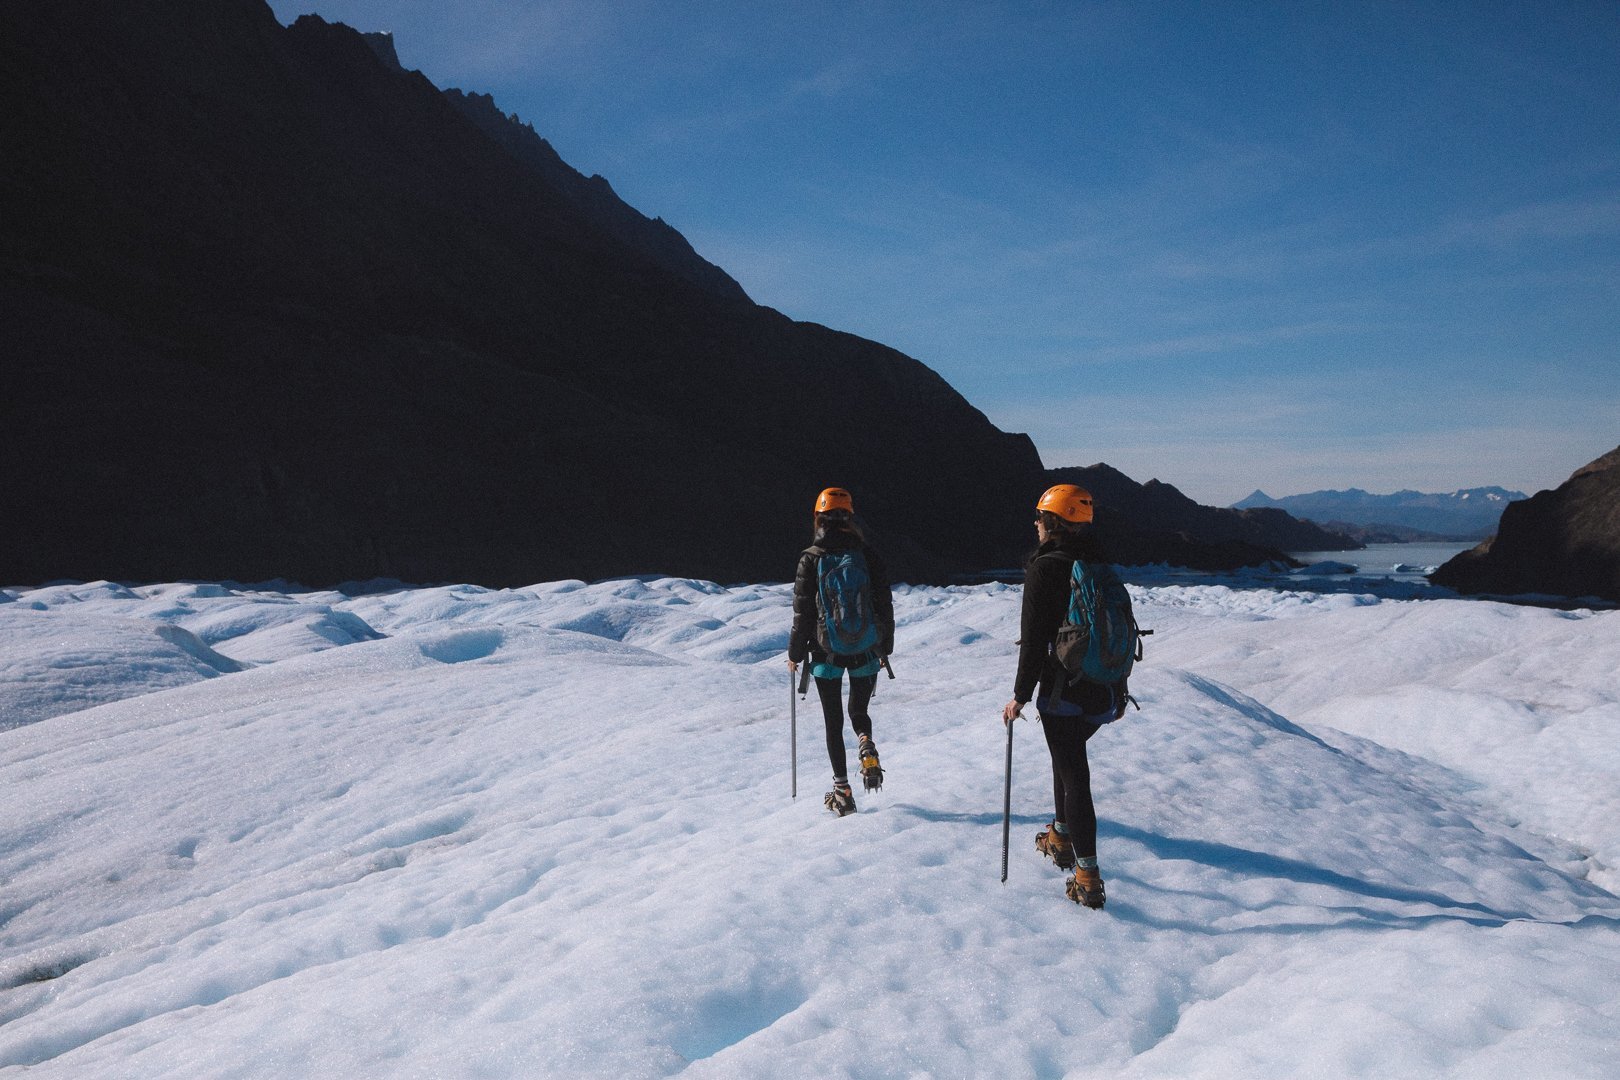
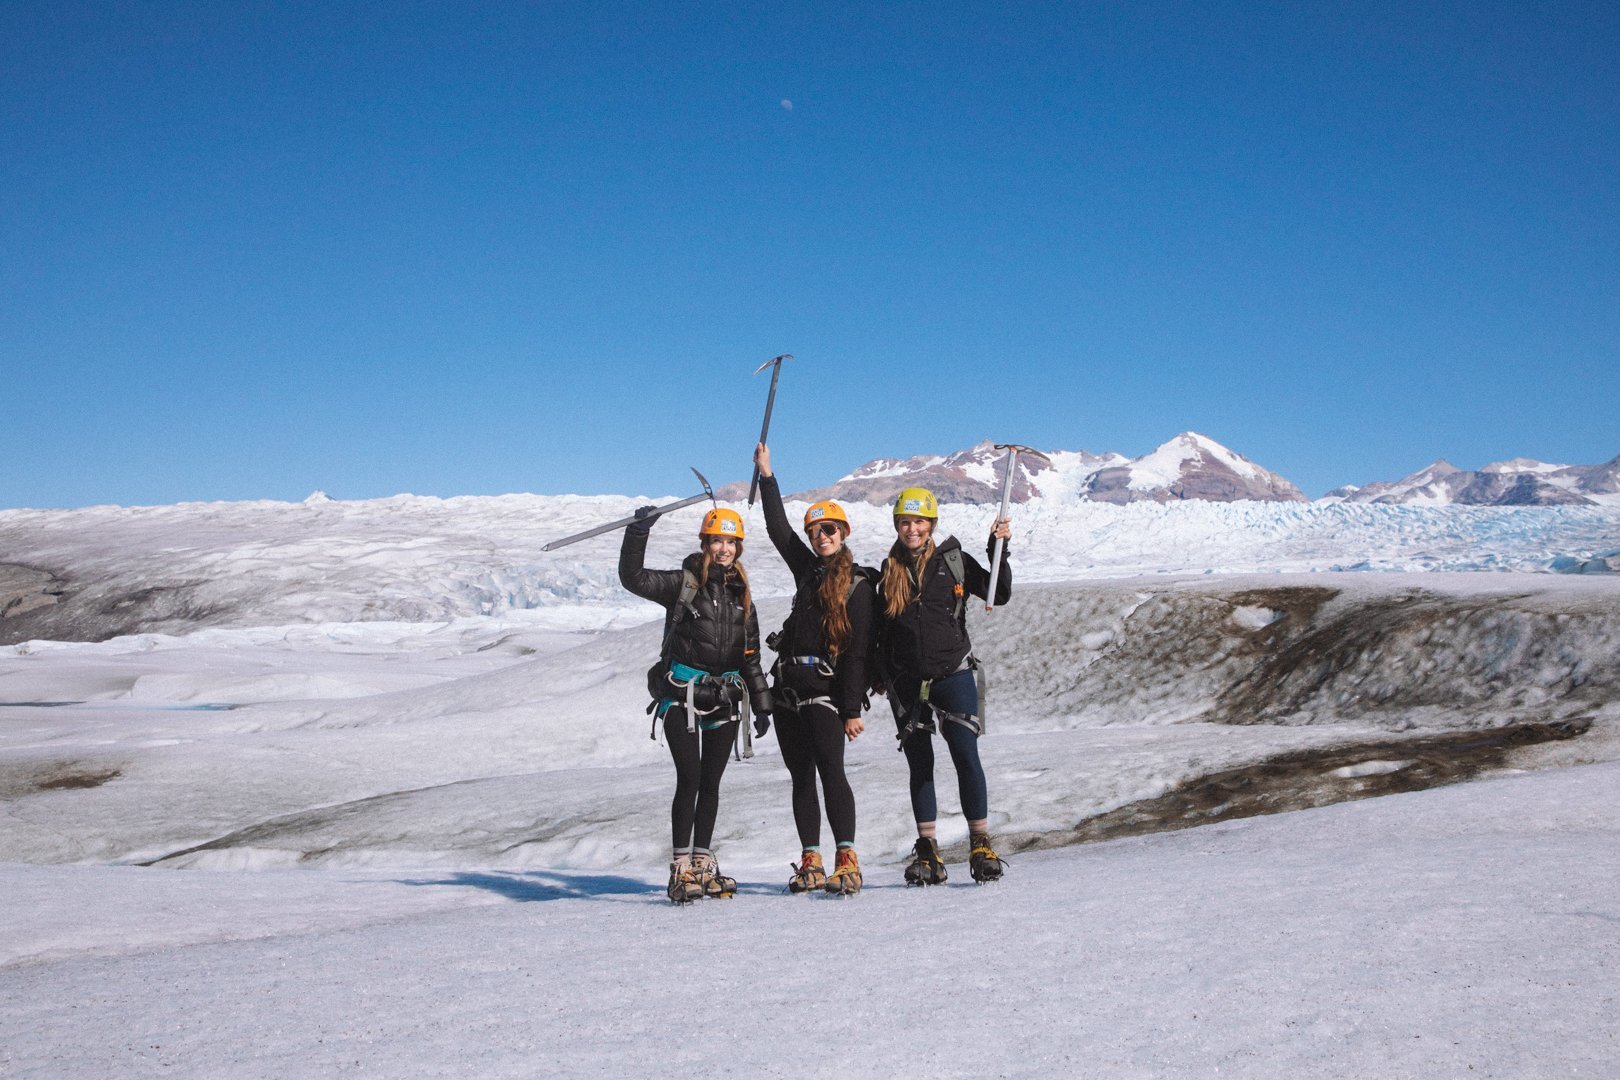

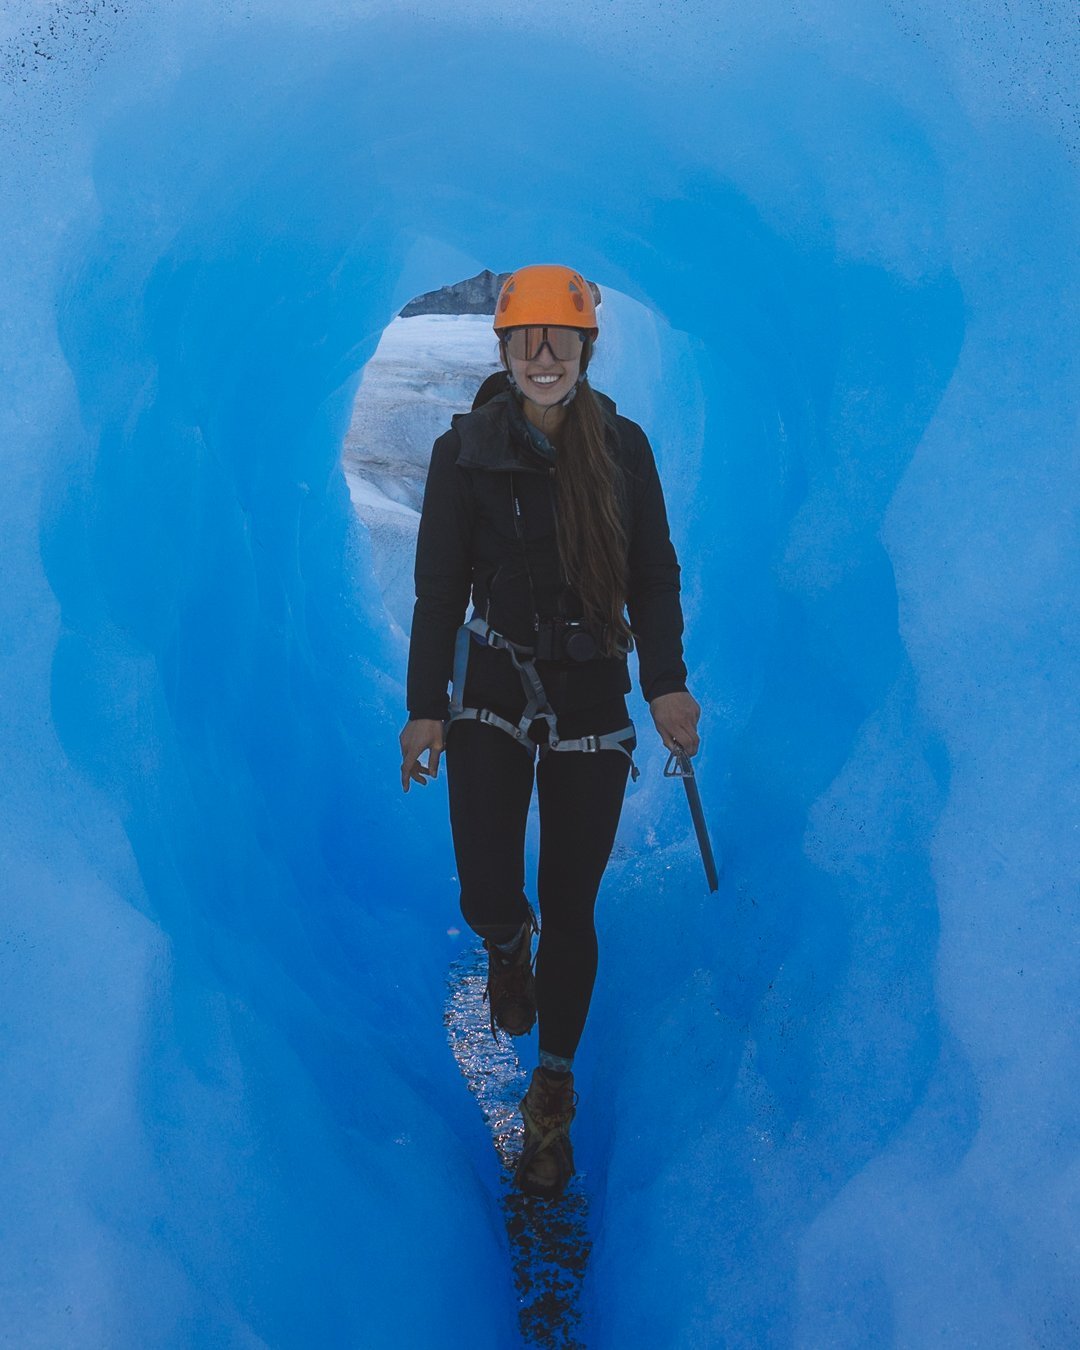
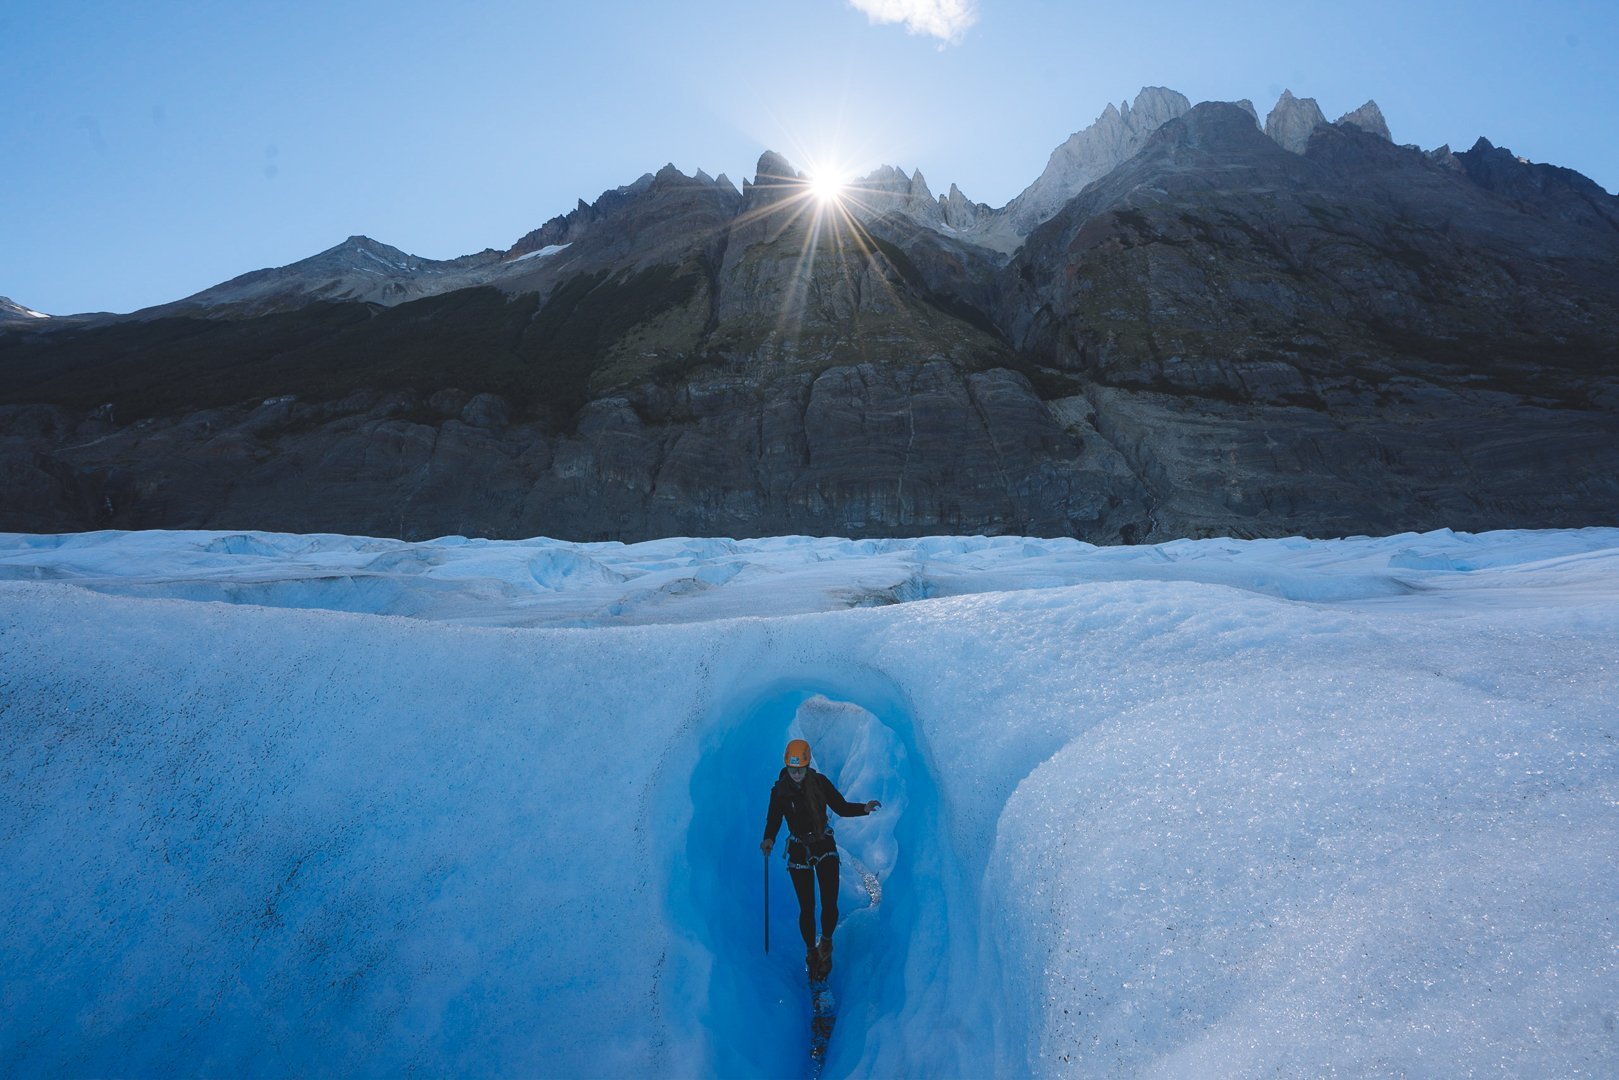
8. Ice hike the grey glacier
Ice hike is approximately 5 hours (incl. Rubber boat transfer, walking onto the island called islatak to access the ice the safest way) departs daily at 8:00 / 14:30. If you have never set off on a glacier I highly recommend this. The tour includes a small zodiac boat ride out to the toe of the Grey Glacier through a lagoon of floating ice chunks, a professional guide who will help you find all of the best photos and seek out pools of blue water, ice bridges and crevasses, all of the gear you will need and even a small snack and tea break.
Cost: $120.000 CLP per person (as of 2022)
*Available from October to April.
This was one of the highlights of my tour of the O-Trek (as well as my partner who hiked the W in 2018). Bigfoot Patagonia is not accessible by car, you have three options
If hiking the W or the O trek, you can add this into your itinerary as The Grey Refugio (or camping) will be along your route. If finishing the W at Glacier Grey I would sign up for the ice walk the following morning prior to taking the 1:45 pm ferry out. If on the O I would either book your rest day at Refugio Grey and do this on your rest day (it is not physically very demanding and will give your shoulders a break from a heavy pack) or pack up everything in the morning, and take the morning ice walk before continuing on to Paine Grande.
As a day tour: the afternoon trip can be accomplished in one (very) long day. By taking the second navigation to Glacier Grey (arriving at 13:45) and catching the final sailing out (departing at 20:00h) you will be able to not only spend a day walking on Glacier Grey, but also have a sunset tour of the lake.
Spend a night at Refugio Grey and take the morning tour. If you aren’t hiking the W or the O - this is a great opportunity to experience backcountry huts in Patagonia (more akin to North American hotels). There is great food, an abundance of alcohol and around those dinner tables great conversations flow. Take the afternoon sailing into Glacier Grey, hike to the suspension bridges (above) and after a good night’s rest hike atop a glacier before taking the early afternoon sail back.
*Note: You will need to take the Glacier Grey II ferry to get to the start of this trail. More information including pricing and sailing times can be found here.
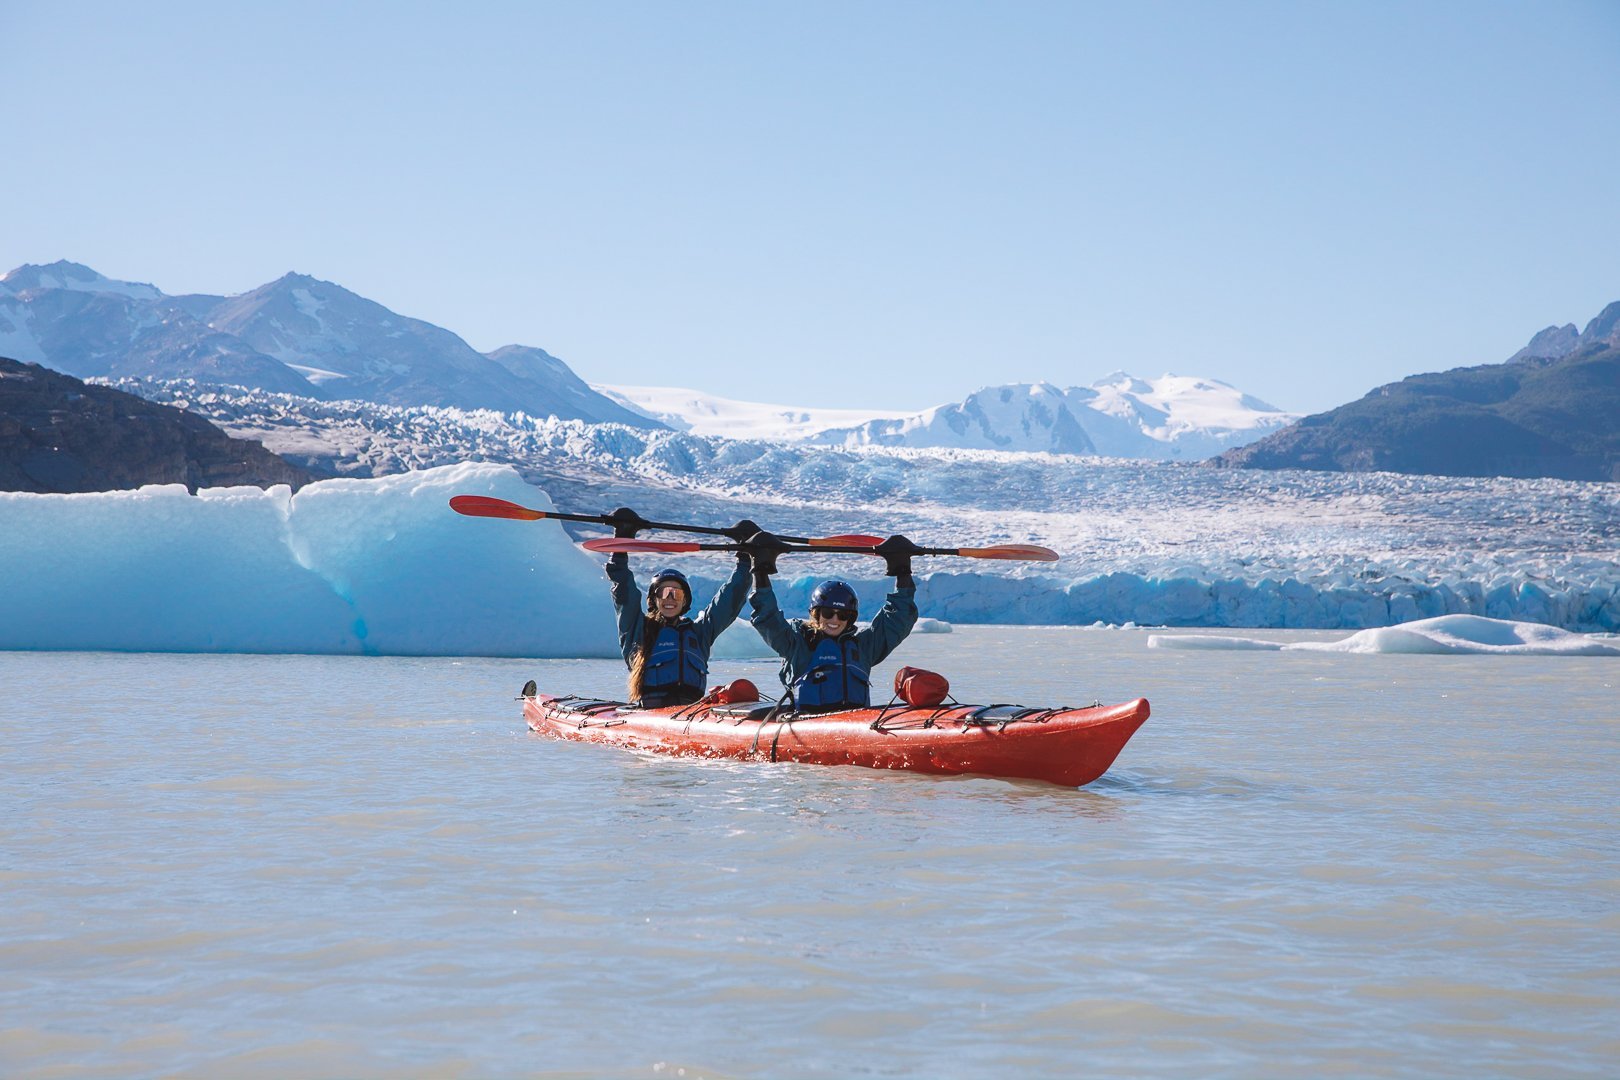

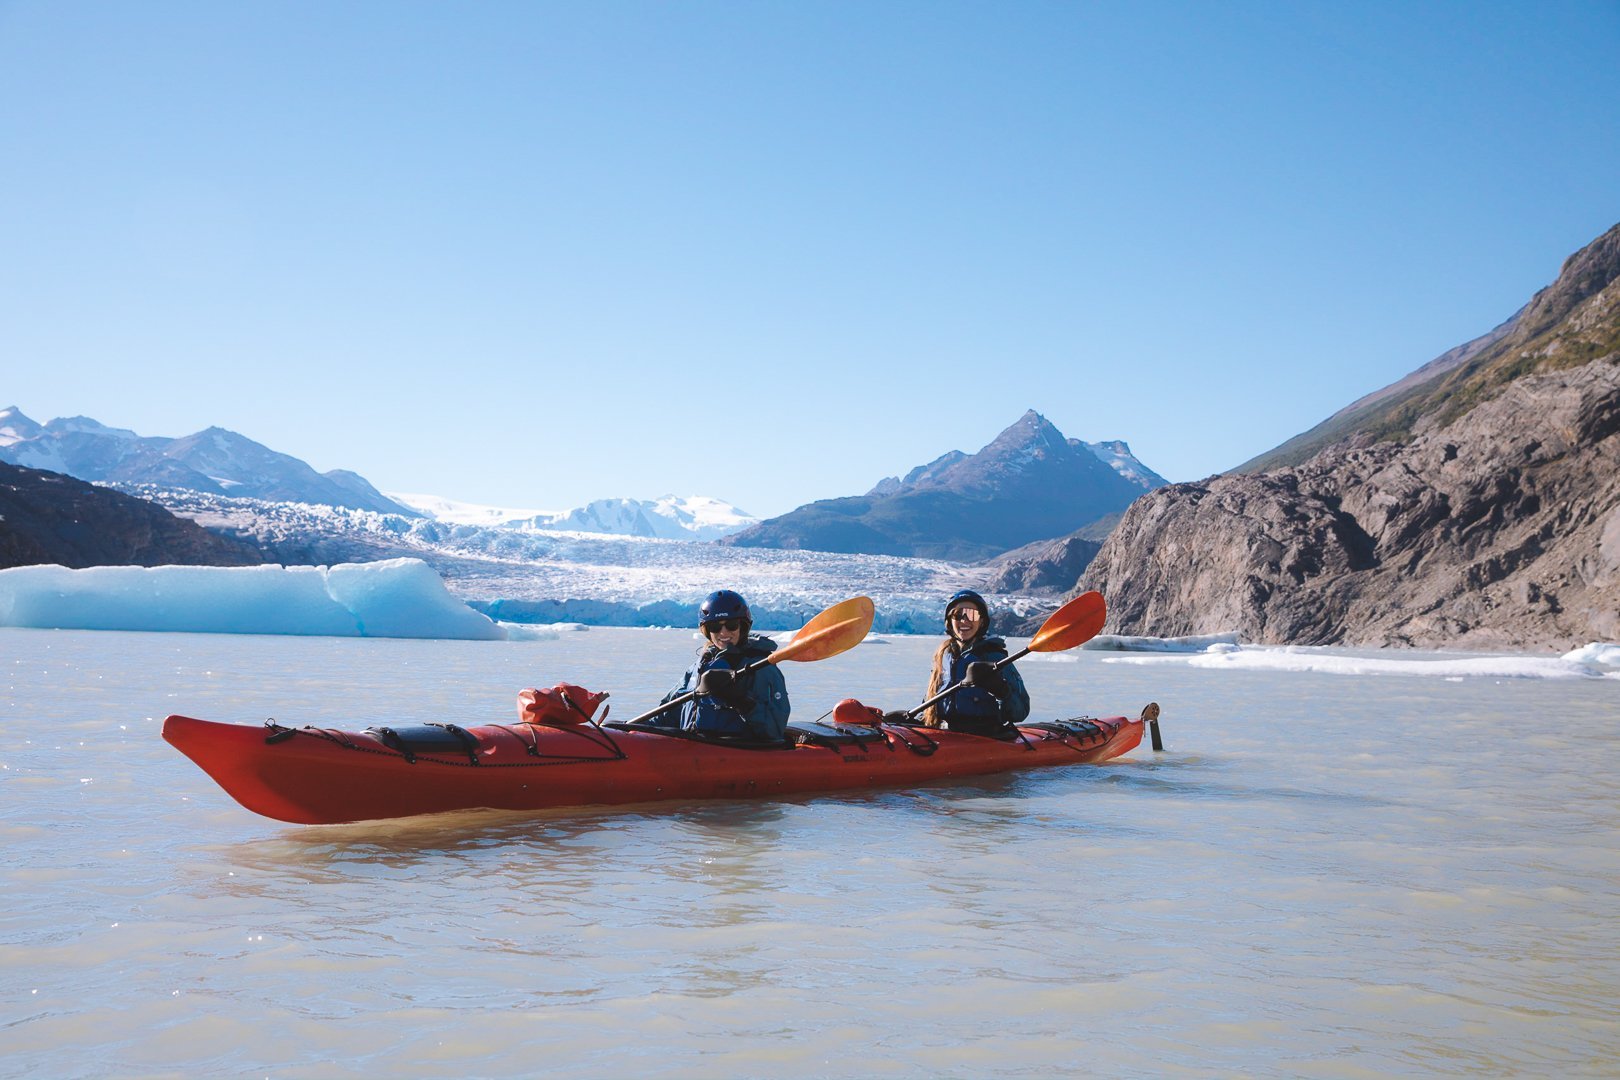
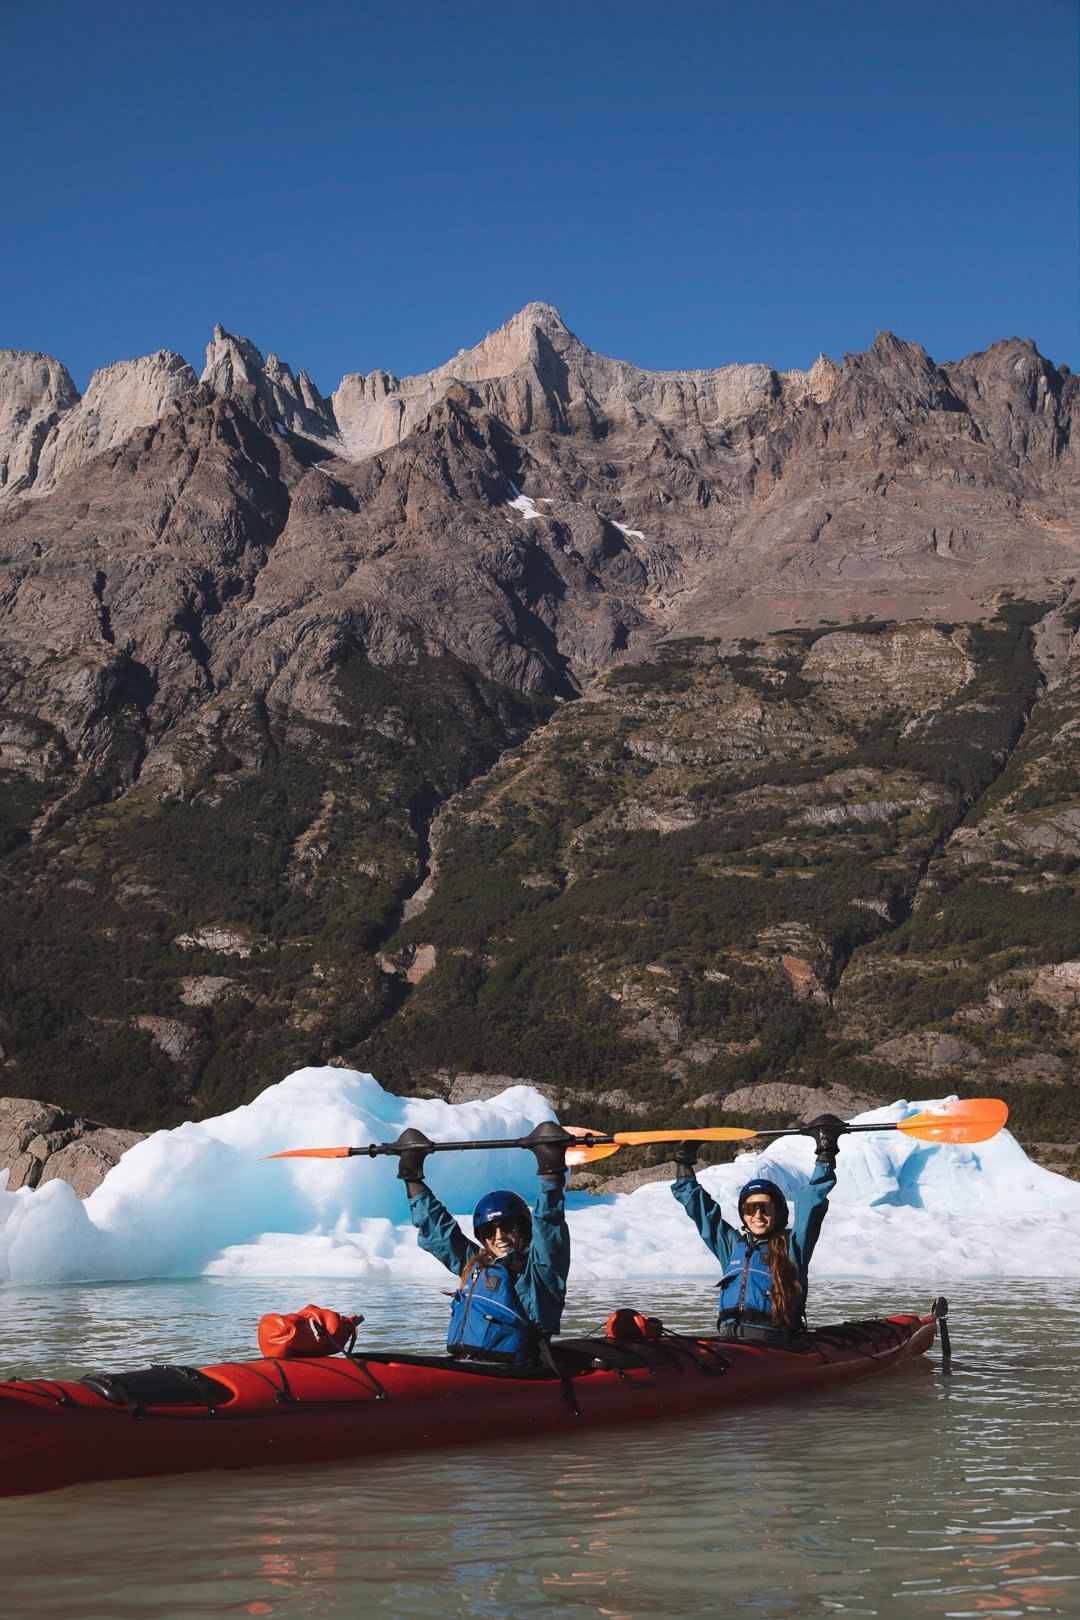
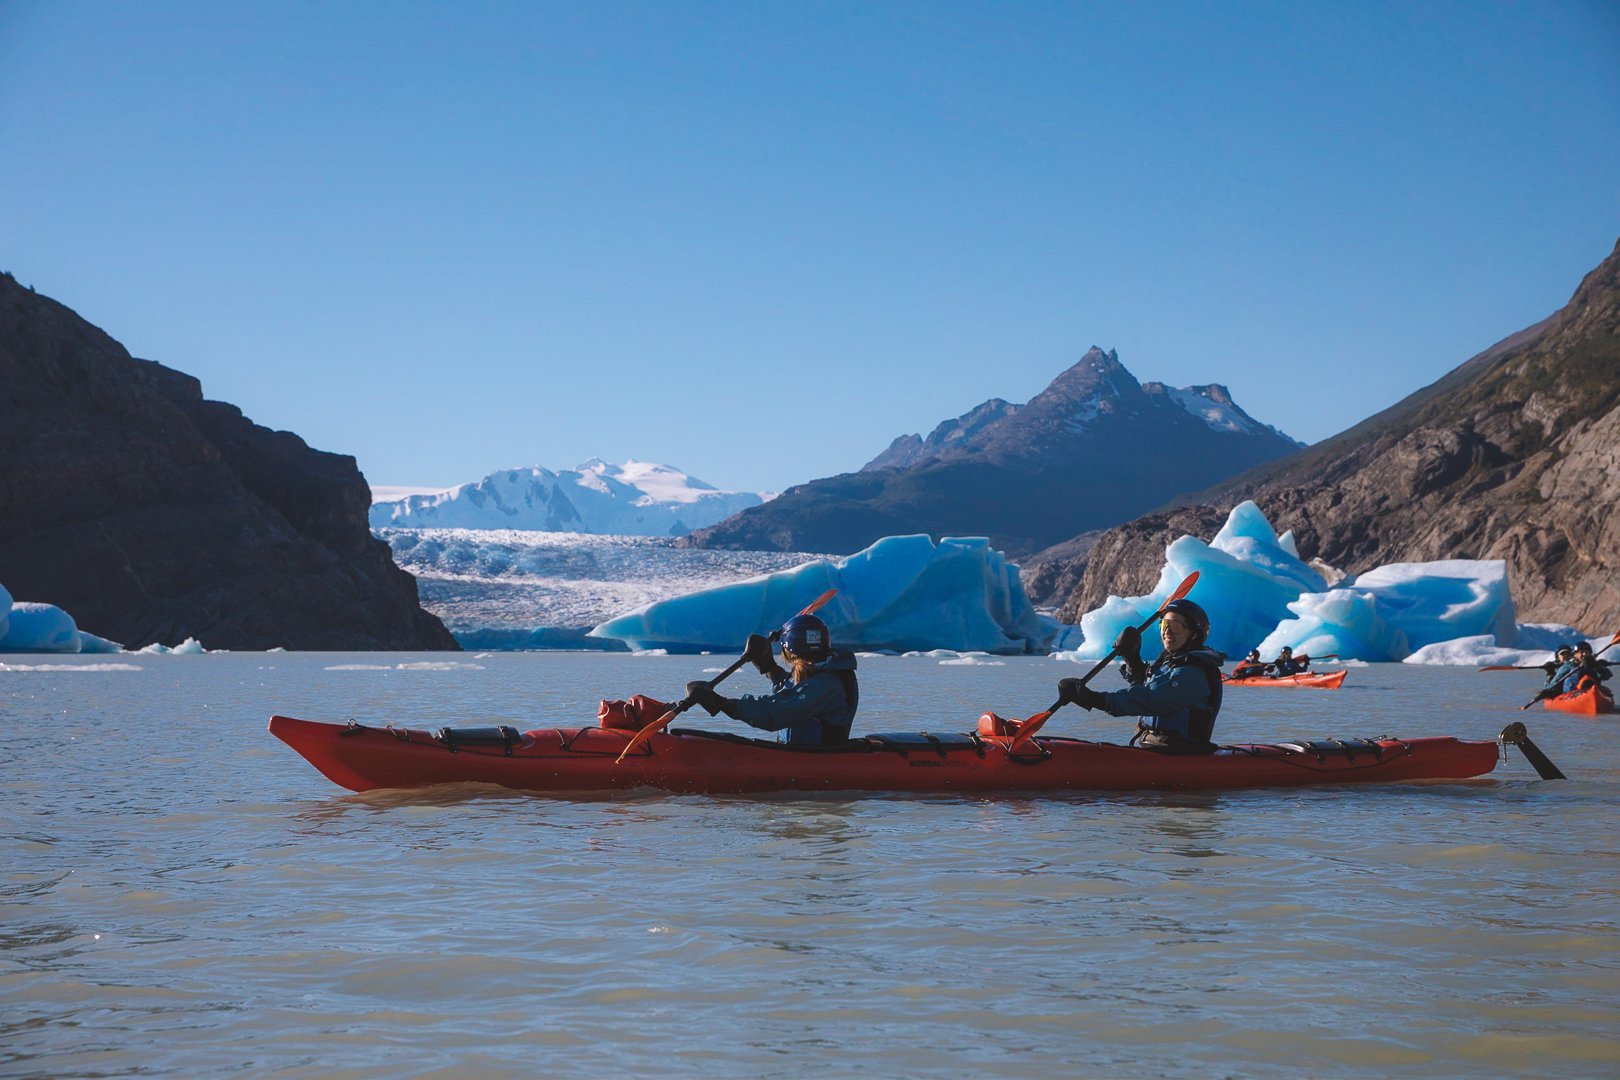
9. Kayak in a glacial lagoon
The Kayak expedition of about 2.5 hours departs daily at 9:00 / 14:00 / 17:00 hrs. In groups from 2 to 14 persons. In the base camp you will dressed with a neoprene suit, waterproof jacket and boots, poogies (kayak gloves), skirt, and life-jacket. In a safety briefing you will get to know your kayak, paddle, route and conditions. You do not need any kayak experience for this and are in double kayaks - a fun few hours out on the water paddling through icebergs, growlers and bergy bits.
Cot: $66.000 CLP per person(as of 2022)
*Available from October to April.
Much like your options above for ice hiking. This can be done as an add on to the O or W hike, as a day trip or as an overnight excursion. With its shorter duration there is more flexibility in timing of the lagoon kayak and sailings of the “Grey III”
*Note: You will need to take the Glacier Grey II ferry to get to the start of this trail. More information including pricing and sailing times can be found here.
10. Mirador Nordenskjöld Lake
One of my favourite roadside views. A small parking lot along Nordenskjöld lake signals this stop on the journey and the contrasting colours of Nordenskjöld lake and a smaller darker pond with the horns towering above make for a great place to stop and stretch your legs while driving around the park.
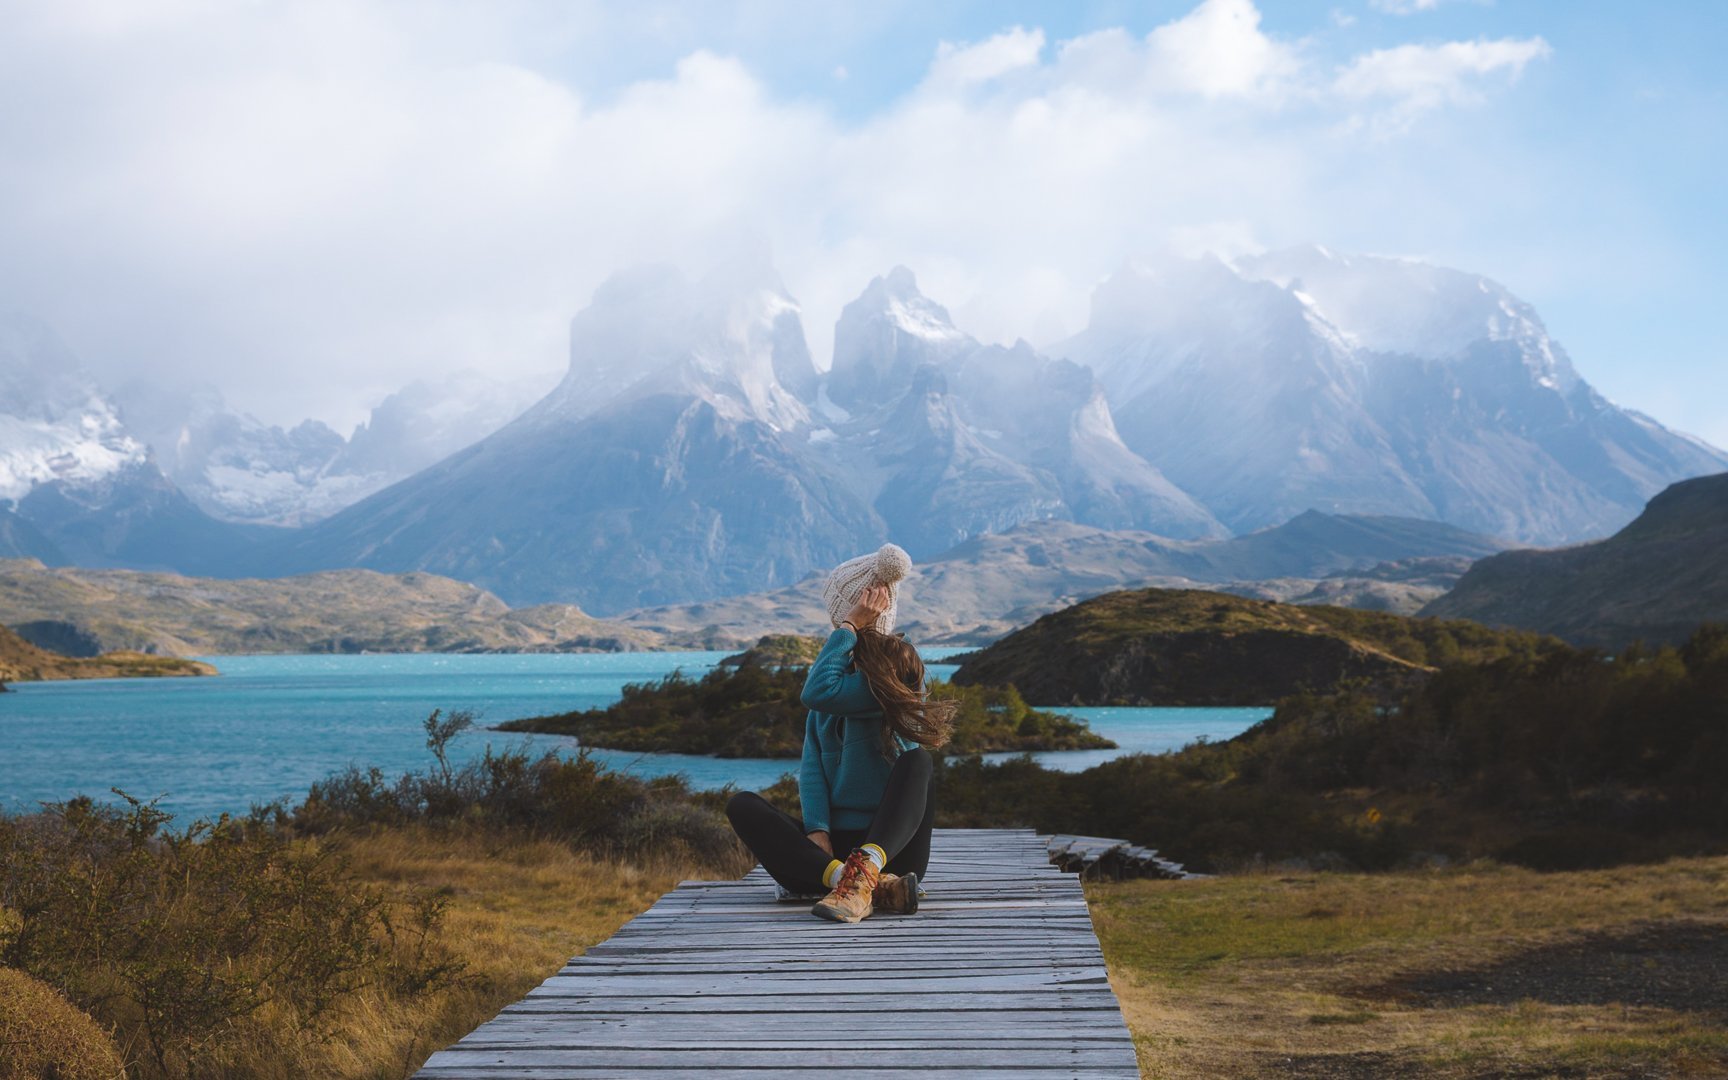
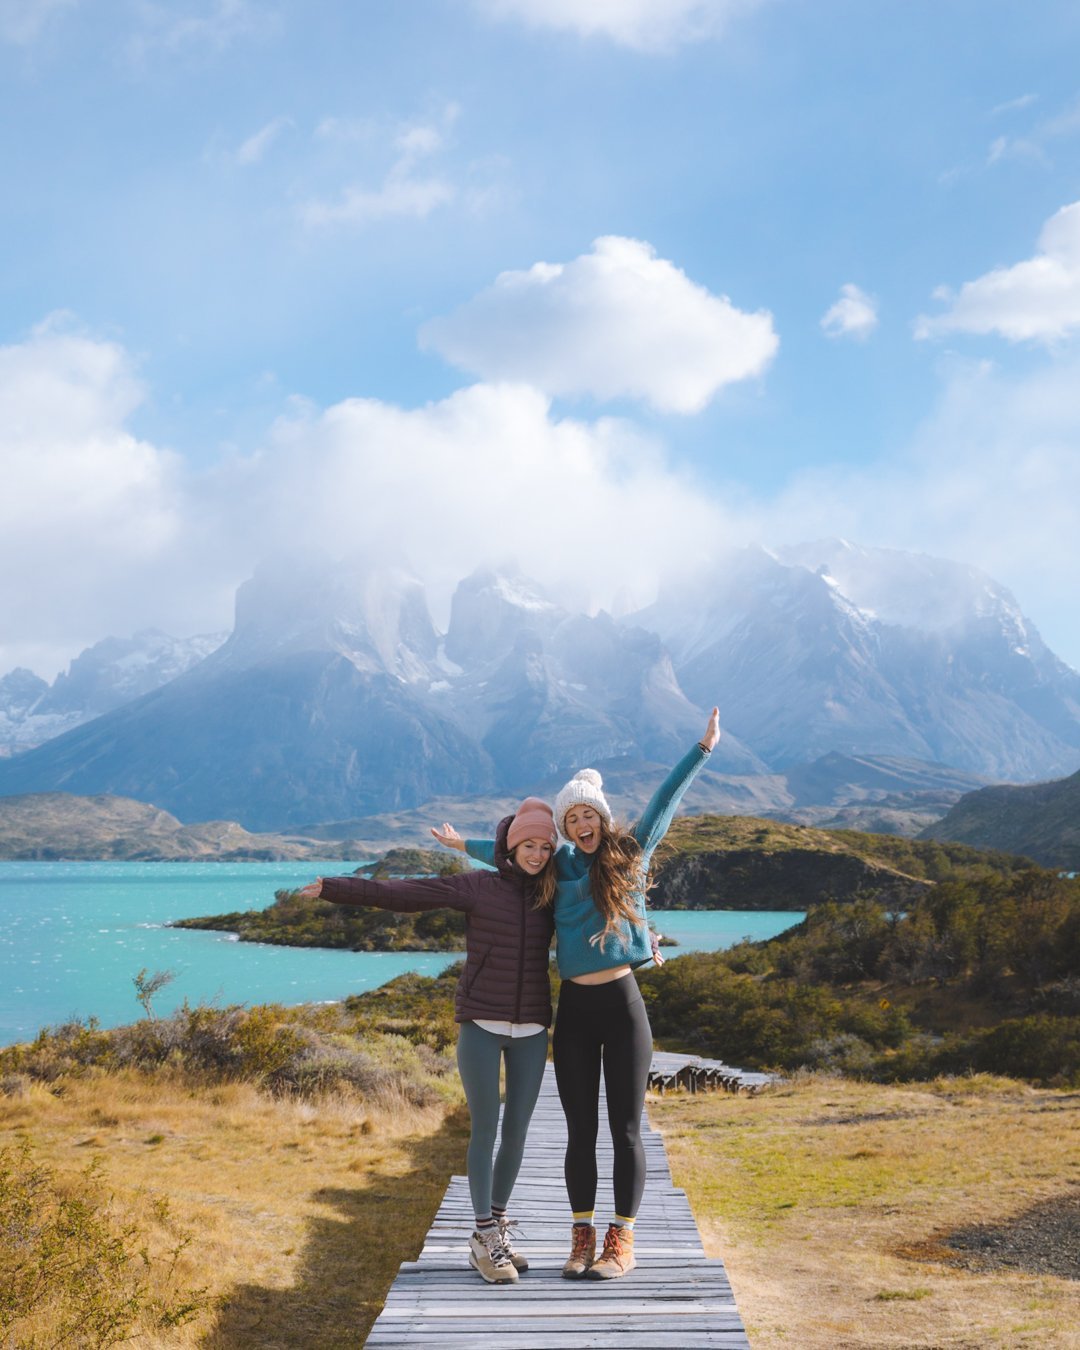
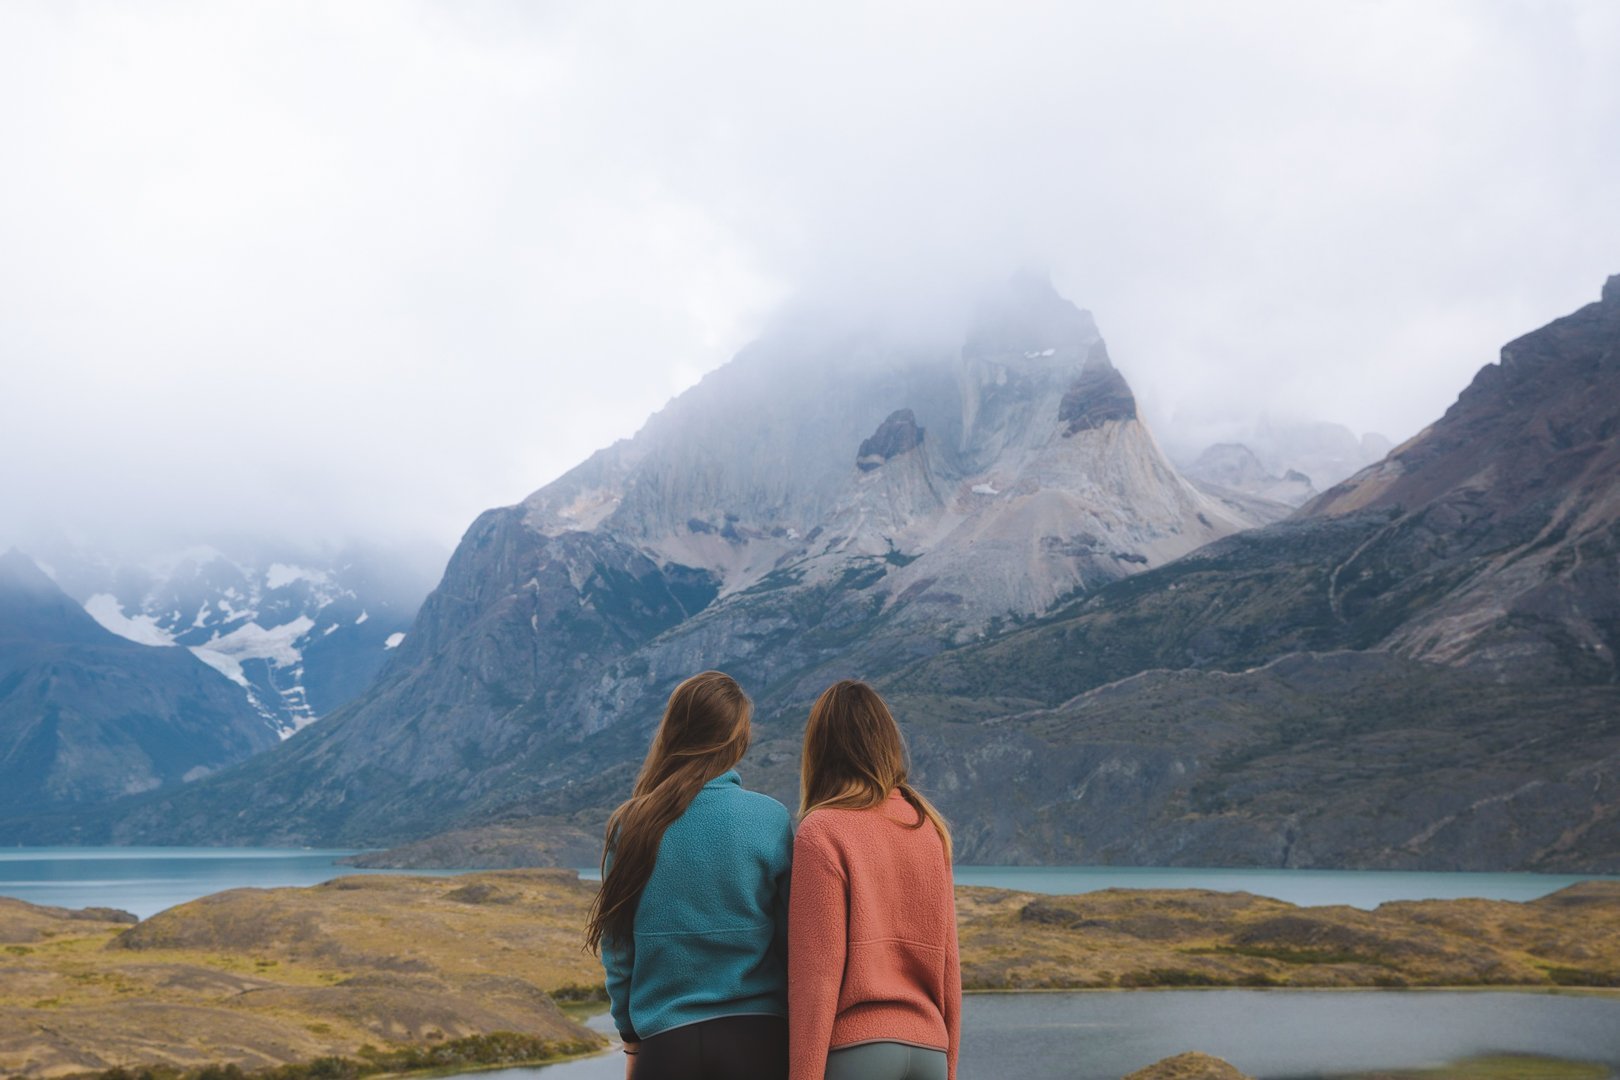
11. Lake Pehoe Boardwalk
Distance: 820ft/250m
Elevation: 36ft/11m
Route Type:
Difficulty: easy
Although this boardwalk is technically owned by Explora Hotel, it is used a public property. Simply pull into the parking lot between Explora and the Pehoe campground and walk up the stairs. This is one of my favourite “best bang for your buck” views in the park. It is great for just after sunrise when the warm sun floods the valley.
Tip : hike to mirador condor for true sunrise and come to this boardwalk right after for morning light (and then take a nap)
12. Base of the towers without the hike
If you have a long lens (400mm+) you can take stunning photos of the towers without the early start and 12.46mi/20km of hiking. During my first trip in 2018 we made multiple attempts to see the towers but were unsuccessful. On our final day we were told that the rangers had cleared a path but that at the lake there would be neck deep snow. We opt’d for this view instead. To get here, enter Torres del Paine from the Amarga entrance and head toward the Torres del Paine Welcome Center. You will almost immediately cross a bridge - and just on the other side of the bridge these views should be apparent. If these photos are something you are interested in - try scouting the night before and showing up 30 minutes before sunrise on a clear morning to catch the alpenglow.
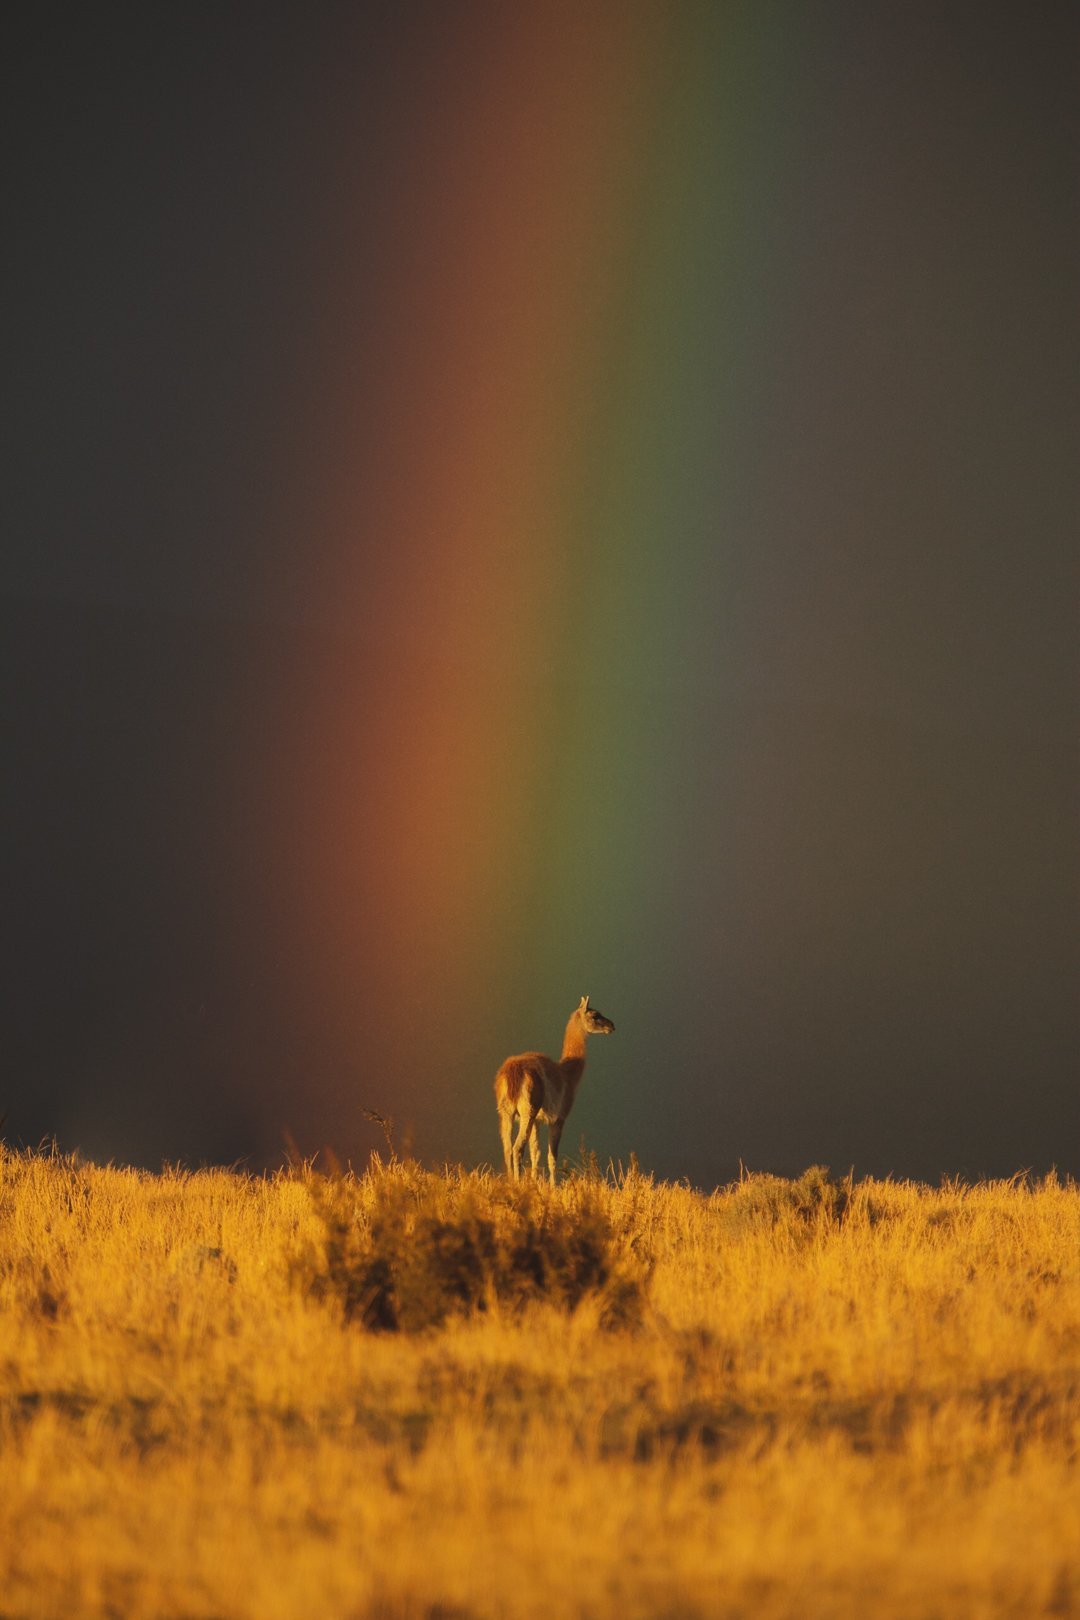
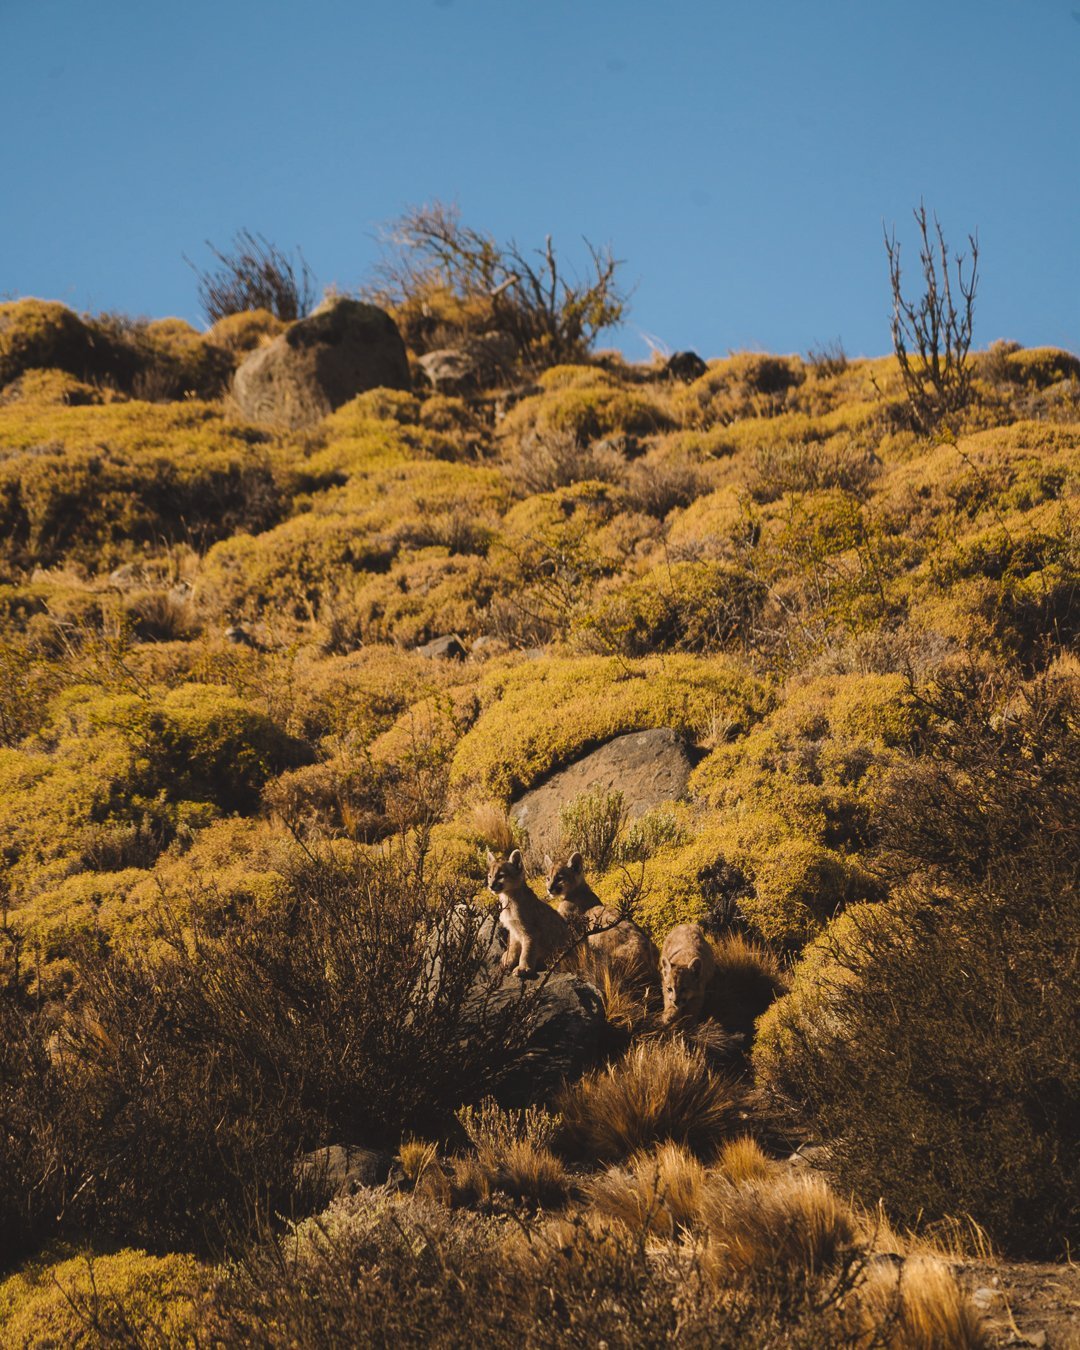
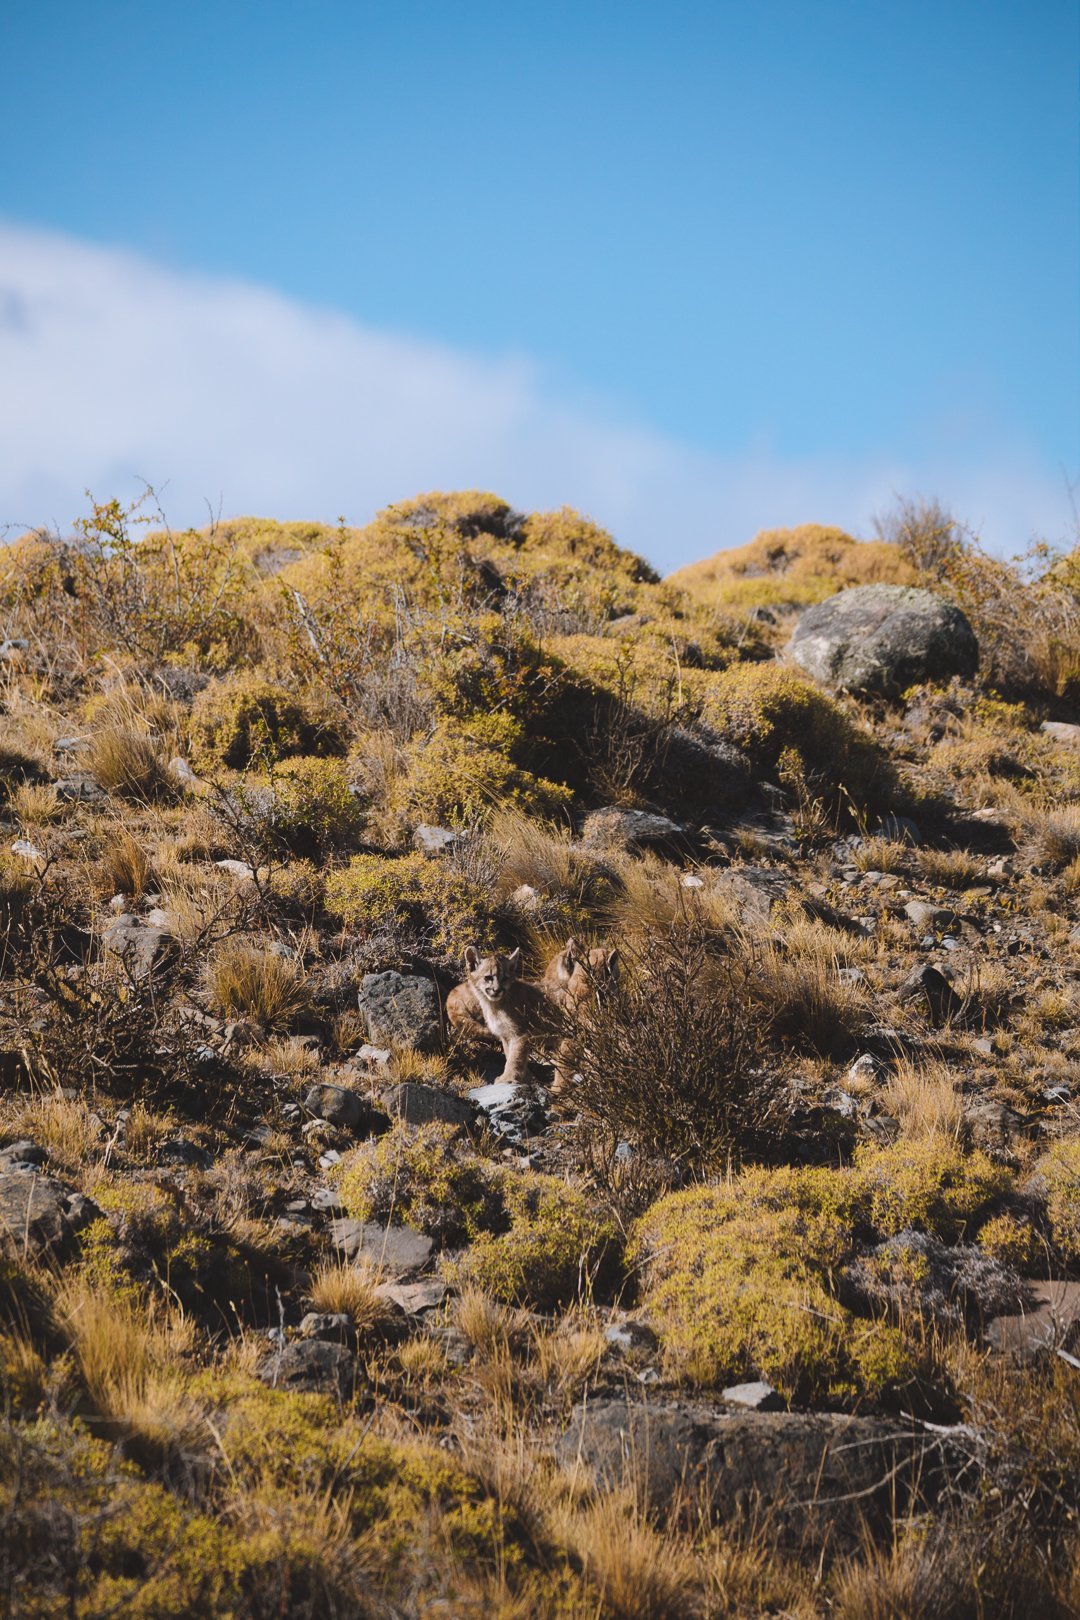
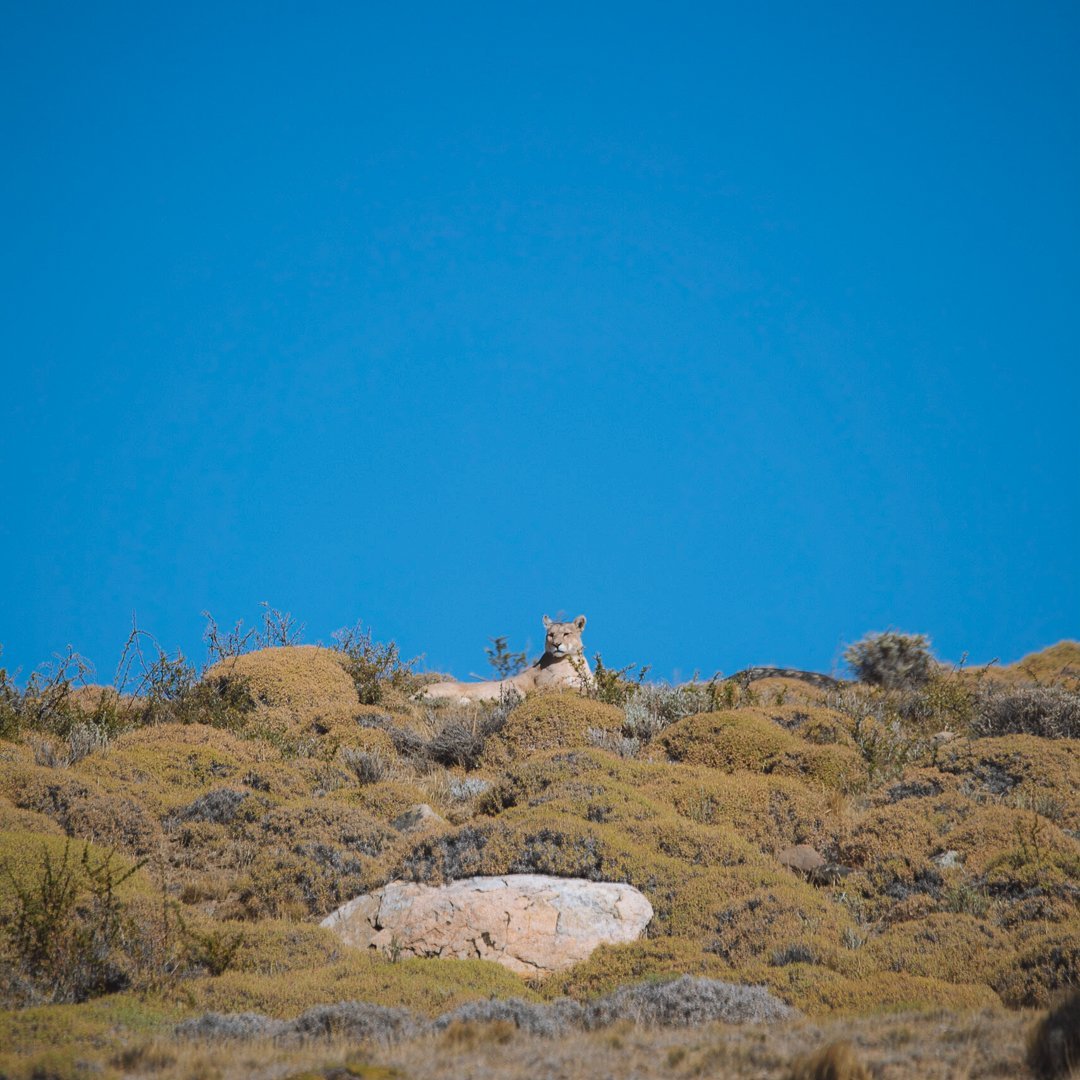
Bonus: take your time and drive around the park keeping an eye out for wildlife

*Please note that some of the links above are affiliate links, and I may earn a small commission on any purchase made - at no additional cost to you. As always, all ideas and opinions expressed in this post are entirely my own. Thank you for your support!