Back to Basics: Yoga Tips & Tricks - Downward Facing Dog

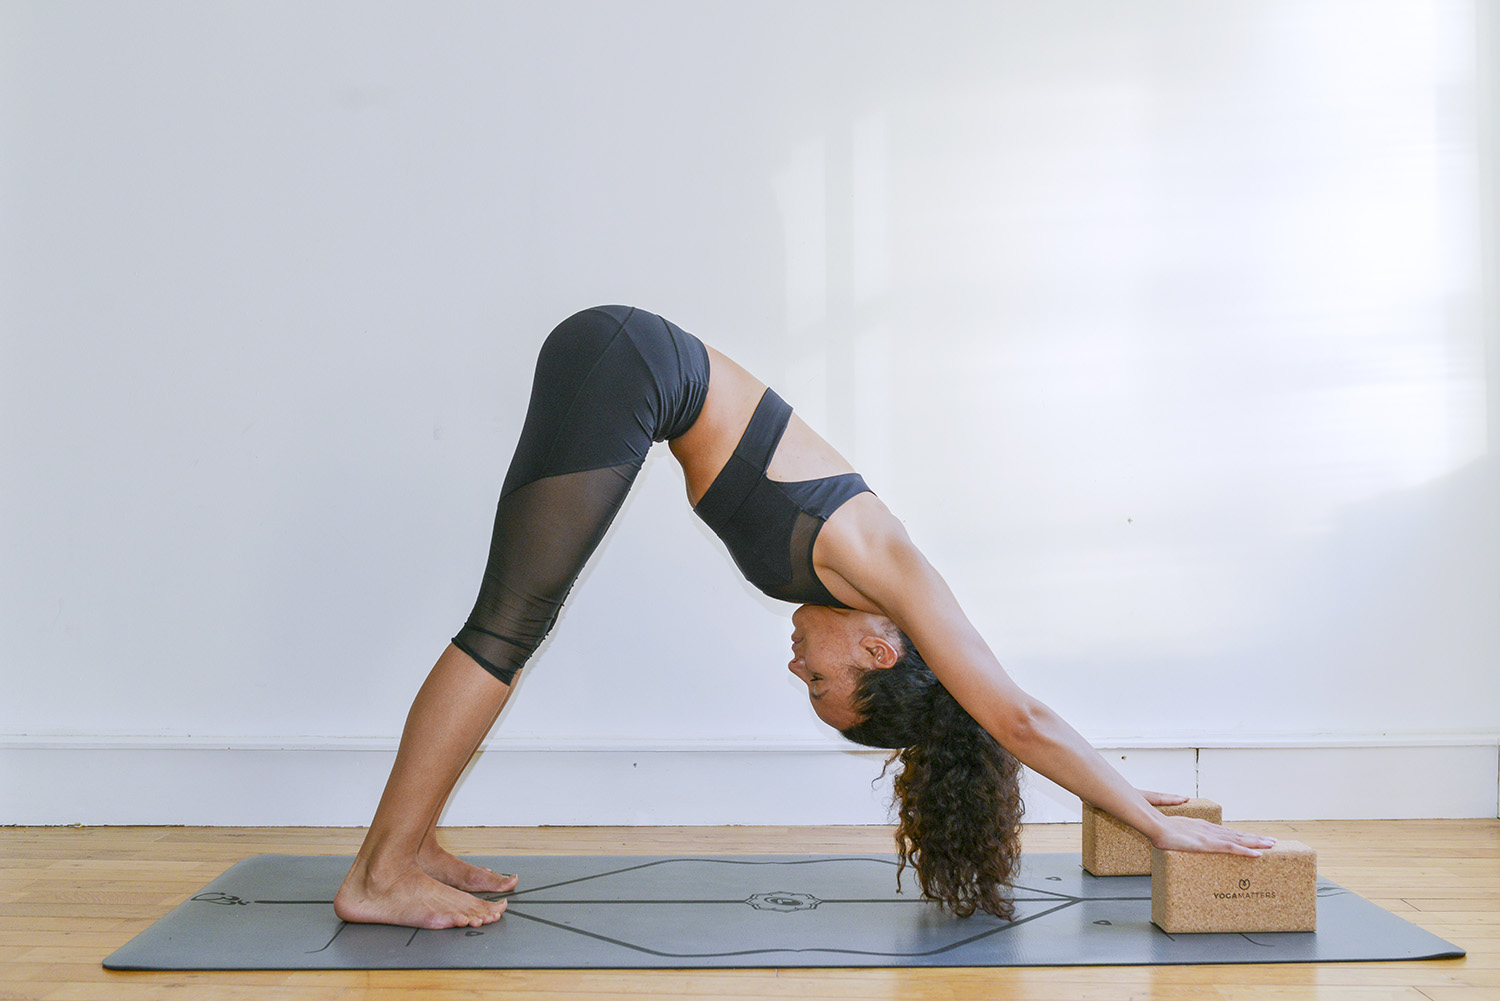
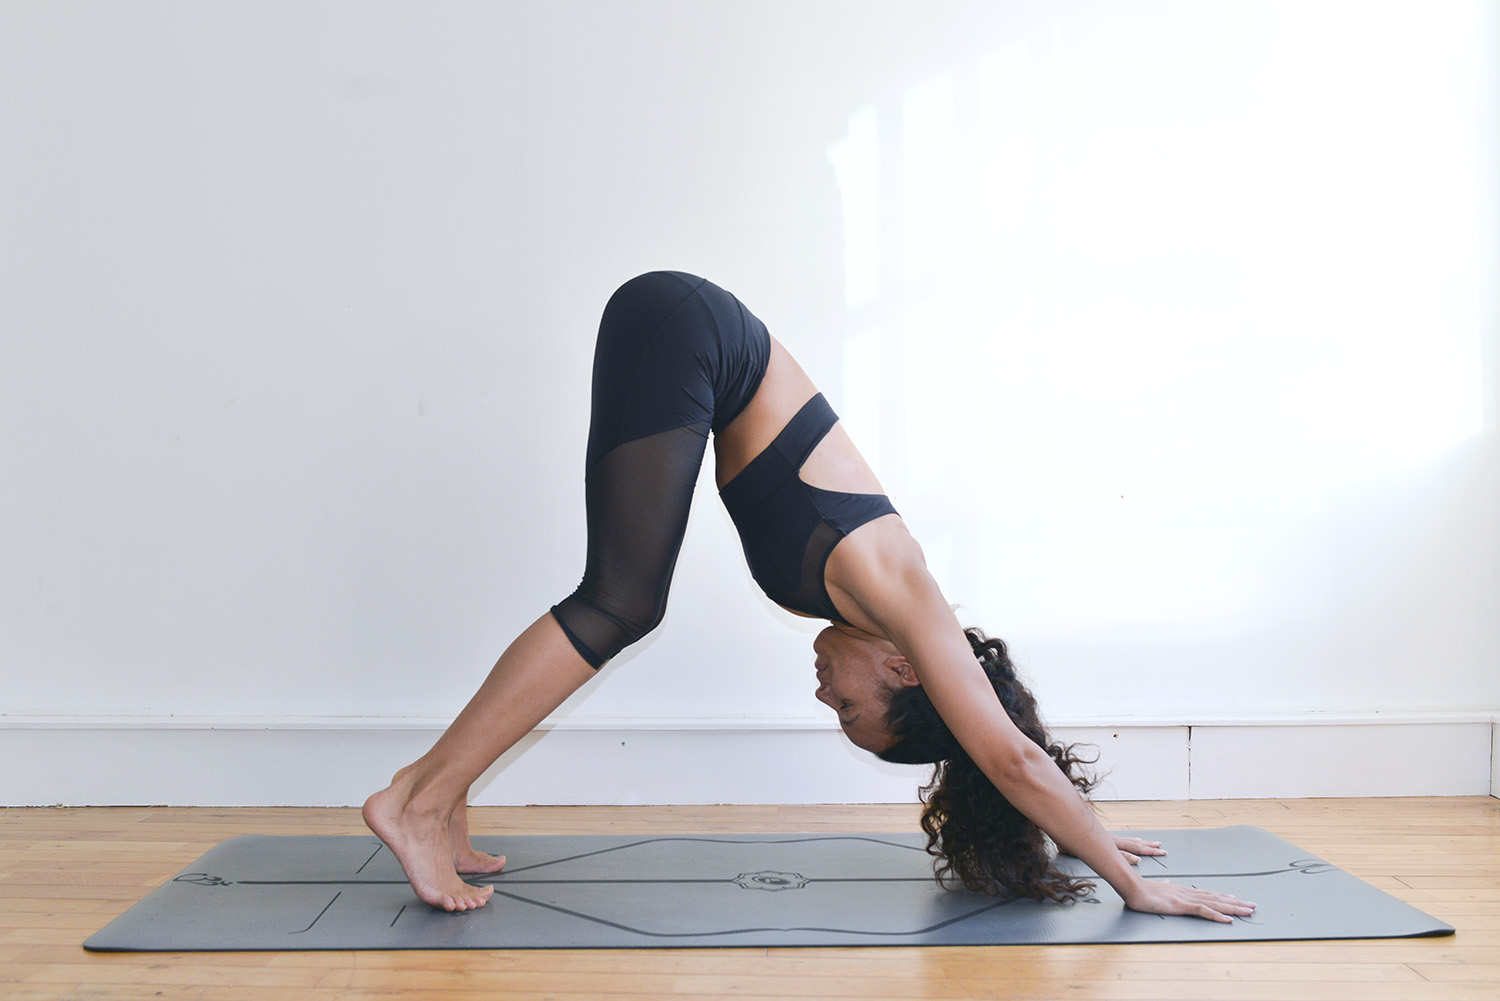
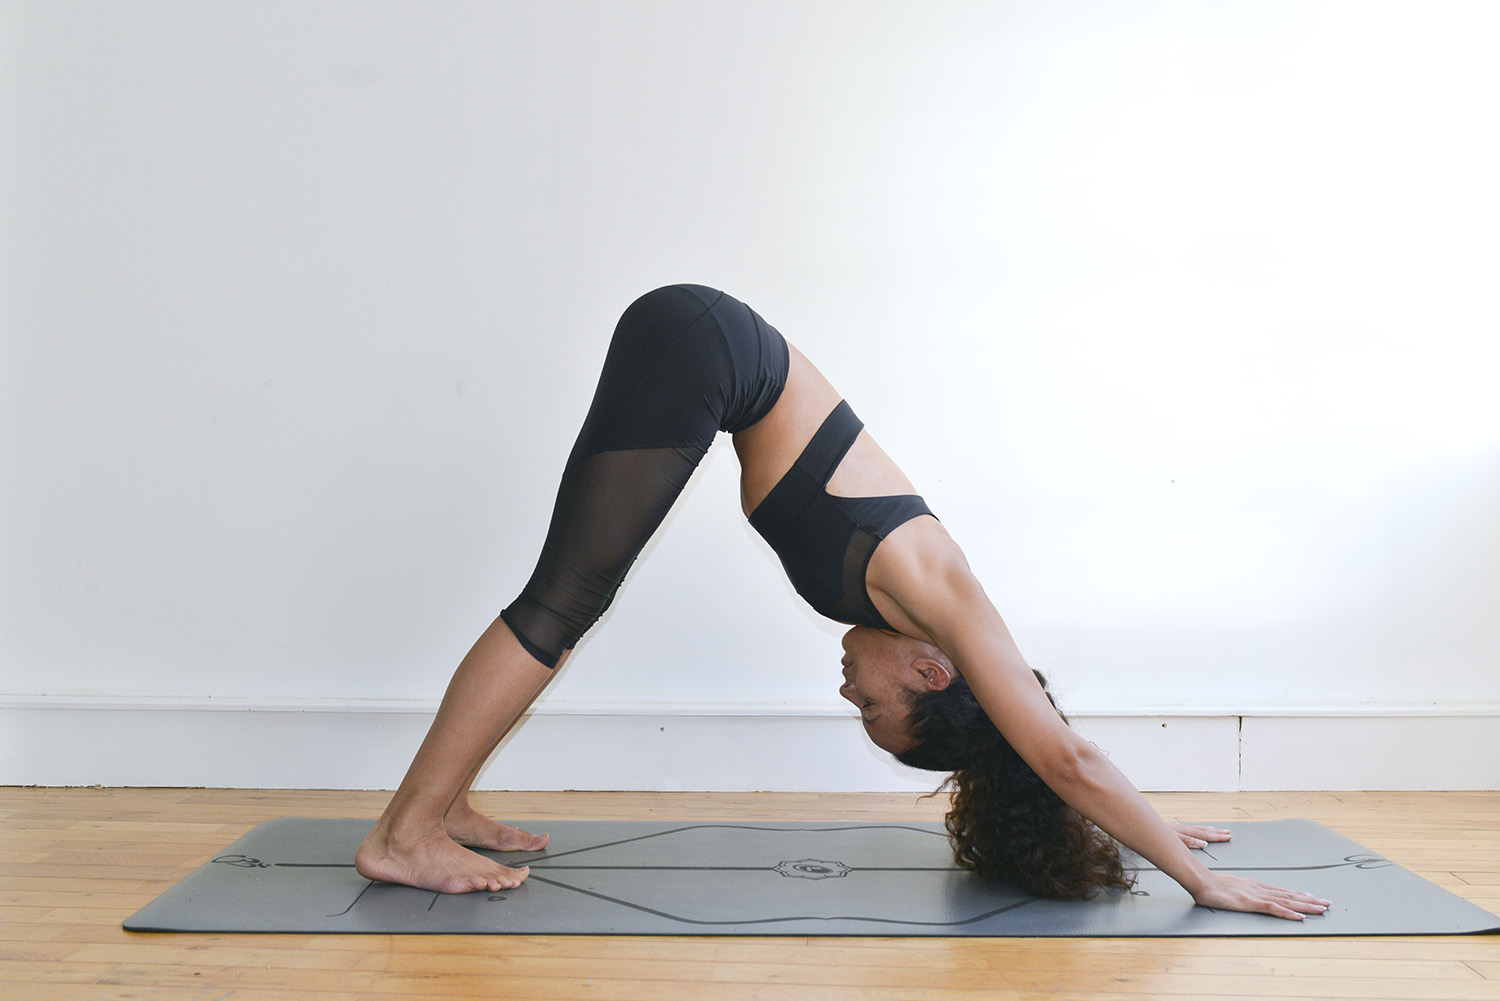
Ashley Bailey in Downward Facing Dog (Adho Mukha Svanasana), by Heather Elton.
As a beginner, starting something new can seem daunting and sticking with it when you are struggling can only add to the challenge. So, I decided to create a series of tips and tricks to help you find your strength and ease in some of the foundational yoga poses. These tips are not only for class but can also be practiced at home.
Some of the most common poses you will find in most Hatha or (Hatha based*) yoga classes are:
Downward facing dog (Adho Mukha Svanasana)
Mountain Pose (Tadasana)
Low and High Lunge (Anjaneyasana)
Childs Pose (Balasana)
Easy Pose (Sukhasana)
Corpse Pose (Savasana)
The first pose we will be looking at in this series is Downward facing dog (Adho Mukha Savanasana).
I sometimes joke with my students that Downward Facing Dog is supposed to be a resting posture. If you have tried the pose even once you’ll understand why that is a bit of a joke. Whenever a teacher said this during my practice I struggled not to laugh. With tight hamstrings, stiff shoulders and wrists unused to bearing body weight it has many beginners sweating in no time.
“Sthira Sukham Asanam.”
Though as practitioners we are working towards finding ease in every posture, this comes with regular practice. With that in mind, hopefully Downward Facing Dog being a resting posture seems less crazy and impossible. Maybe. Sthira Sukham Asanam. This often quoted aphorism from Patanjali's Yoga Sutra is usually translated as, “posture (asana) [should be] stable (sthira) and comfortable (sukha).” If you are just beginning your yoga asana journey, this can take some getting used to. Having your weight on your hands (and wrists) repeatedly throughout a class can be uncomfortable at first, but as you increase your strength and flexibility you will become better able to distribute your weight and effort evenly through the pose.
Here are some tips and tricks that can help you to adjust the posture to make it more comfortable as you learn to find ease in the posture both physically and mentally.
Check your alignment: Align your hands shoulder distance apart, with your middle fingers pointing straight forward. Spread your fingers and press lightly into the base of your index finger and thumb. If your hamstrings are tight or your flexibility is limited, try bending your knees.
Check your breath: Where we direct our attention our energy goes. Spread your effort, energy and attention evenly through the posture so that it is not all in the area causing you difficulty. Draw your attention to your breath and with each exhale invite softness and ease.
Use props: I’m a big fan of props. They are not cheating. They are only a crutch if you make them one. For your wrists: try a folded blanket under your palms for extra padding. For your hamstrings: Try placing bricks under your hands or a rolled up mat or blanket under your heels.
Check your Ego: There is no shame in listening to your body and giving it what it needs. If the above doesn’t work for you or you need a break, another option is coming down to the mat into a posture that you do find restful, for example: Childs Pose (Balasana). Then, when you’re ready, you can give it another go.
Lastly, remember that this is your practice and no-one else’s. No teacher or student knows your body better than you do, so please treat these alignment tips and cues as an opportunity to explore and find what feels right for you and your body each time you come to the mat.
Yoga Titbit: Since the invention of photography, ideas of what postures should look like has become more uniform. Prior to this, one yogi and their guru on one side of the Himalaya may have had a totally different approach to alignment than another.** With that in mind, the internal work required of us is just as, if not more, important than the physical practice and the shapes we pull.
I hope you’ve found these tips and titbits useful. Keep an eye out for the next post in the series where we will be taking a look at Mountain Pose (Tadasana).
* All of the following are styles of Hatha Yoga: Ashtanga, Anusara, Bikram, Jivamukti, Kripalu, Kundalini, Iyengar, Sivananda and Viniyoga.
** According to Mark Singleton author of “The Yoga Body: The Origins of Modern Posture Practice”, our modern postural practice is a radical break from Haṭha Yoga tradition, with different goals and an emphasis on āsanas (postures) many of which didn’t exist prior to the 20th Century - including Downward Facing Dog.