How To Do Warrior III Pose (Virabhadrasana III)
Adding a balance challenge to the Warrior Poses, learn how to do Warrior III pose through a step-by-step tutorial, as well as the benefits, some modifications and common mistakes to look out for.

Werbung. This blog post contains a link to my Foundations of Yoga course.
Warrior III pose, or Virabhadrasana III (veer-uh-buh-DRAHS-uh-nuh) in Sanskrit, is a balancing yoga pose named after the mythological Hindu warrior, Virabhadra. There are three Warrior poses (Warrior I, Warrior II and Warrior III) named after this fierce warrior, an incarnation of the god Shiva. The Warrior poses symbolise our own spiritual warrior fighting against our everyday battles - pride, ego, ignorance, false perceptions, and a distracted mind. Warrior III embodies the fierce power of a warrior, and will give you strength through balance and focus.
Jump to:
Benefits of Warrior III Pose
Warrior III: Step-By-Step
Modifications
Common Mistakes
BENEFITS OF WARRIOR III POSE
Strengthens the ankles, legs, core, shoulders, and muscles of the back
Tones the abdomen
Improves balance, co-ordination and concentration
Teaches body awareness and proprioception as you must hold your position in space to stay balanced
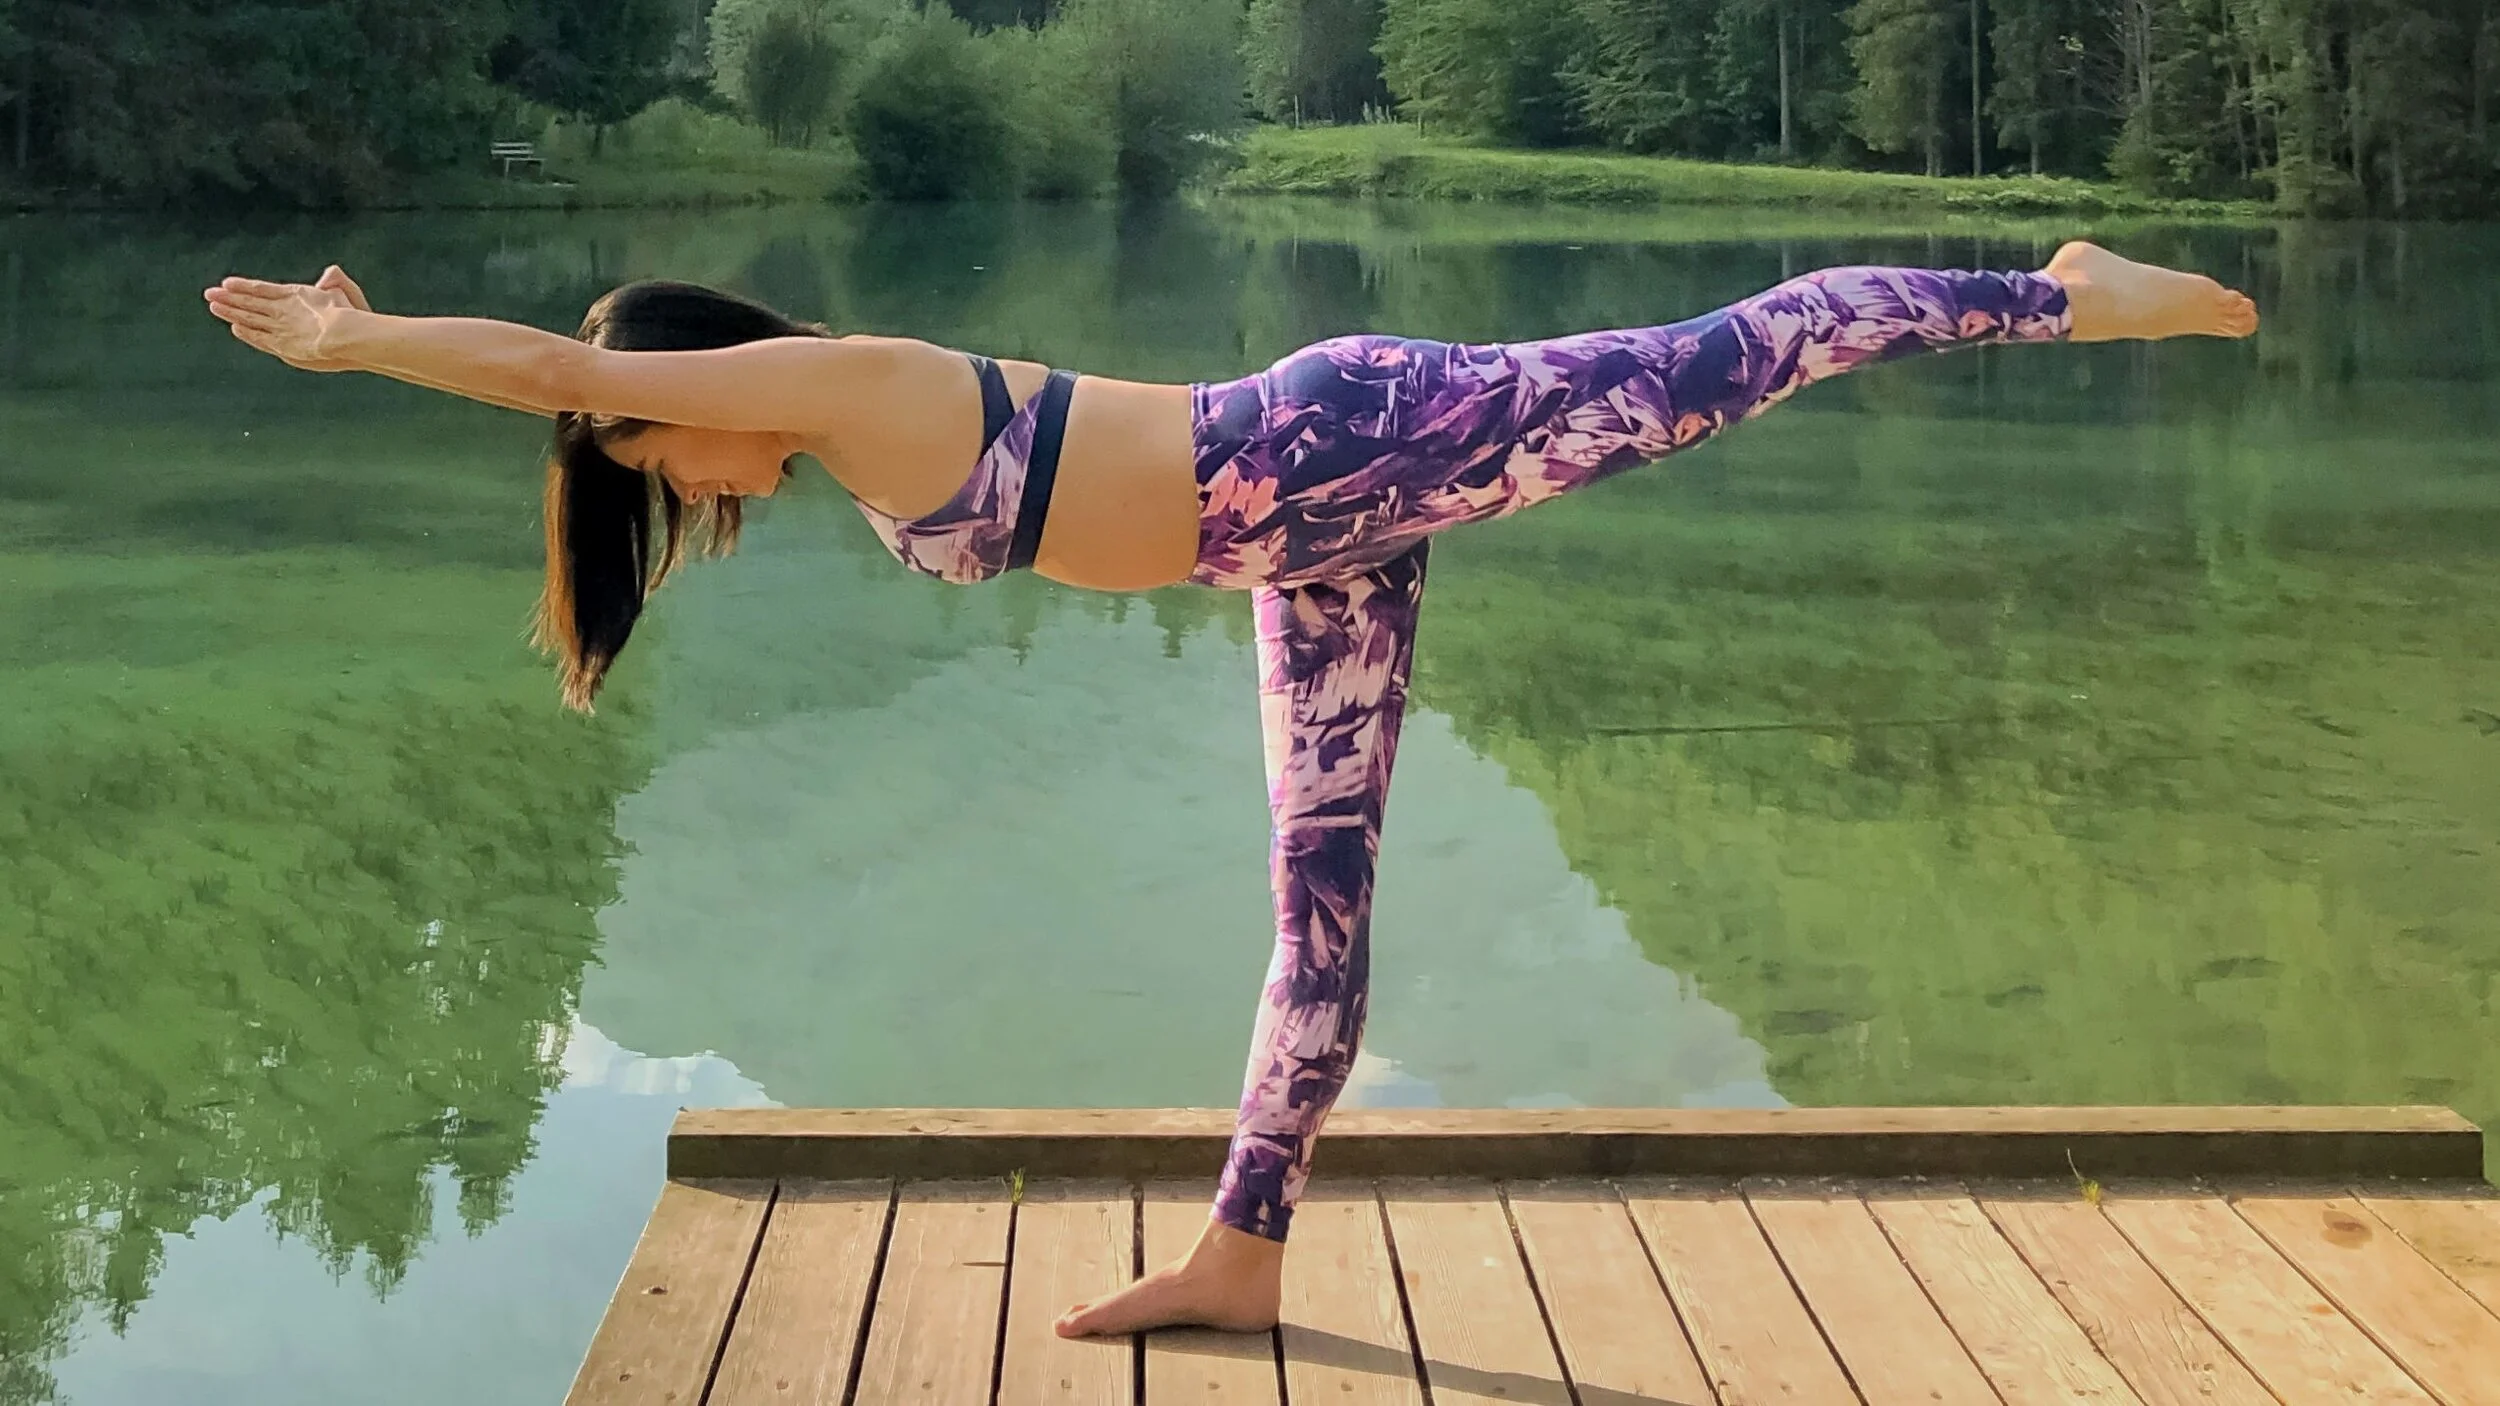
WARRIOR III POSE: STEP-BY-STEP
Begin in a High Lunge with your right foot forward, hips square, and arms overhead at shoulder-width distance apart.
Lift up in your core and find stability and balance.
On an exhale, push with your left foot and bring your weight forward over your right leg as your left leg lifts up behind you. Your body comes parallel with the floor.
Keep engaging your core and activating through both legs, without locking the right knee. Your right supporting leg should be firmly planted into the ground, and your left leg reaching towards the back of the mat and up. The left leg should also be parallel with the floor.
Make sure to keep your hips level, with both hip bones pointing down to the mat.
Keep your gaze at one still point at the top of your mat to help you balance, and send the energy out through your hands and your raised foot.
Stay for 5 breaths.
To come out of the pose, bend your supporting right leg, and lower your left leg back into High Lunge.
MODIFICATIONS
If you have trouble keeping your balance, use a wall, chair, or blocks to support with your hands.
There are many arm variations you can take. If you find it too challenging to have your arms extended overhead, you could also place them in a prayer's position at your heart centre, or extend your arms to either side of your body with your palms facing down, or interlace your hands behind your back.
The back foot can be flexed, pointed or ‘flointed' (pointing the foot but flexing the toes).
Once you are comfortable with this pose, try making the transitions smoother and more controlled.
COMMON MISTAKES
Locking or Hyperextending the Supporting Knee
Keep your supporting knee slightly bent to protect your joint, and engage the muscles in your leg to hold you up instead. It's actually much harder to balance with your knee locked as you don't have the minute movements of your leg muscles to constantly keep you upright, and it also makes coming out of the pose a little harder.
Hip of Raised Leg Lifts Up
It's common for the hip of your raised leg to lift up as you try to get your back leg higher. Try to keep the hips level, and both the hip bones pointing down directly to the mat
Neck Out of Alignment
Make sure to keep your gaze looking down towards the top of your mat. Looking too far down or up will bring your neck out of alignment with the rest of your spine. Think of reaching out through the crown of your head to the top of your mat.
Kickstart your yoga journey now and transform your life
Join my 10-day Foundations of Yoga course to build up your basics and discover the transformative power of yoga.
