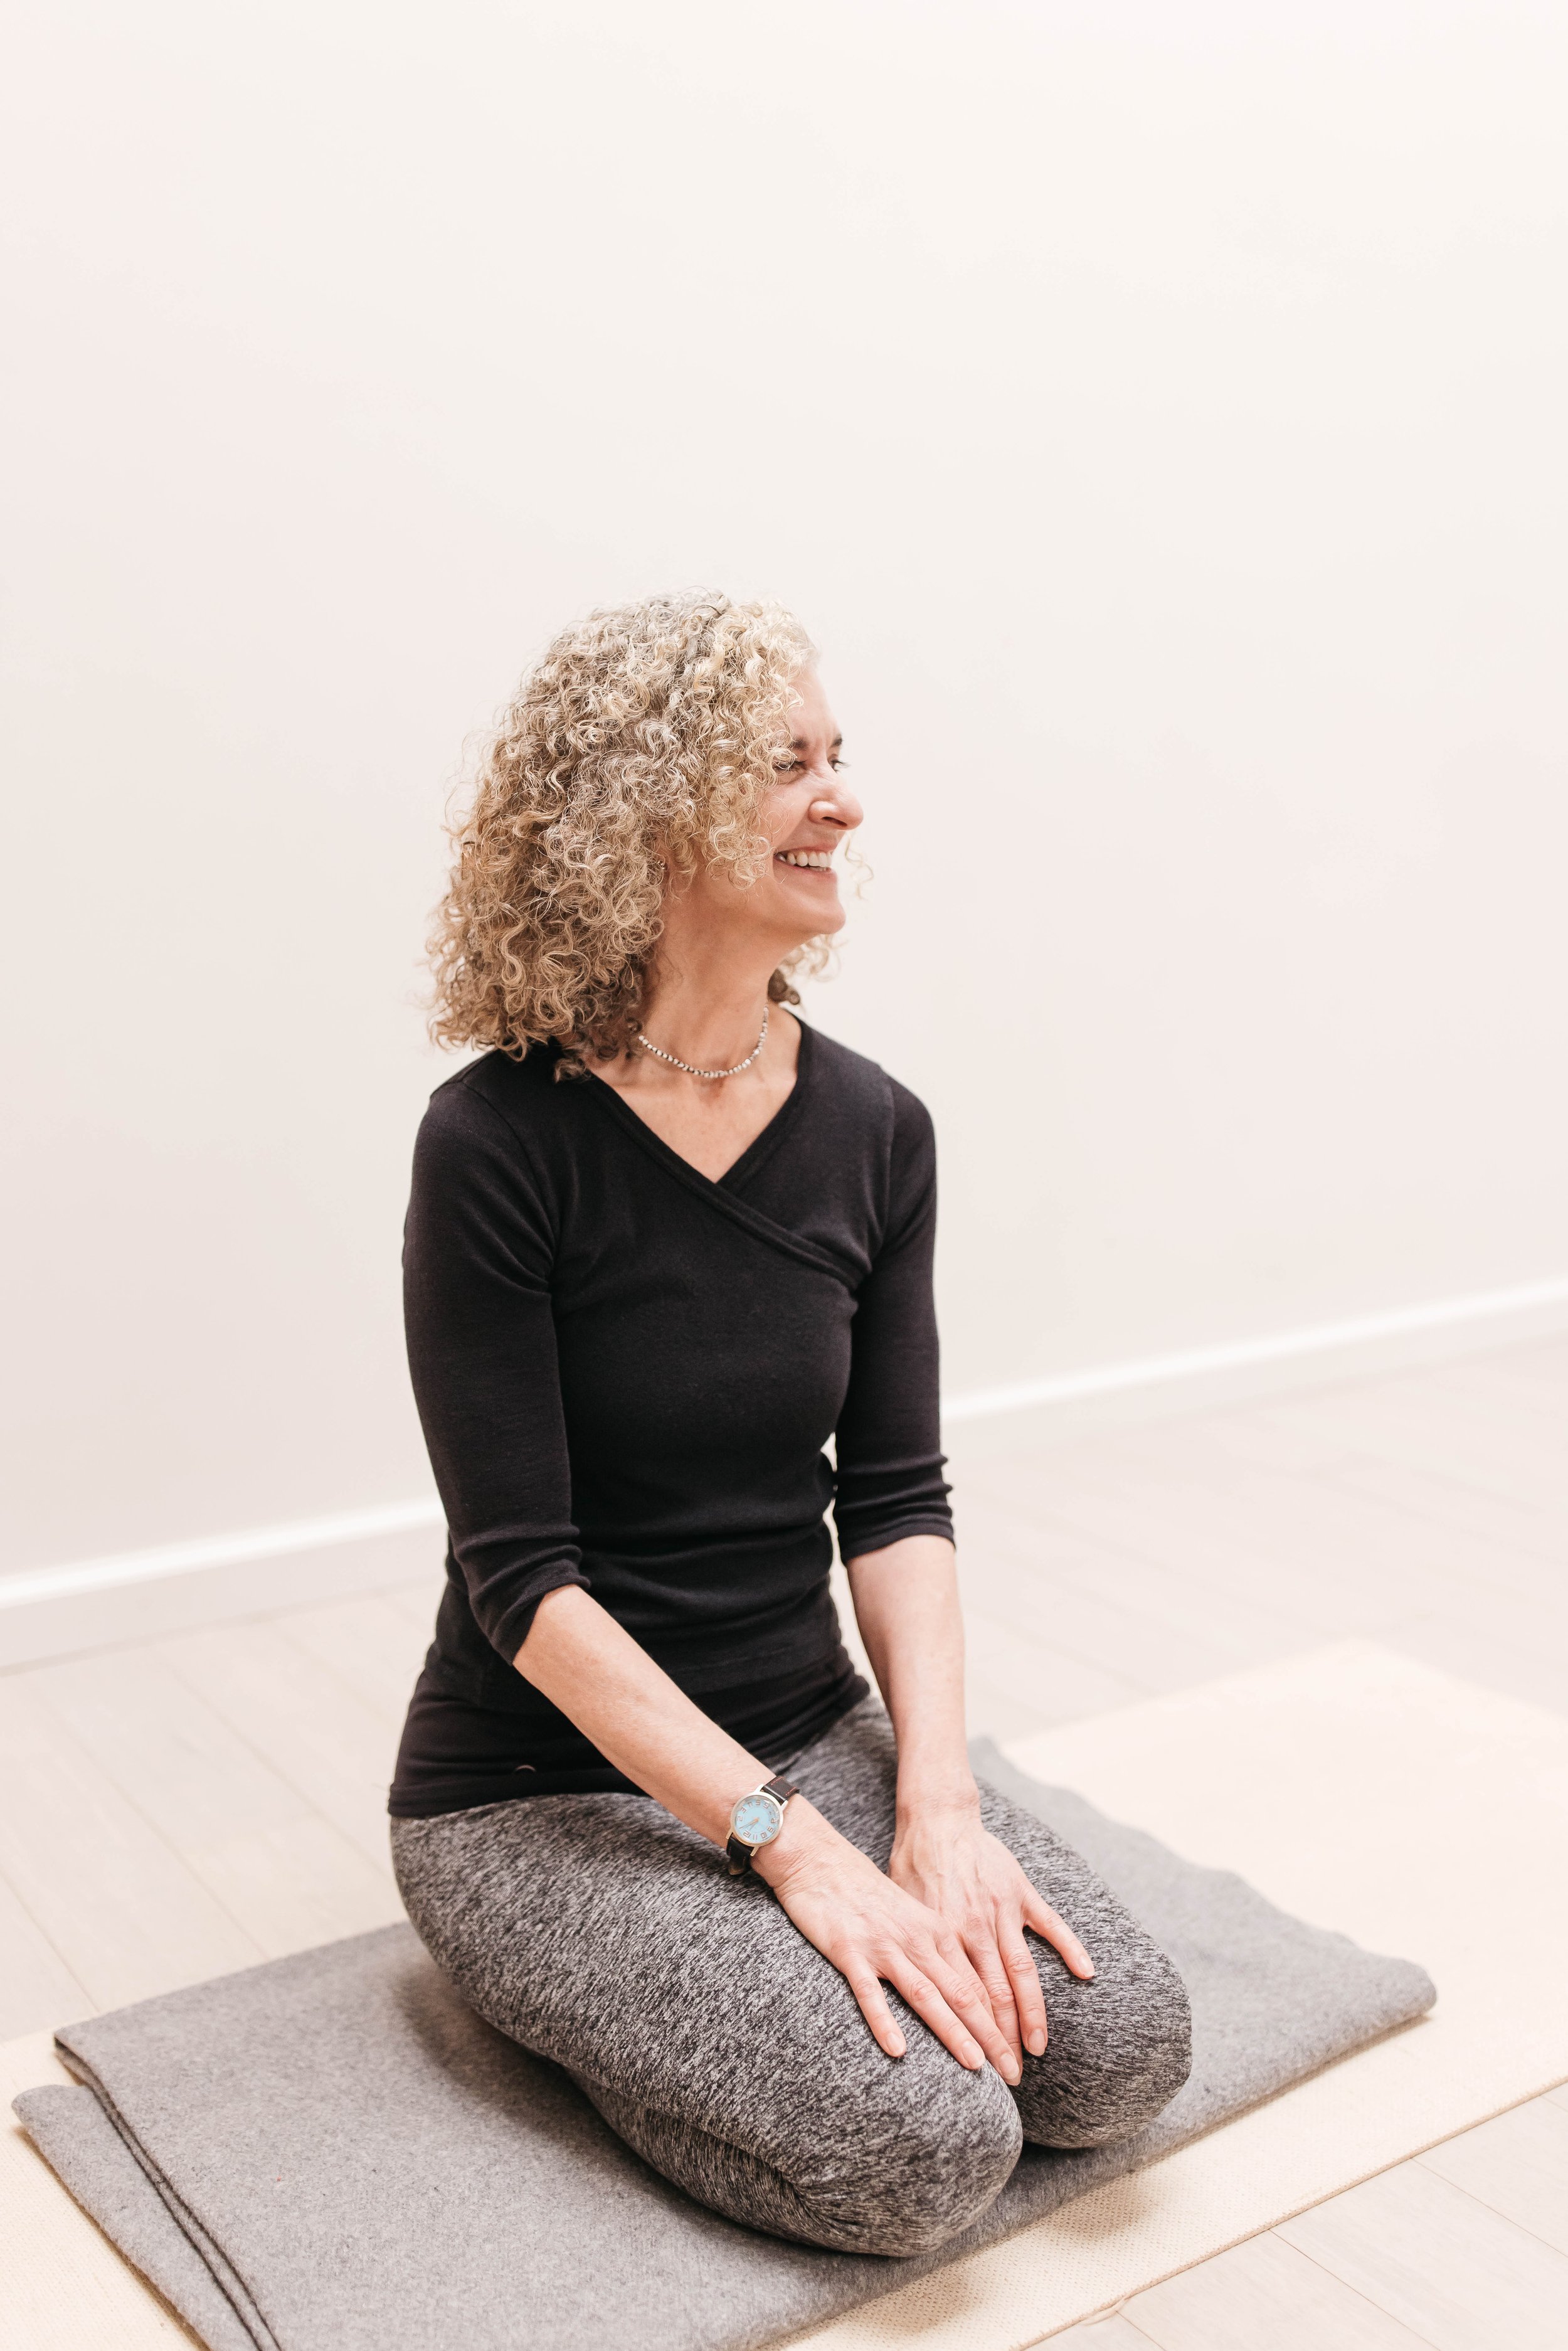
VIRASANA
vira = literally, “man,” especially a brave or eminent man, hero, chief; cognate with English words like “virtue, virile.”
You may not be able to sit all the way down to the floor, at least at first, so have a yoga block within reach, just in case it’s needed.
BENEFITS:
According to Yoga Journal, Virasana increases flexibility in the knees and hips, tones the muscles in the arches of the feet and increases circulation in the feet and legs. https://www.yogajournal.com/poses/master-hero-pose-virasana-5-steps/
PRACTICE:
1. To begin, kneel on the floor with your thighs and torso upright. Separate your feet slightly wider than hip width.
2. Press your fingertips into the backs of the knees, and draw the calves toward your heels. You might have seen students moving into the pose by turning the calves laterally, that is, from the inner leg to the outer. This isn’t recommended here.
3. Once your calves are drawn away from the backs of the knees, slowly sit back. As mentioned, it may not be possible to sit all the way down on the floor. In this case, position the block between your feet, be sure to sit across the block so that both sit bones are equally supported. You can place the block at it lowest height, on one of its faces, or if needed, at its middle height, on one of its sides. If needed, use a second block to sit even higher.
4. Your inner heels should be slightly away from the outer hips. You should ideally be able to slip your thumb between the heel and the hip. Also see that your toes are turned slightly in, so that the swell of the hip matches the curve of the foot’s inner arch.
5. Use your yoga x-ray vision to gaze through the flesh of your thighs to the thigh bones (femur) underneath. Your femurs should be more or less parallel. Since the female pelvis is slightly wider than the male, a woman’s inner thighs may be slightly apart.
6. With your right hand, hold your right knee and lift it a few inches off the floor, stretching the front ankle. With the knee slightly elevated, allow the head of the to “drop” toward the floor. Imagine the bone is like a see-saw, so that when the knee end is lifted, the hip end descends. Then carefully lower your knee back to the floor, and repeat on the left.
7. Slide your hands under your sit bones and pull them back and apart. Then press the bases of your hands into the hip creases, right where the thighs join the pelvis. As you push firmly down on your femurs, lift your front torso through the top of the sternum. Then press the bases of your hands against the outer edges of your feet, widening the tops of your feet on the floor.
8. Finally, lay your hands on your thighs, palms down, or cup your hands around your knees and pull, using that to lift the top sternum.
VARIATION
Curl your fingers under your toes, palms rest on the soles. With an exhale, lay your torso down on your thighs, head on the floor. Try to keep your buttocks as close to the floor/support as possible. If your head doesn’t easily rest on the floor, support your forehead on a block.
COMING OUT OF THE POSE
To protect your knees, it’s essential to come out of the pose properly. There are three ways to do this.
1. Lean to the left and hold your right ankle. Pick your right leg up, and keeping the knee completely flexed, stand your foot on the floor. Drop your knee off to the right, extend your leg out to the side, then swing your leg in front of your torso. This assures that there’s no rotary movement in the knee, which is a hinge joint. Repeat on the left.
2. Press your hands to the floor and lift your buttocks up off the floor/support. Cross your ankles under your buttocks, lean back slightly, and stretch your legs straight forward into Dandasana (Staff Pose).
3. Press your hands to the floor and with an inhale, step back into Adho Mukha Svanasana (Downward Facing Dog).
TIPS
1. If you feel tightness in your knees, try this. Take a yoga belt and fold it in half. From position (1) above, lean forward and rest your crown on the floor. Wedge the belt tightly into the backs of your knees, then lift your torso up and sit back. The belt should ideally create some extra space in your knees.
2. If your ankles complain, roll up a towel and place it under your ankles. Over time, as your ankles release, make the roll smalller and smaller until it’s no longer needed.
3. Have some extra National Geographics around? In the old days, we would place a stack below our buttocks, using just enough issues to sit relatively comfortably. Over time, as the thighs released and we could sit more easily on the stack, we’d remove one of the magazines and so sit a bit lower. This we’d repeat each time we felt our thighs releasing, and so gradually we worked our way down to the floor.
4. Want to really ground the femurs? Buy a 25-pound barbell weight and lay the edge into your front groins. The flat surface of the weight should then rest against your belly. You can secure it in place by looping a belt around your torso and the weight.


