Belly Twist Pose: How To Practice, Precautions And Benefits Of Jathara Parivartanasana
Jathara Parivartanasana: How To Practice, Benefits And Precautions
Written by Tavishi Dogra|Updated : September 17, 2022 7:56 AM IST
The twisting pose, known as jathara parivartanasana, is one of the best for physically toning and strengthening the abdomen. It is similar to a double leg lift, but with the legs out to the sides rather than straight up and down. If you do not regularly perform double leg lifts, start with the bent-knee variation of jathara parivartanasana and lower the legs only as comfortably as possible. Again, a strong lower back is required.
Bent Knees Jathara Parivartanasana
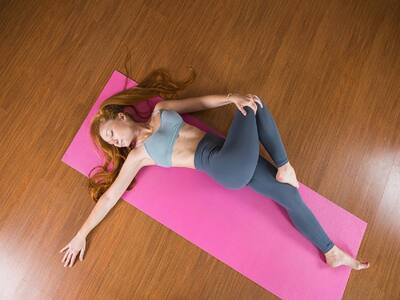
Legs extended on the floor as you are lying on your back. Knees are bent, and they are brought to the stomach. By tightening the pelvic floor between the pubic bone and the tailbone and drawing it up while pressing the lower back into the floor, you can access the deep abdominal muscles in the lower pelvis. Breathe in and out a few times, allowing the upper abdomen to be loose and responsive for free, complete, and relaxed breathing. The pelvic floor should then be relaxed for a few more breaths.
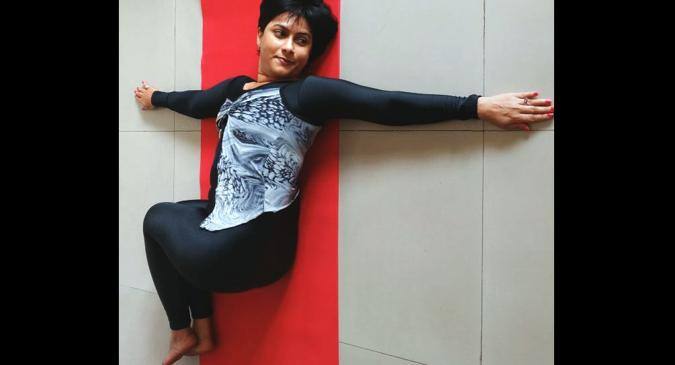
Step By Step Formation Of The Pose By Himalayan Siddha Akshar
TRENDING NOW
To enter the position, tighten your lower back and pelvic floor once again to make your entire lower abdomen active. Next, slowly descend both knees to the right while pressing the shoulders to the ground. If you feel a tug on your lower back, lower only halfway or less. Return to the centre and lower to the left by about halfway. Keep the neck, jaw, face, and eyes soft and relaxed, the lower abdomen active, the shoulders pressed to the floor, and the knees and ankles close together. Breathe normally as you repeat as a moderate side-to-side roll. This massage prepares your lower back for a deeper stretch by gently stretching it.
To twist the abdomen further, bring your feet to the floor close to the pelvis. Then, shift the pelvis to the left side, so the right hip is closer to the body's centre.
Knees should be bent into the abdomen, the pelvic floor should be tightened as before, and knees should be lowered toward the ground. Keep the ankles together and the left knee aligned with the right. Allow the entire spine and torso to stretch while pressing the left shoulder down. Keep the head in the middle and the neck lengthy. The lower back is relieved of strain by shifting the pelvis and maintaining the knees stacked, which helps the posture concentrate on the muscles along the spine, the waist, and the abdomen. Take a deep breath into your upper belly and focus on rotating your deep abdominal muscles.
Exhaling, raise the legs back to the middle. Then move the hips to the right and bend your left knee until it is parallel to the floor. In that scenario, the knees wouldn't rest on the ground; instead effortlessly lowered and raised without pausing. In addition, the abdominal muscles will become more substantial due to the repetitive activity. If your lower back feels any strain, transfer the hips to the opposite side before bending the knees.
If your knees don't touch the floor, you might want to use a thin enough cushion to stretch out yet tall enough to support your legs' weight.
Contraindications
Avoid if you are recovering from hip replacement surgery or abdominal surgery.
In case of any injury in the rib cage, ankles, knees, neck, spine, hips, and shoulders
Avoid this asana post-pregnancy and if you have any rheumatic disorder, hips arthritis and a herniated disc.
Don’t Miss Out on the Latest Updates. Subscribe to Our Newsletter Today!
Subscribe Now
Enroll for our free updates
Thank You for Subscribing
Thanks for Updating Your Information
By clicking “Accept All Cookies”, you agree to the storing of cookies on your device to enhance site navigation, analyze site usage, and assist in our marketing efforts. Cookie Policy.